Bitwarden Failed to Fetch: How to Fix This Error
![]() 7 min. read
7 min. read
![]() Updated on
Updated on
Share this article

Improve this guide
Read our disclosure page to find out how can you help Windows Report sustain the editorial team Read more
Key notes
- Bitwarden is a useful password management tool that launched in 2016 and stores sensitive data like website credentials in an encrypted vault.
- As great as the app is, issues do arise from time to time like the Failed to Fetch error.
- This guide takes you through the steps on how to fix the Failed to Fetch error.

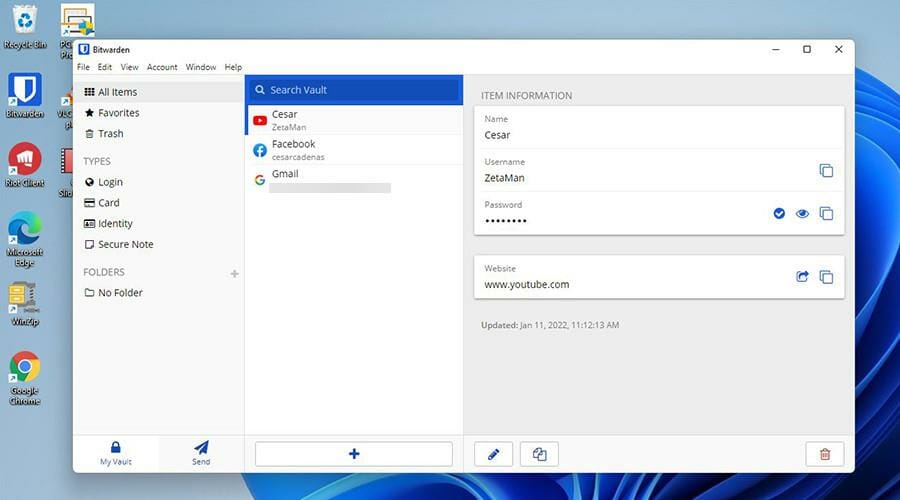
Released in 2016, Bitwarden is a free and open-source password management app that stores sensitive data like website credentials in an encrypted vault. The platform overall offers a lot of other useful applications like browser extensions, a mobile app, and a web-host interface.
Bitwarden even offers a cloud service if you have limited space on your computer or an on-premises version. When it was released, critics immediately fell in love with the service. Some reviewers went as far as to call it the best password manager out there.
Now, as good as this software may be, there occasionally are times when you will run into some issues with Bitwarden. It’s been reported that sometimes the Android client may log itself out with everything in the synced vault erased.
What are some other issues that may arise in Bitwarden?
One of the more prevalent issues is the Failed to Fetch error, which will be the focus of this guide. This issue occurs whenever you try to log into the desktop app and may sometimes affect the browser versions.
Essentially, it prevents you from using Bitwarden on your device. This guide will show you how to fix this Failed to Fetch error on both the Desktop app and browser extension, namely the versions of Microsoft Edge, Mozilla Firefox, and Google Chrome. However, the extension is available on other apps like Opera and Brave.
Right off the bat, one of the recommended fixes is to reinstall Bitwarden, but do so from the official website instead of the version found on the Microsoft Store.
Also, if you’re using the browser extensions, ensure that Bitwarden is the only password manager working, as having others installed can mess with it.
How can I fix the Failed to Fetch error on Windows 11?
1. Update the app
➡ Use Command Prompt
- Click on the magnifying glass icon to bring up the search bar.
- Search for the Command Prompt.
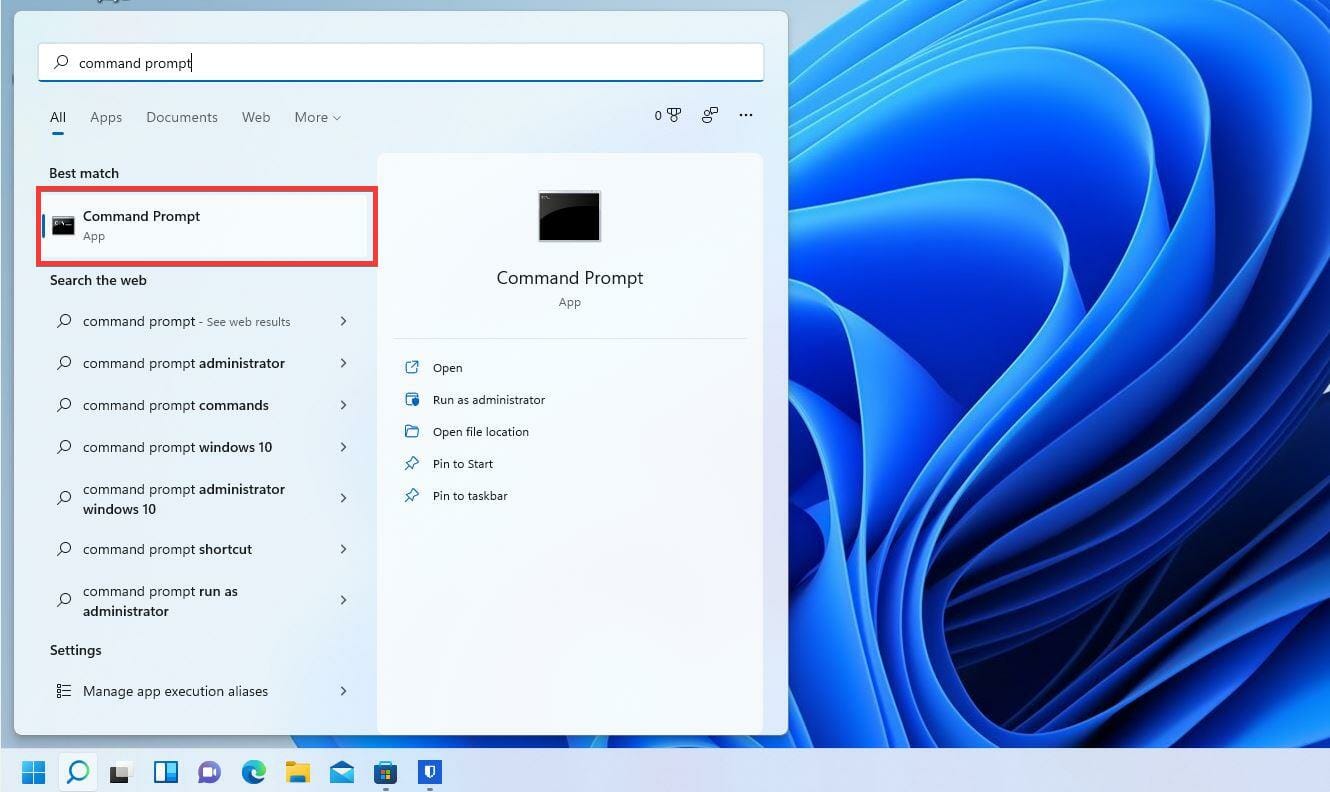
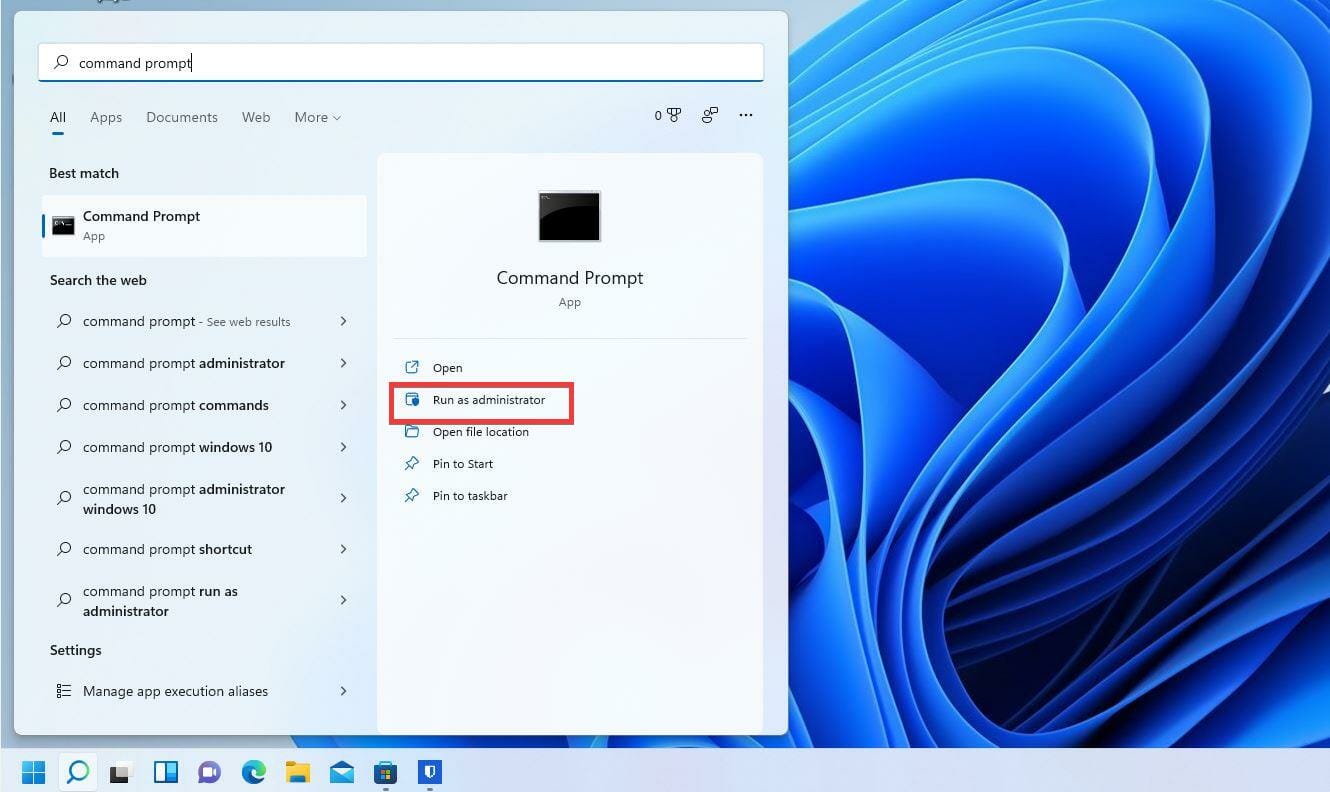
- Click Run as administrator.
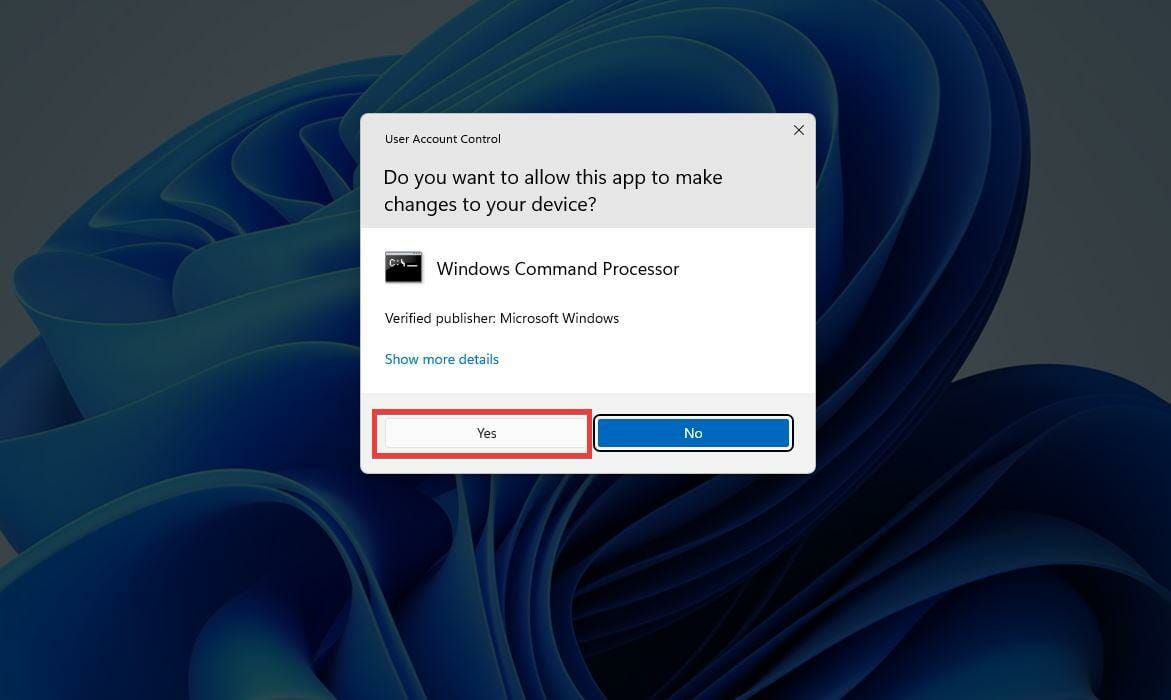
- A small window may appear asking you if you want to make changes. Select Yes.
- In the Command Prompt, type in
.\bitwarden.ps1 -updateself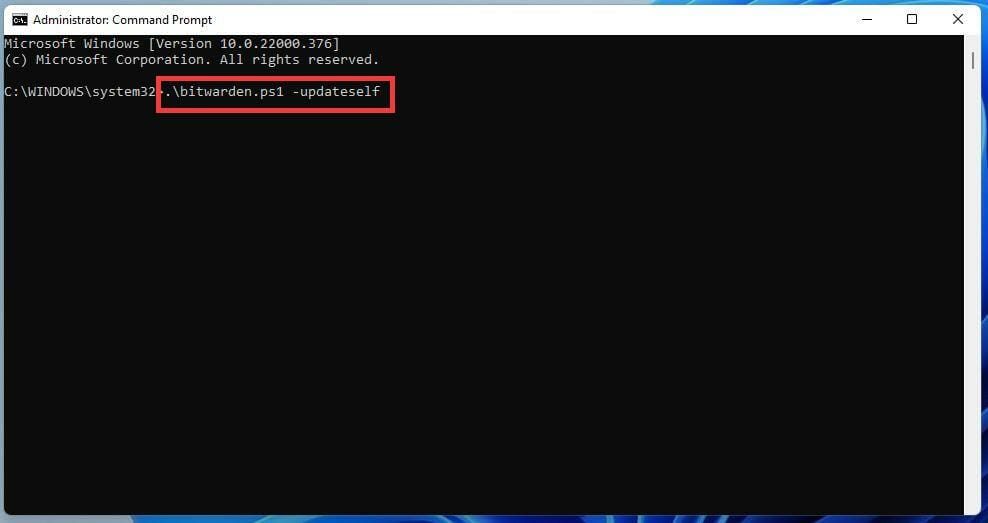
- Hit the Enter key.
- If that initial command didn’t work, enter instead
.\bitwarden.ps1 -update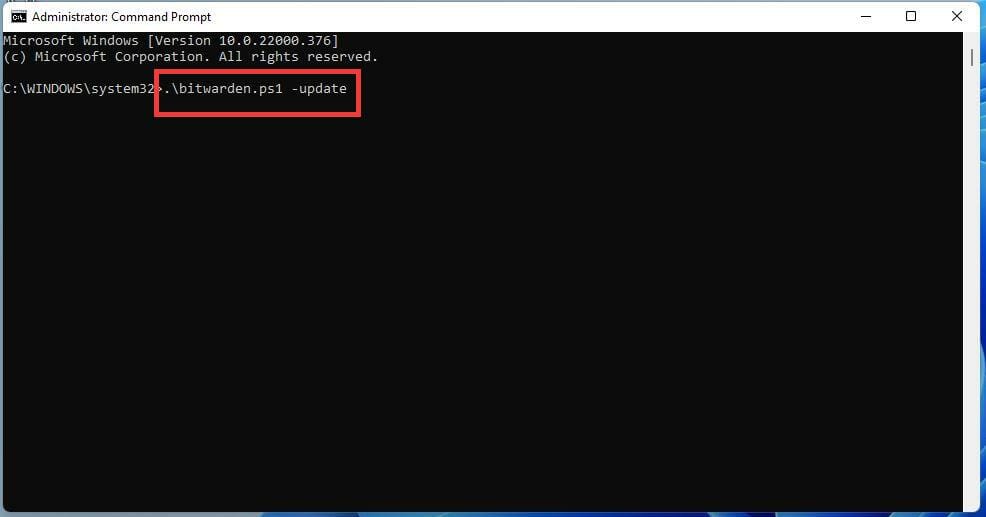
- Hit Enter to update Bitwarden.
➡ Use PowerShell
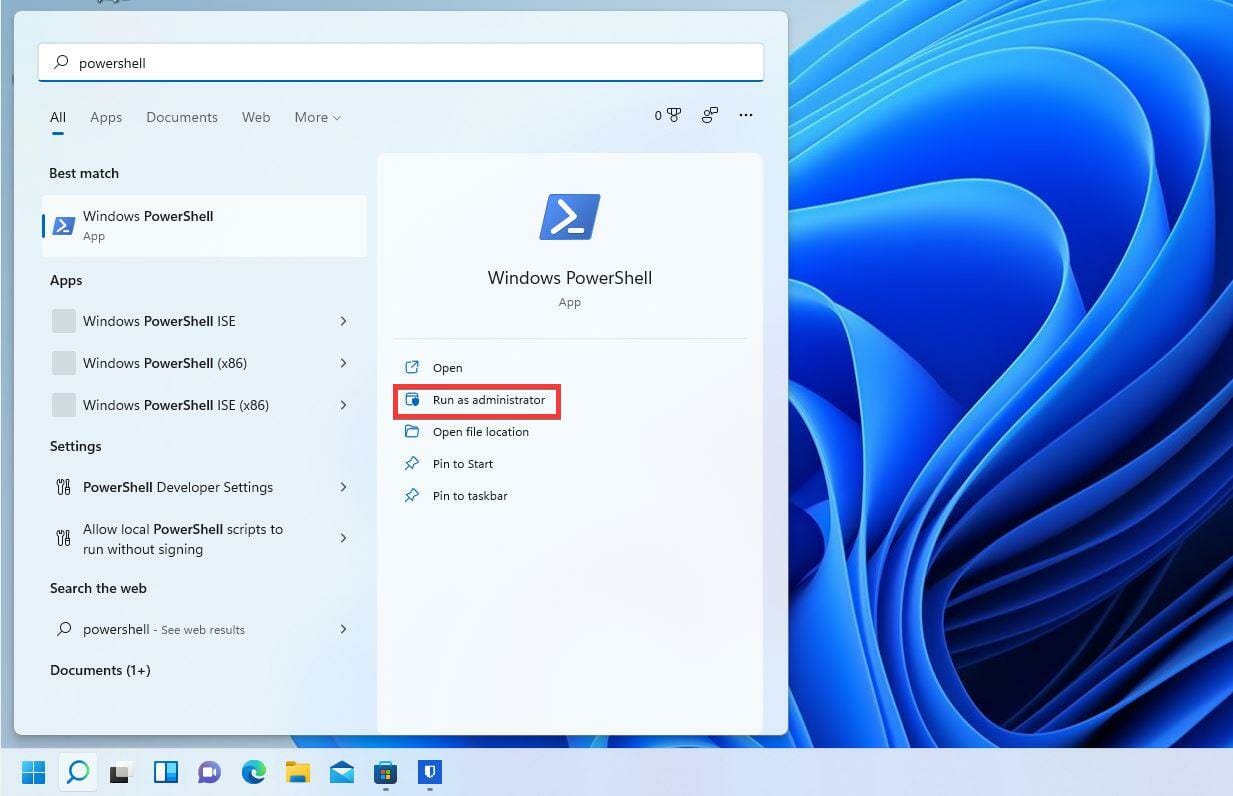
- Open the search bar and type in PowerShell.
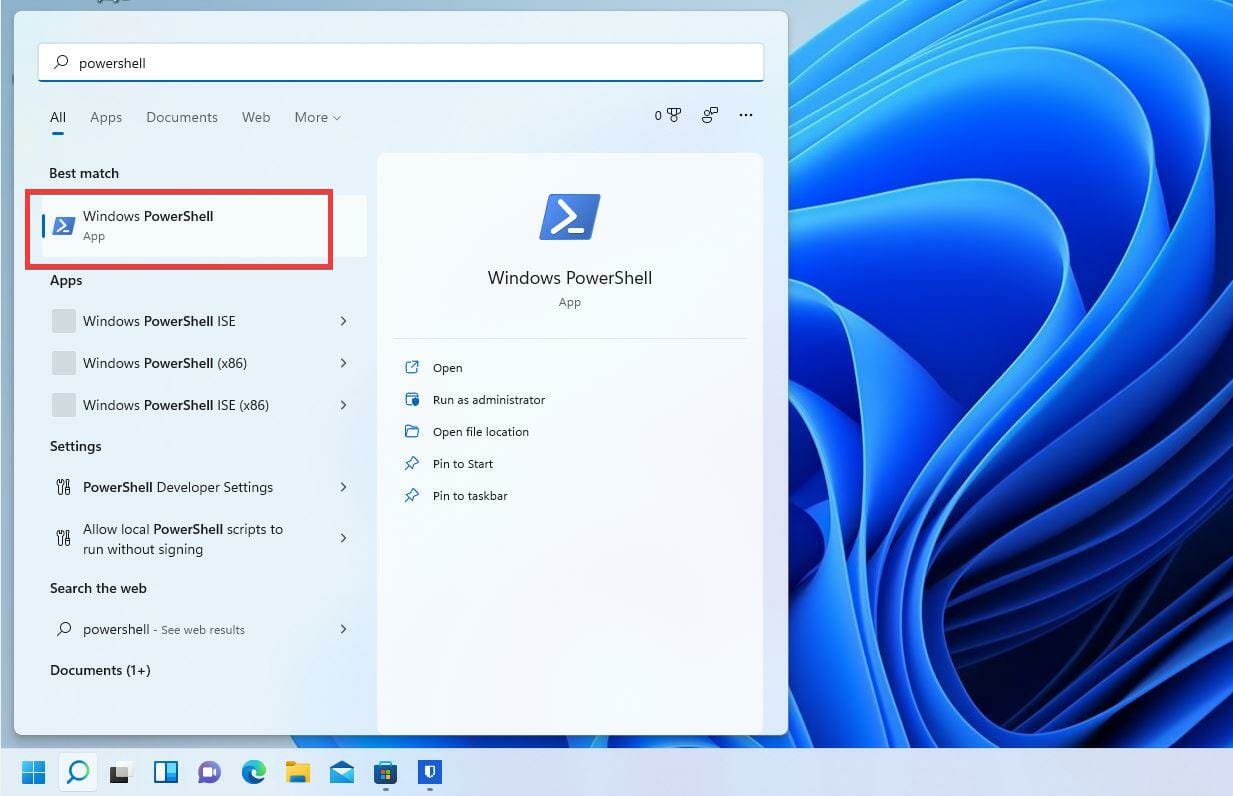
- Click Run as administrator when PowerShell appears.
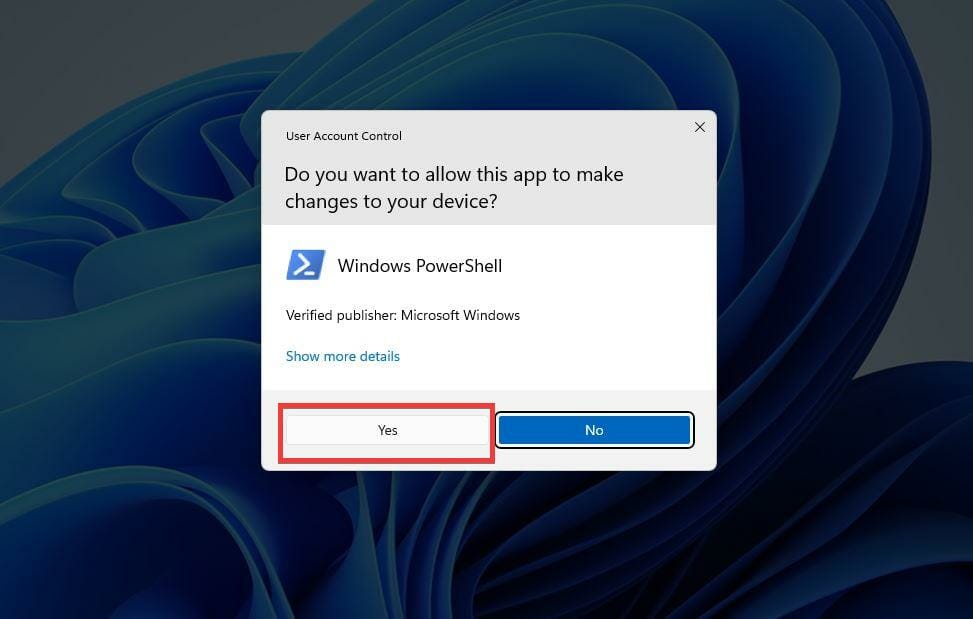
- A small window may appear asking if you want to make changes. Select Yes.
- In PowerShell, input the same commands for the Command Prompt. Enter
.\bitwarden.ps1 -updateself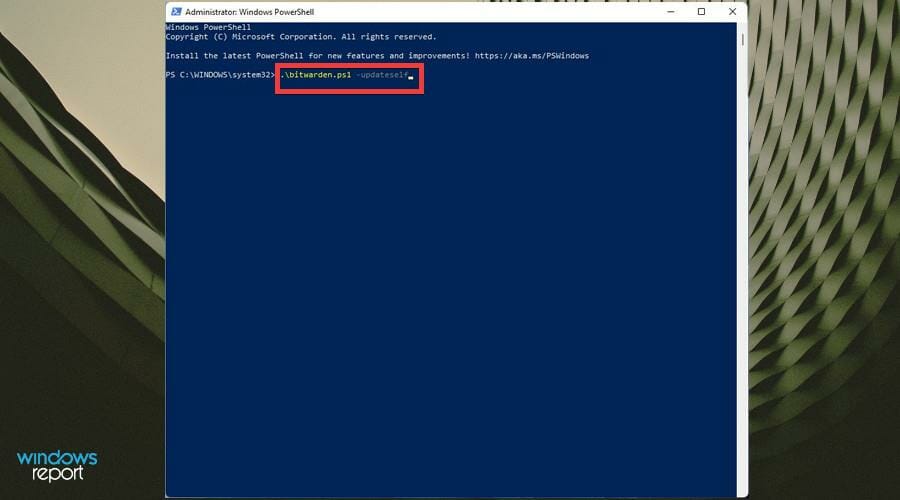
- If that doesn’t work, enter
.\bitwarden.ps1 -update
3. White list in Windows Defender Firewall
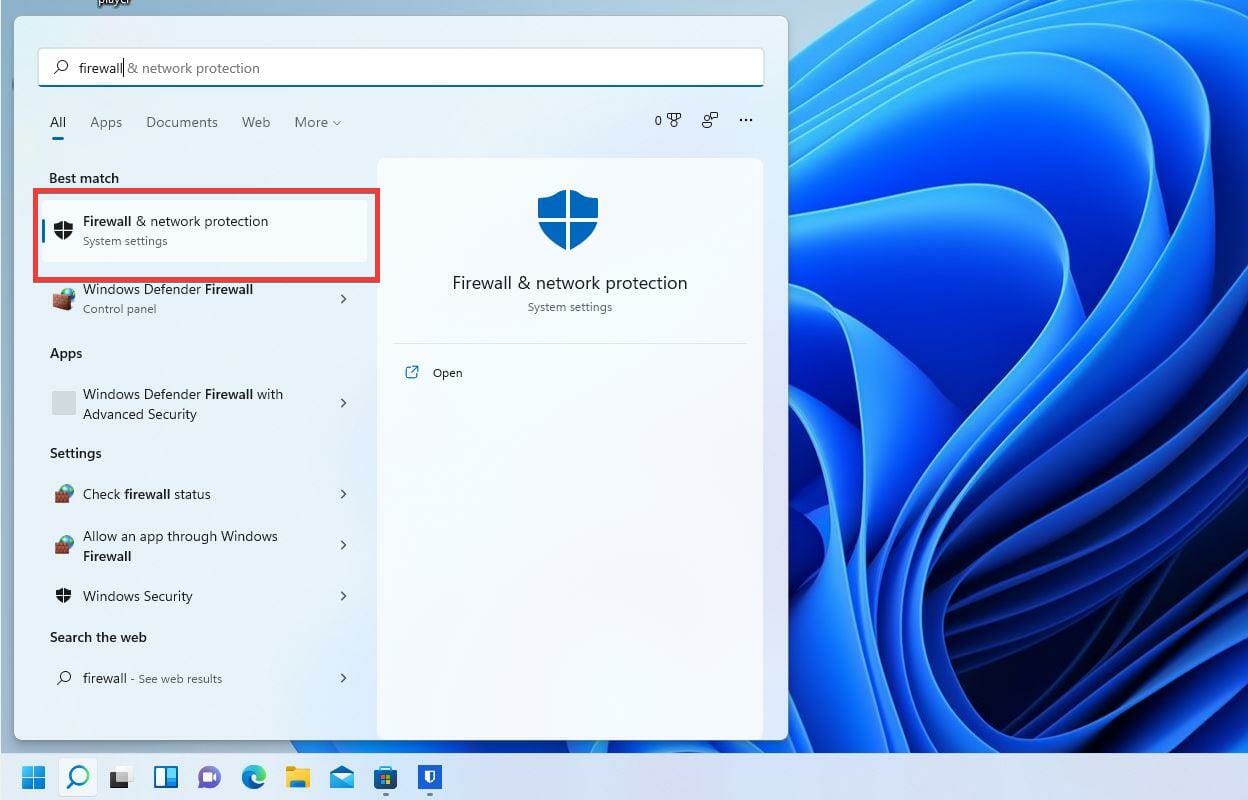
- In the search bar, type in Firewall.
- Click Windows Defender Firewall.
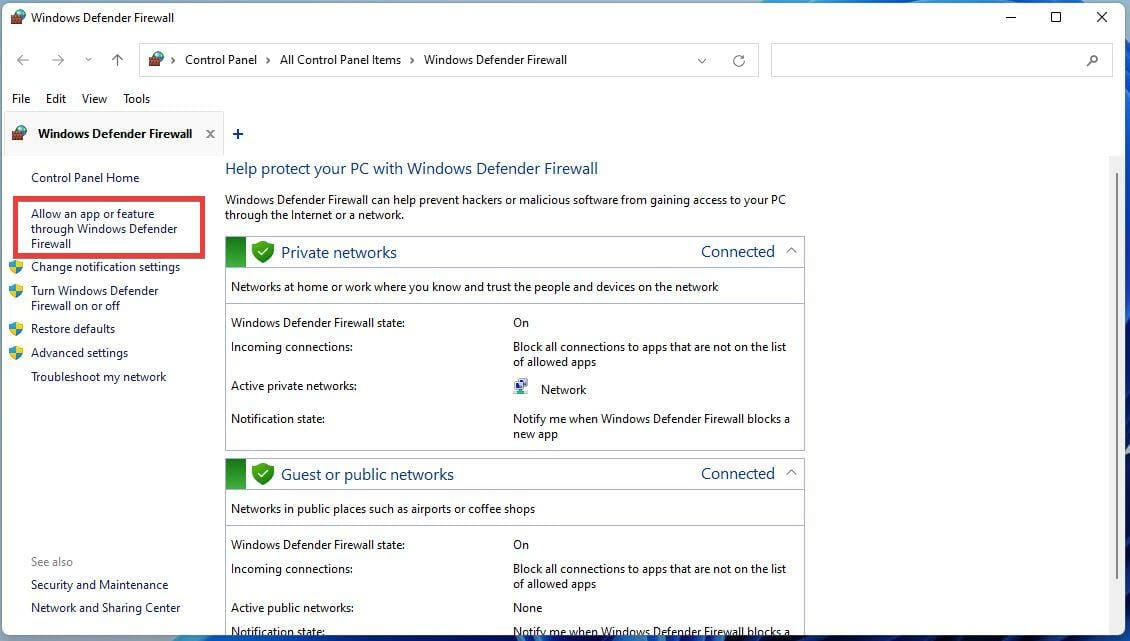
- Choose Allow an app or feature through Windows Defender Firewall on the left hand side.
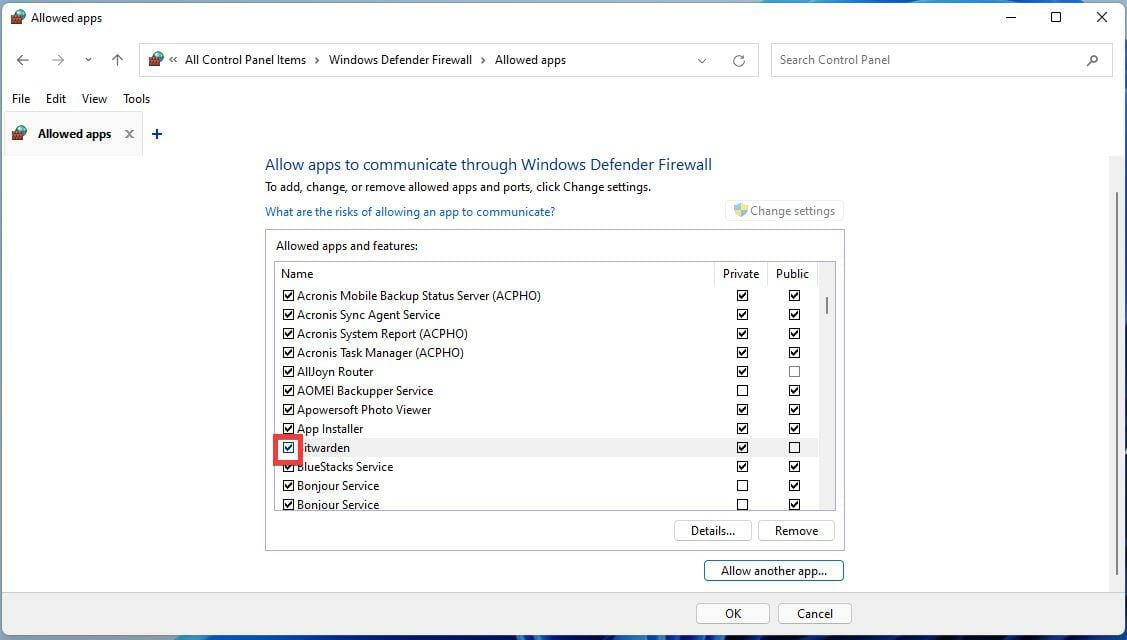
- In this new window scroll down and locate Bitwarden.
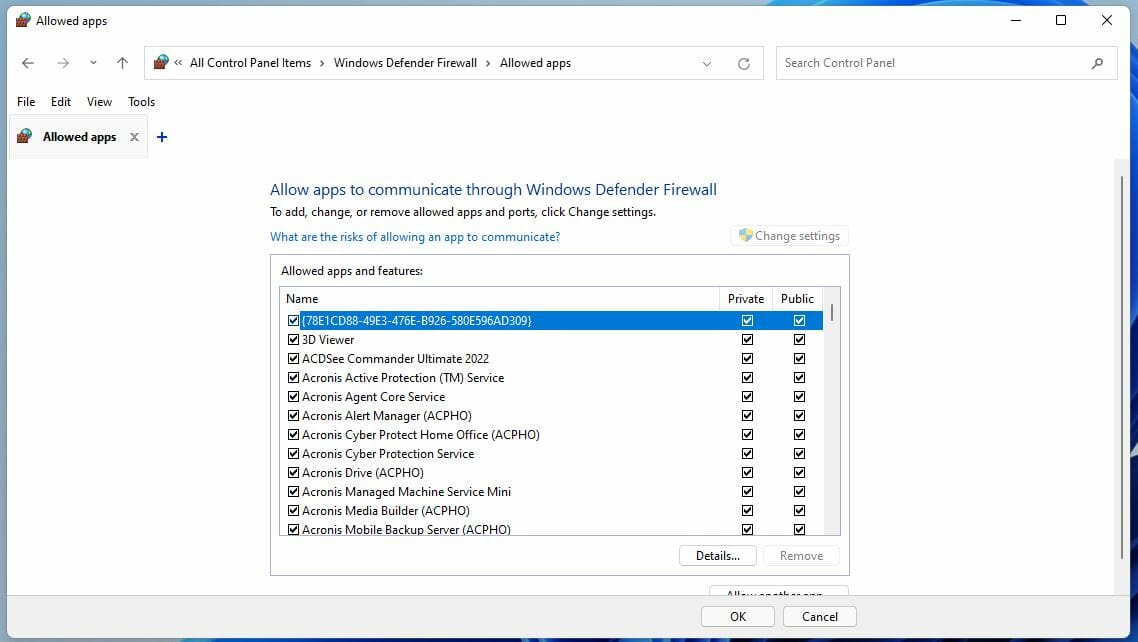
- If Bitwarden is not there, click on the Change settings button.
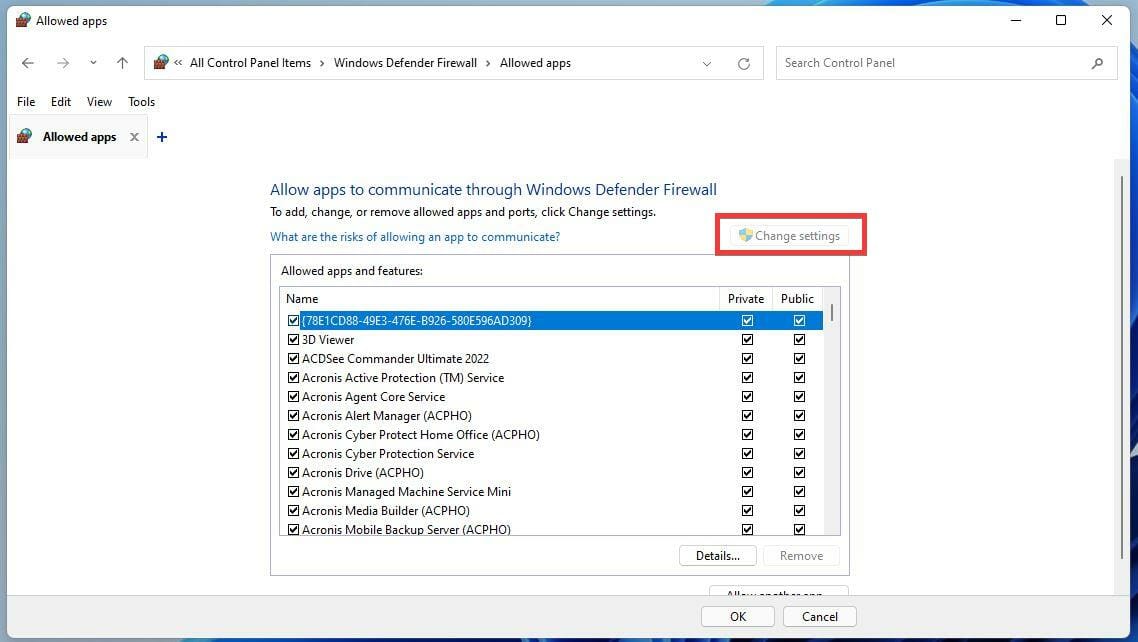
- Then click Allow another app…

- In this new window, select Browse.

- Locate the Bitwarden app in the computer’s Program Files.
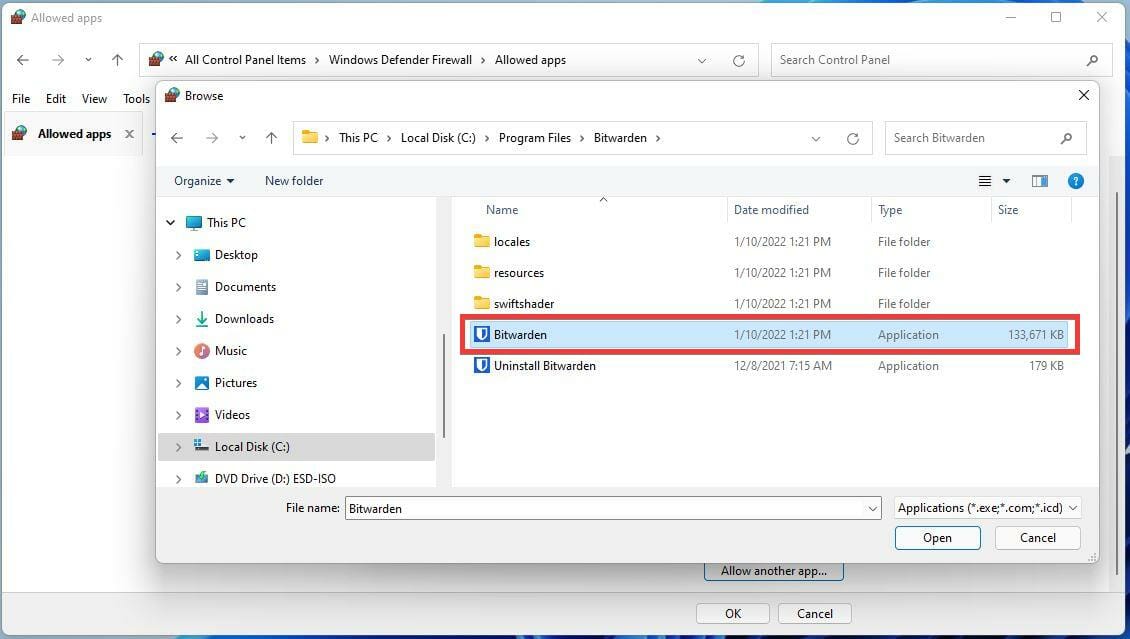
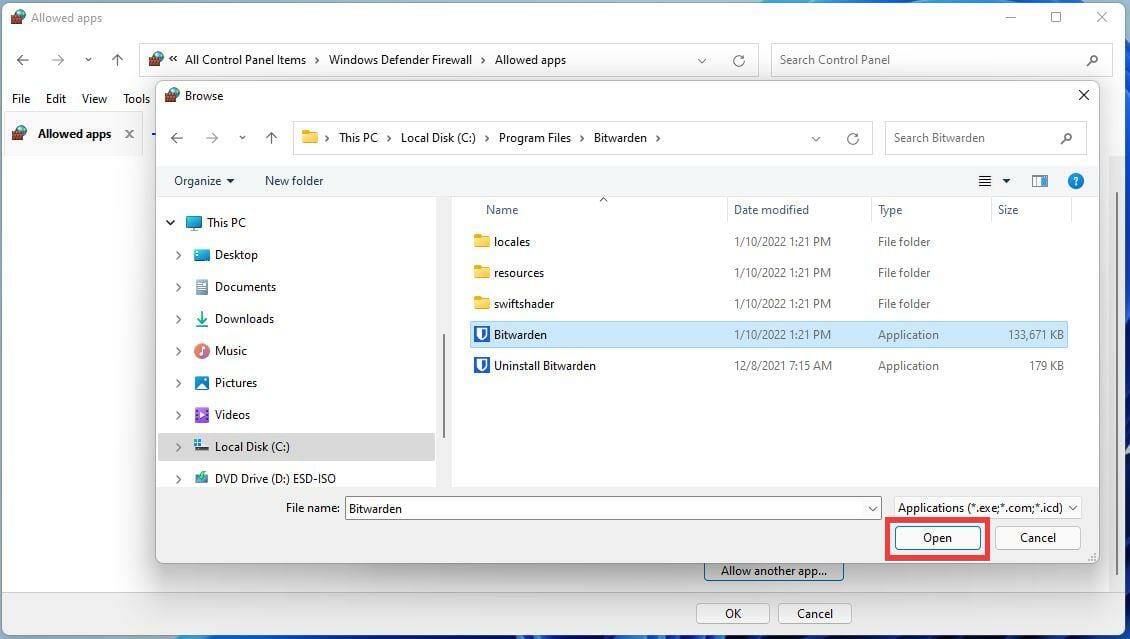
- Once located, select it and click the Open button.
- Then click the Add button.
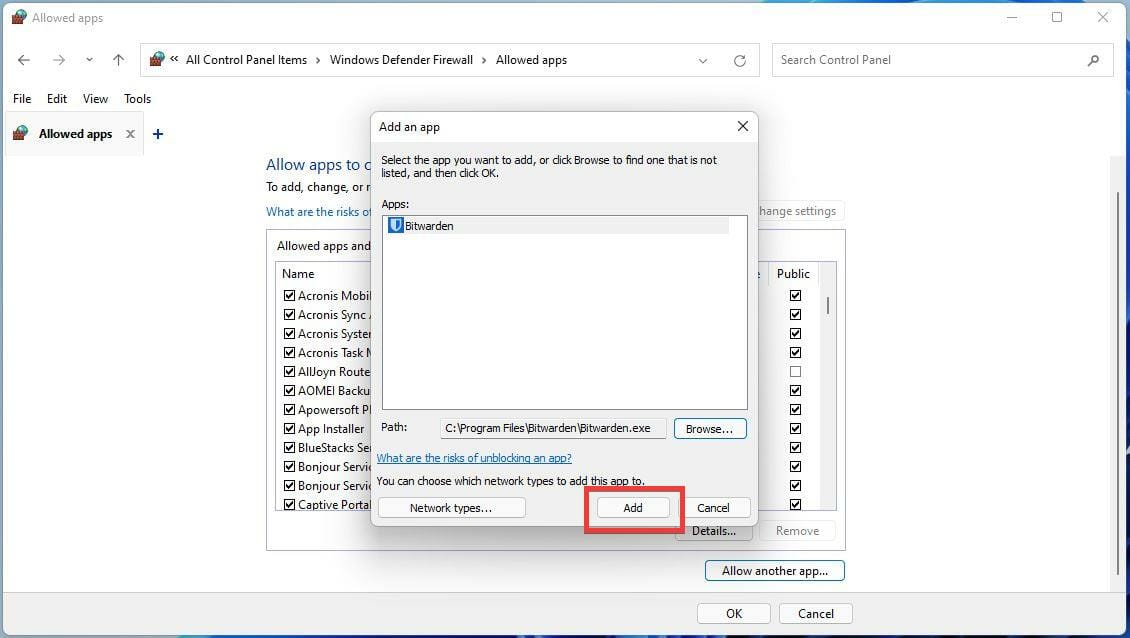
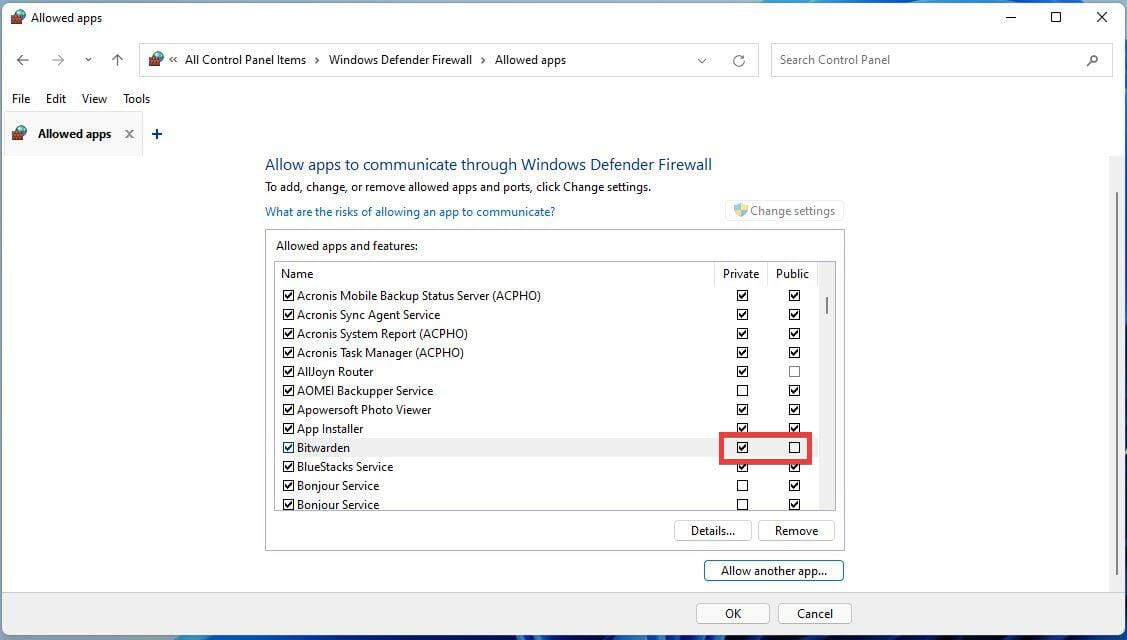
- Make sure the left hand box next to Bitwarden is checked. This will allow Bitwarden to have access to network resources and bypass Windows Defender Firewall.
- Checking the right-hand boxes will either allow or disallow the app to be used in either a public or private network.
In case the issue still persists, we recommend trying an antivirus that is browser friendly, make sure to check our list with the best ones.
4. Clear the browser cache
➡ Firefox
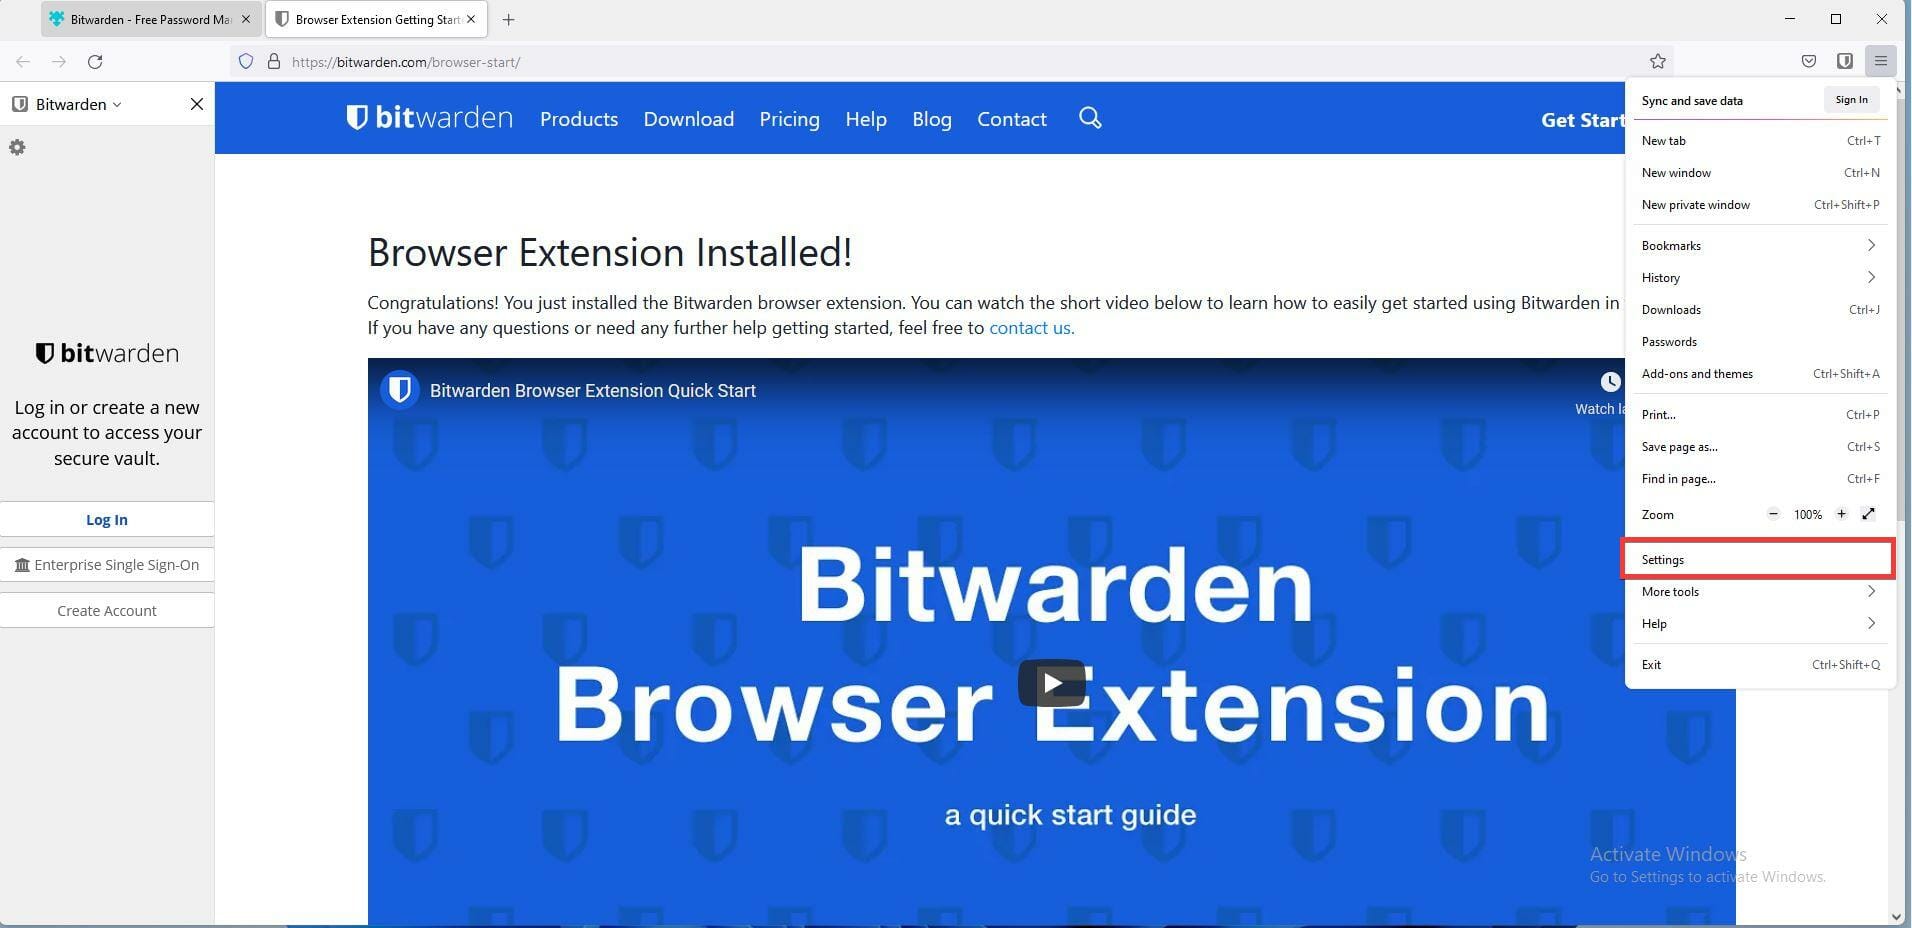
- In Firefox, click the menu button.
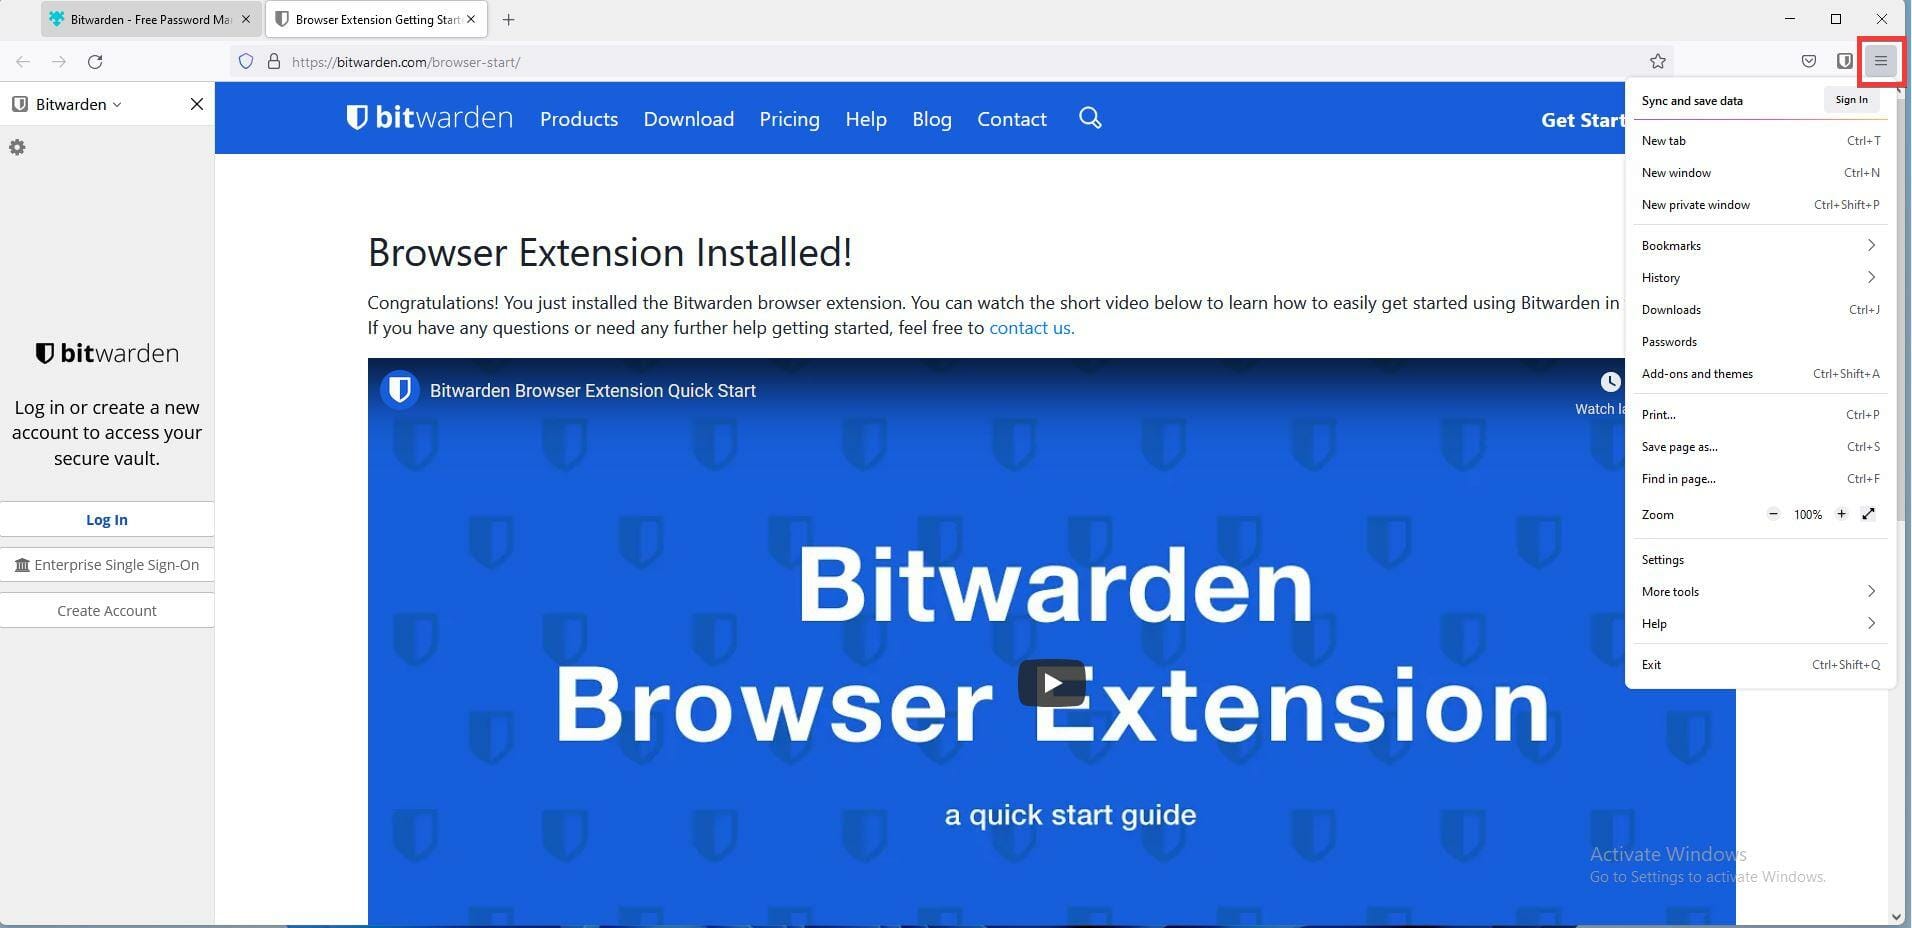
- Then select Settings.
- In this new window, select the Privacy & Security tab.
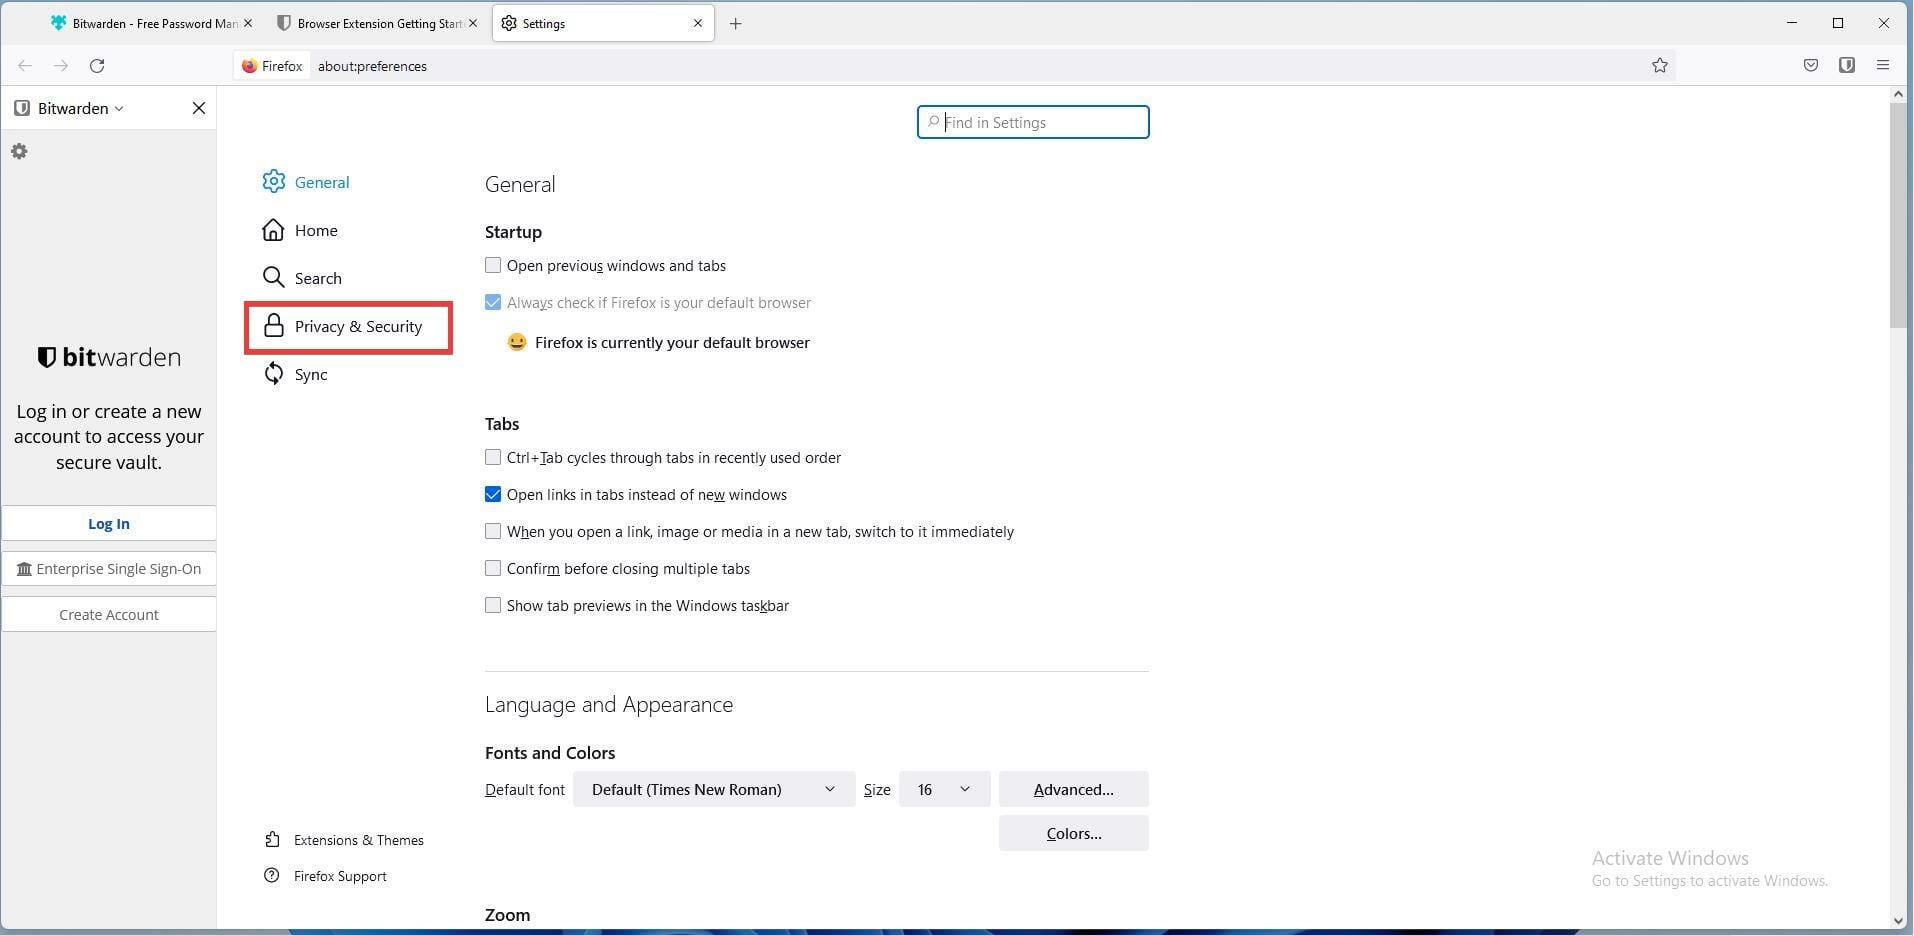
- Scroll down to the Cookie and Site Data section of Privacy & Security tab.
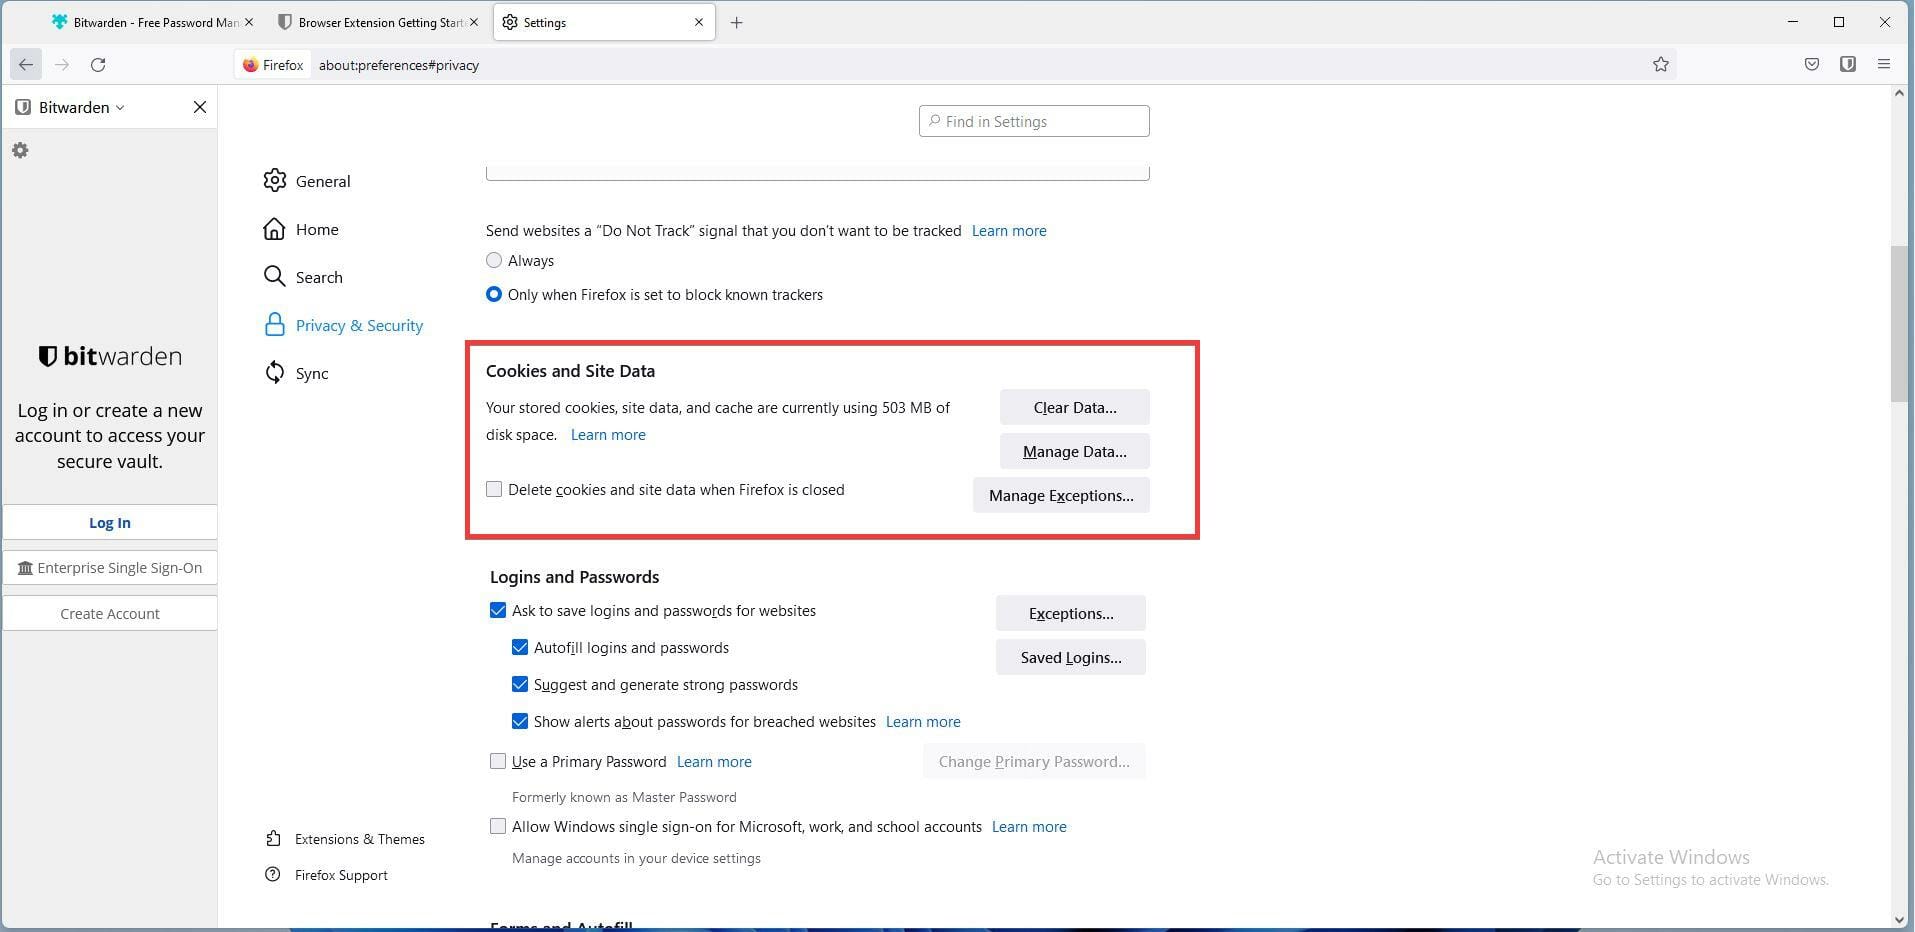
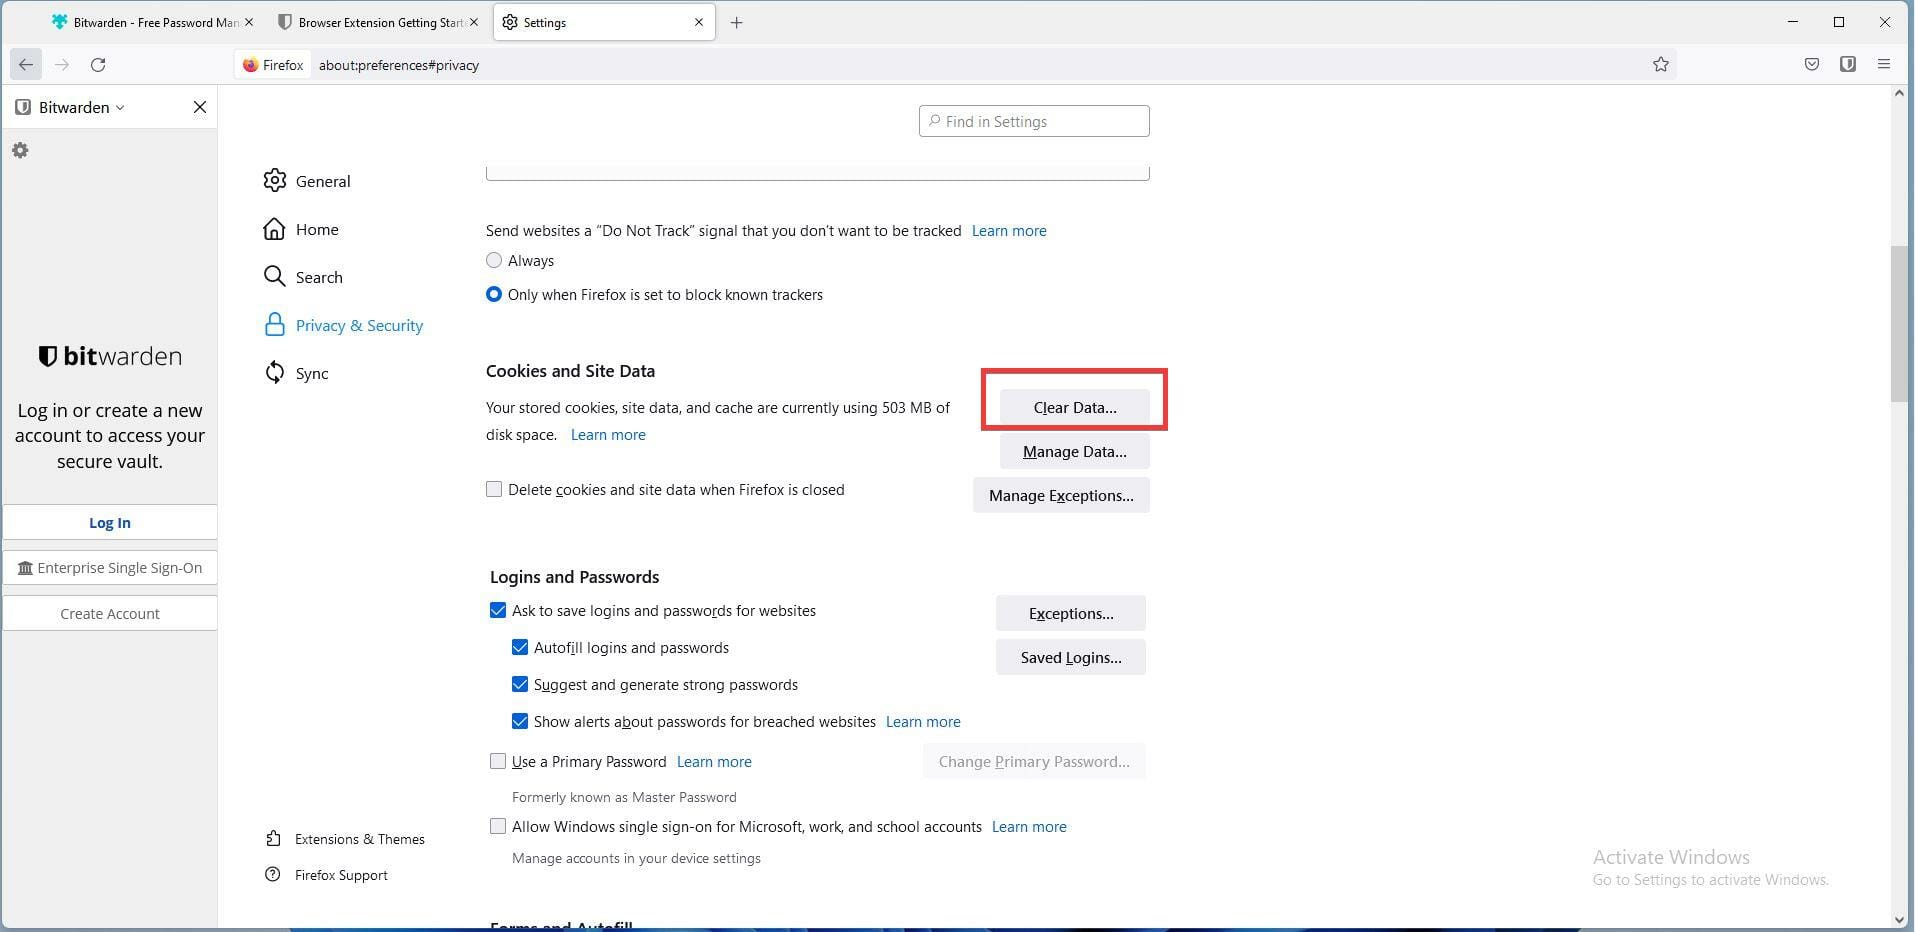
- Click on the Clear Data button.
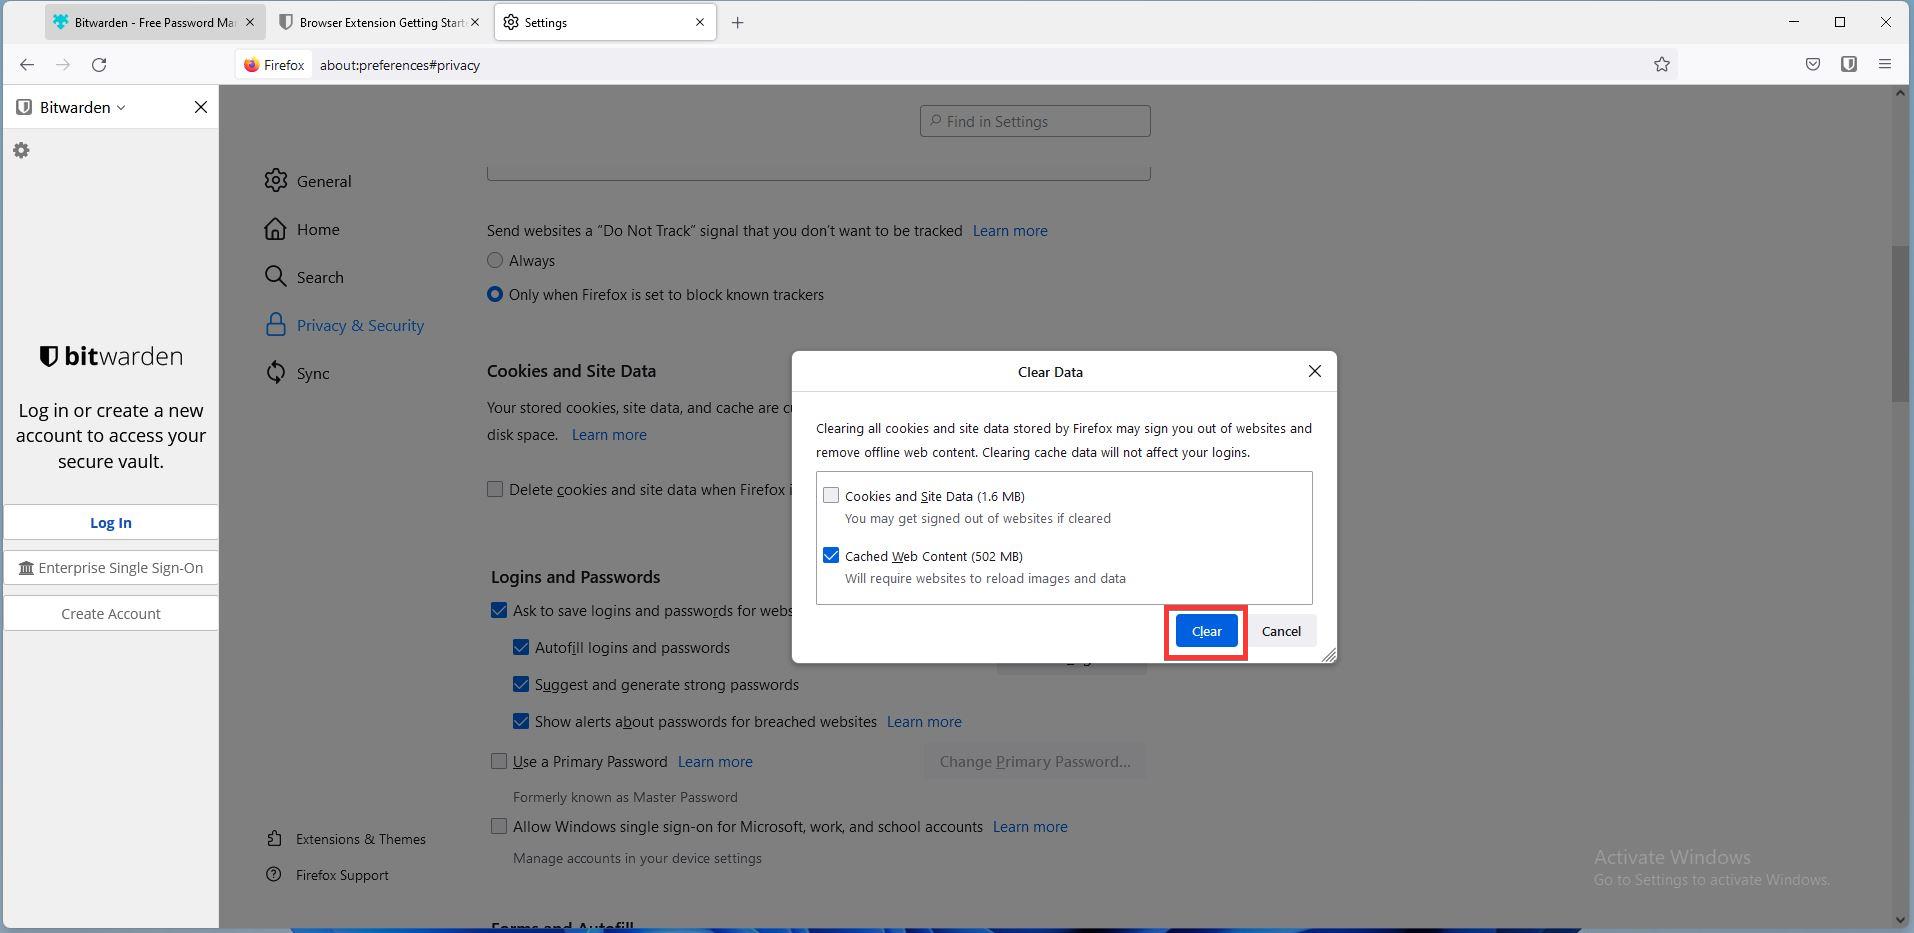
- Remove the check mark next to Cookies and Site Data.
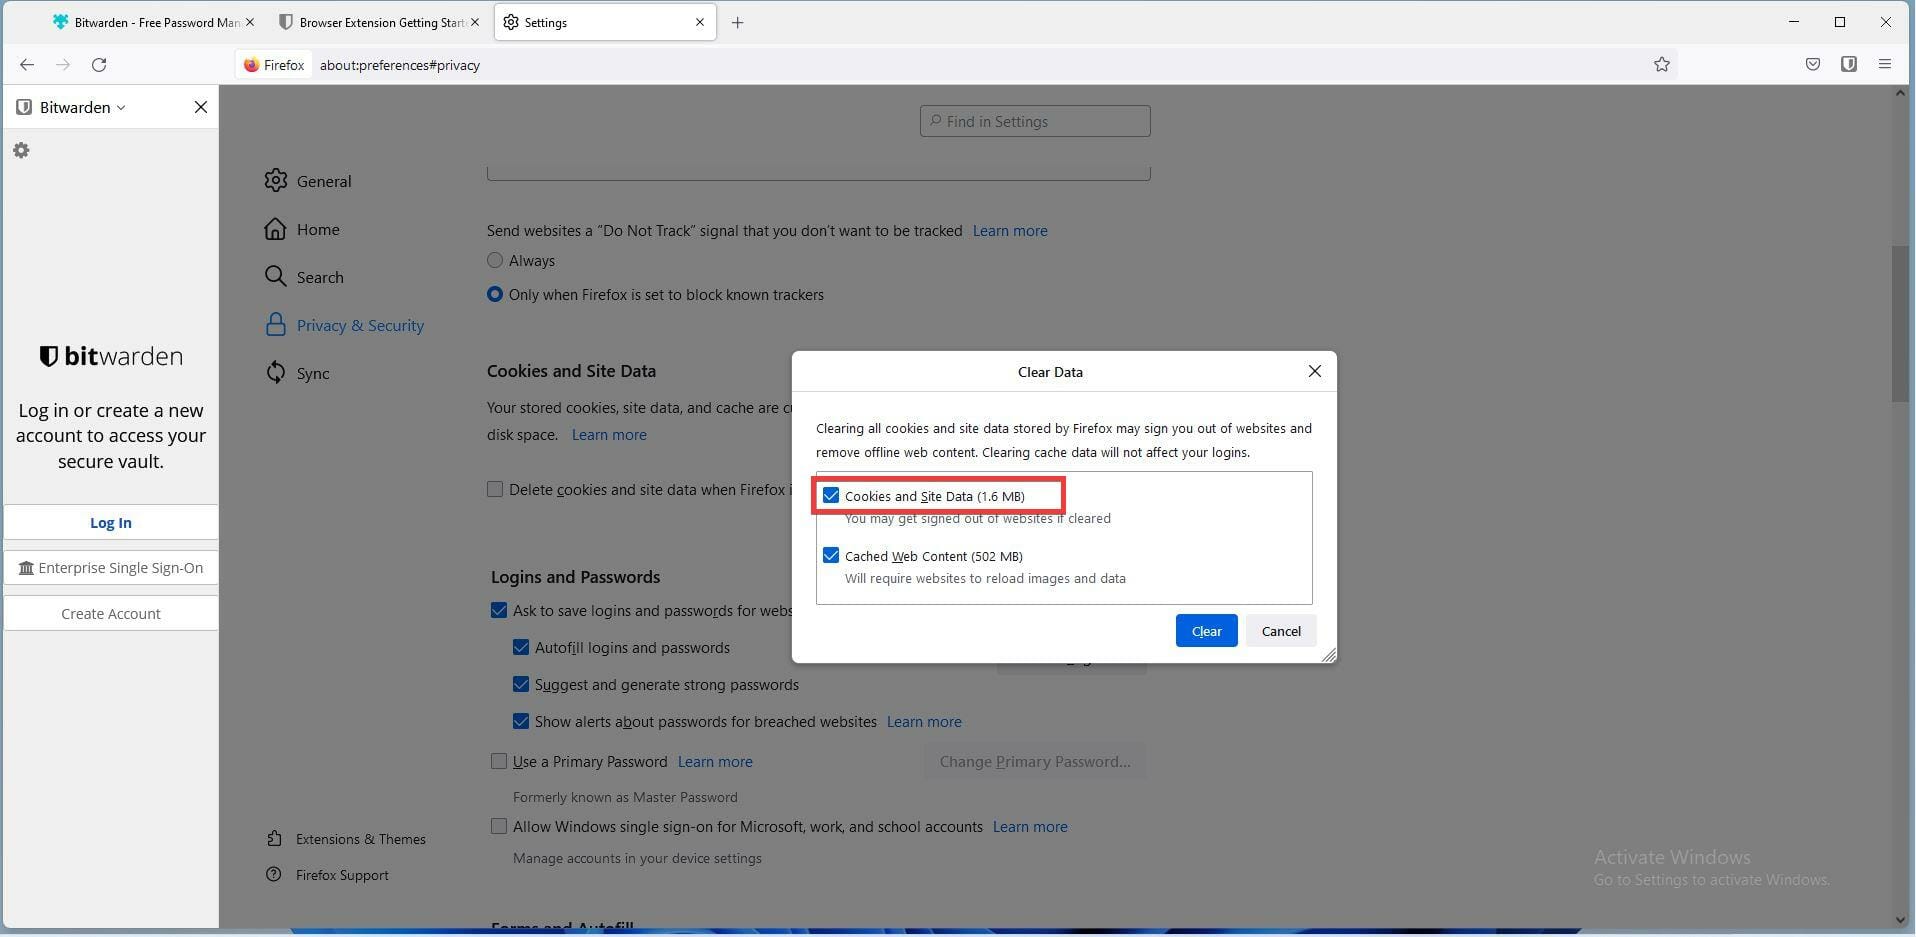
- Make sure the box next to Cached Web Content.
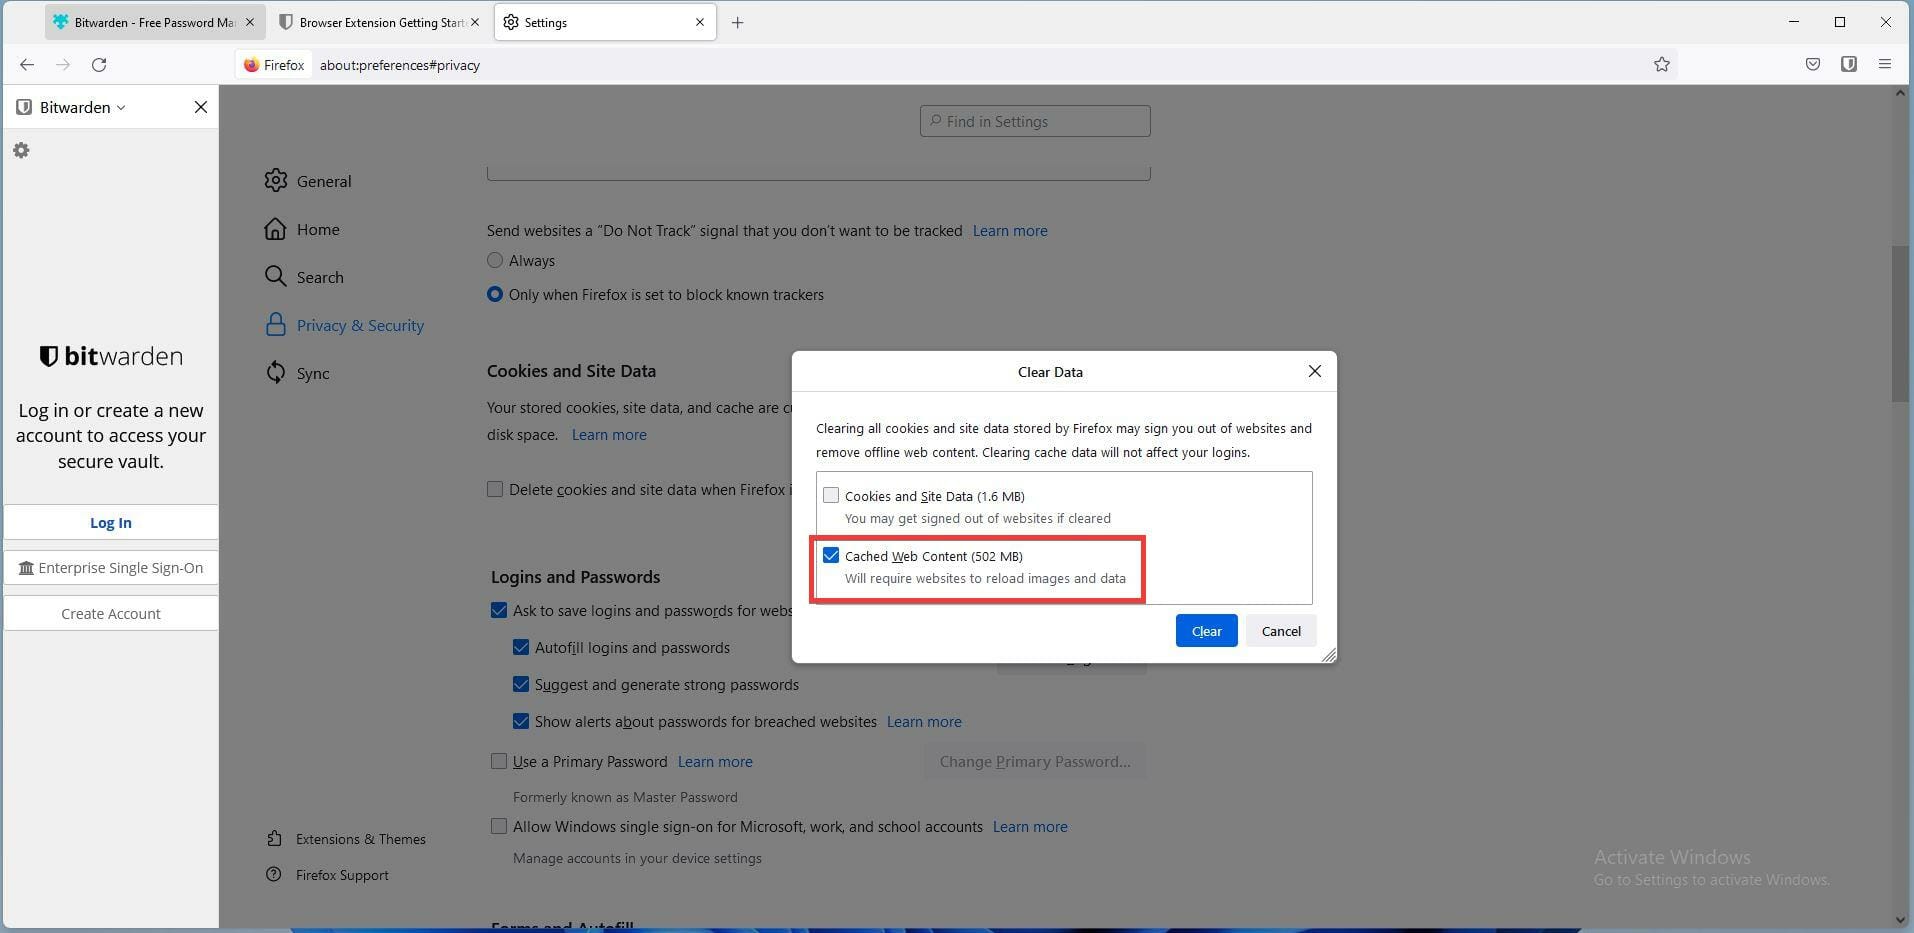
- Once done, click the Clear button. Any changes made will be automatically saved.
➡ Microsoft Edge
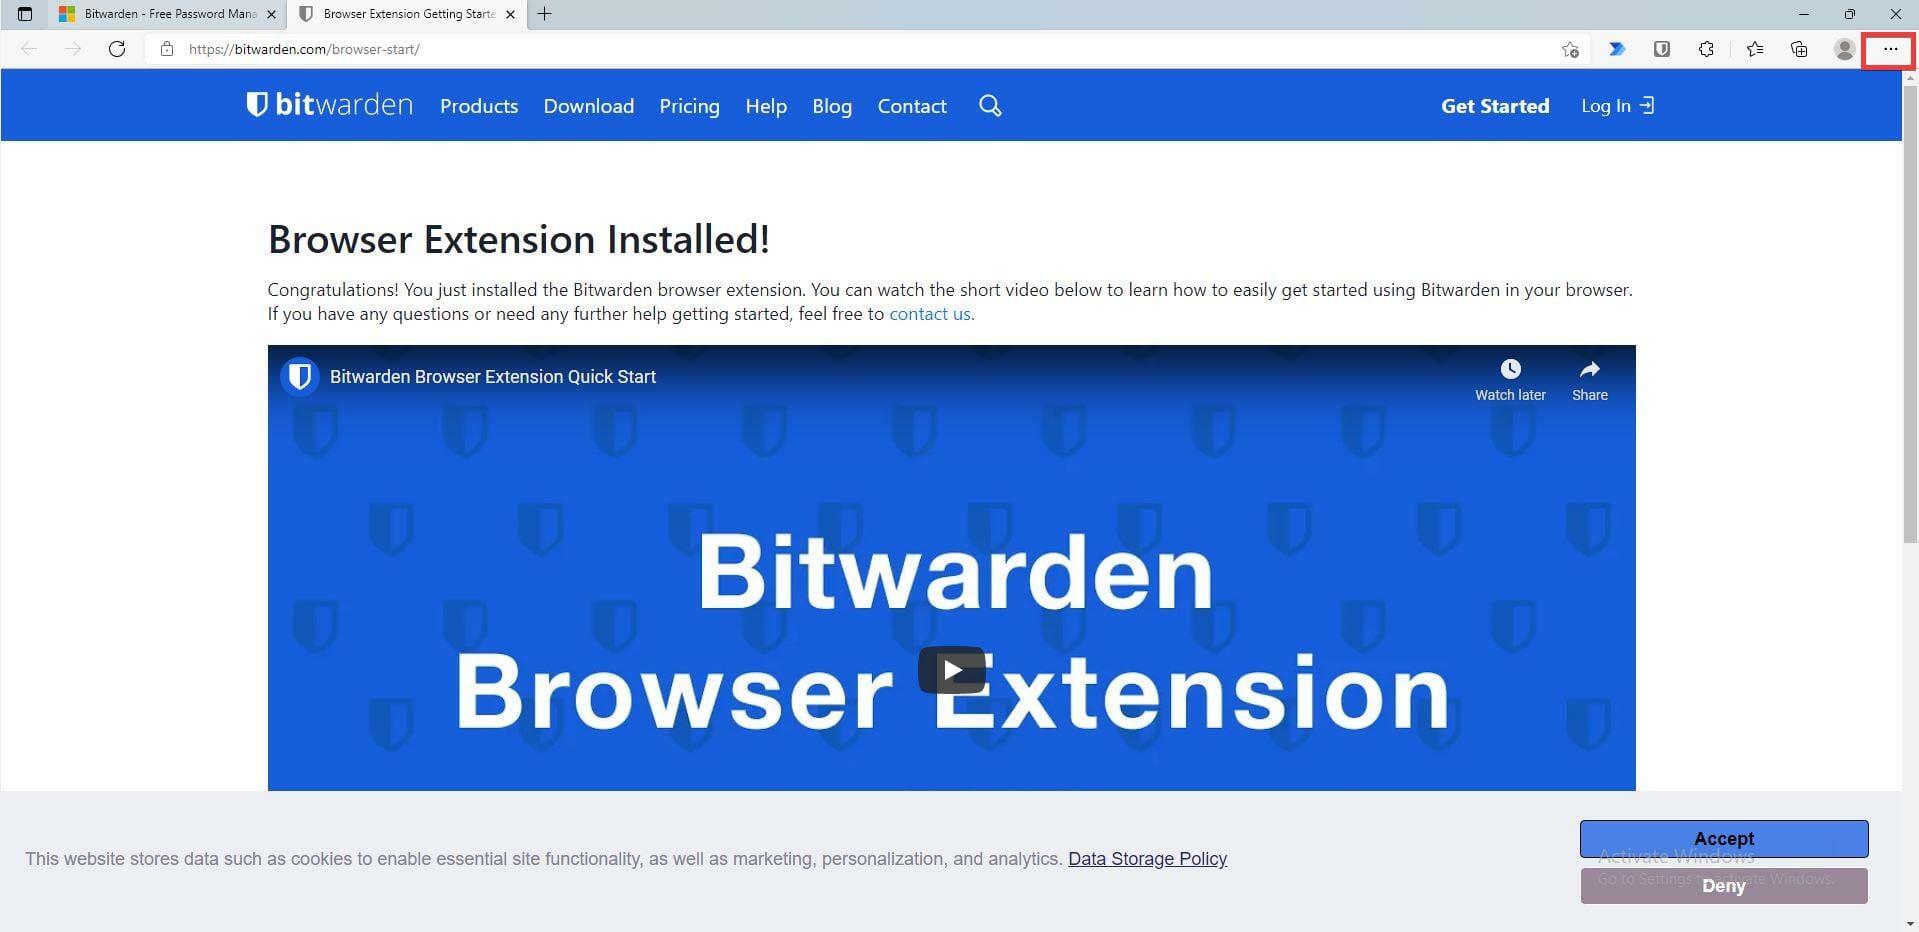
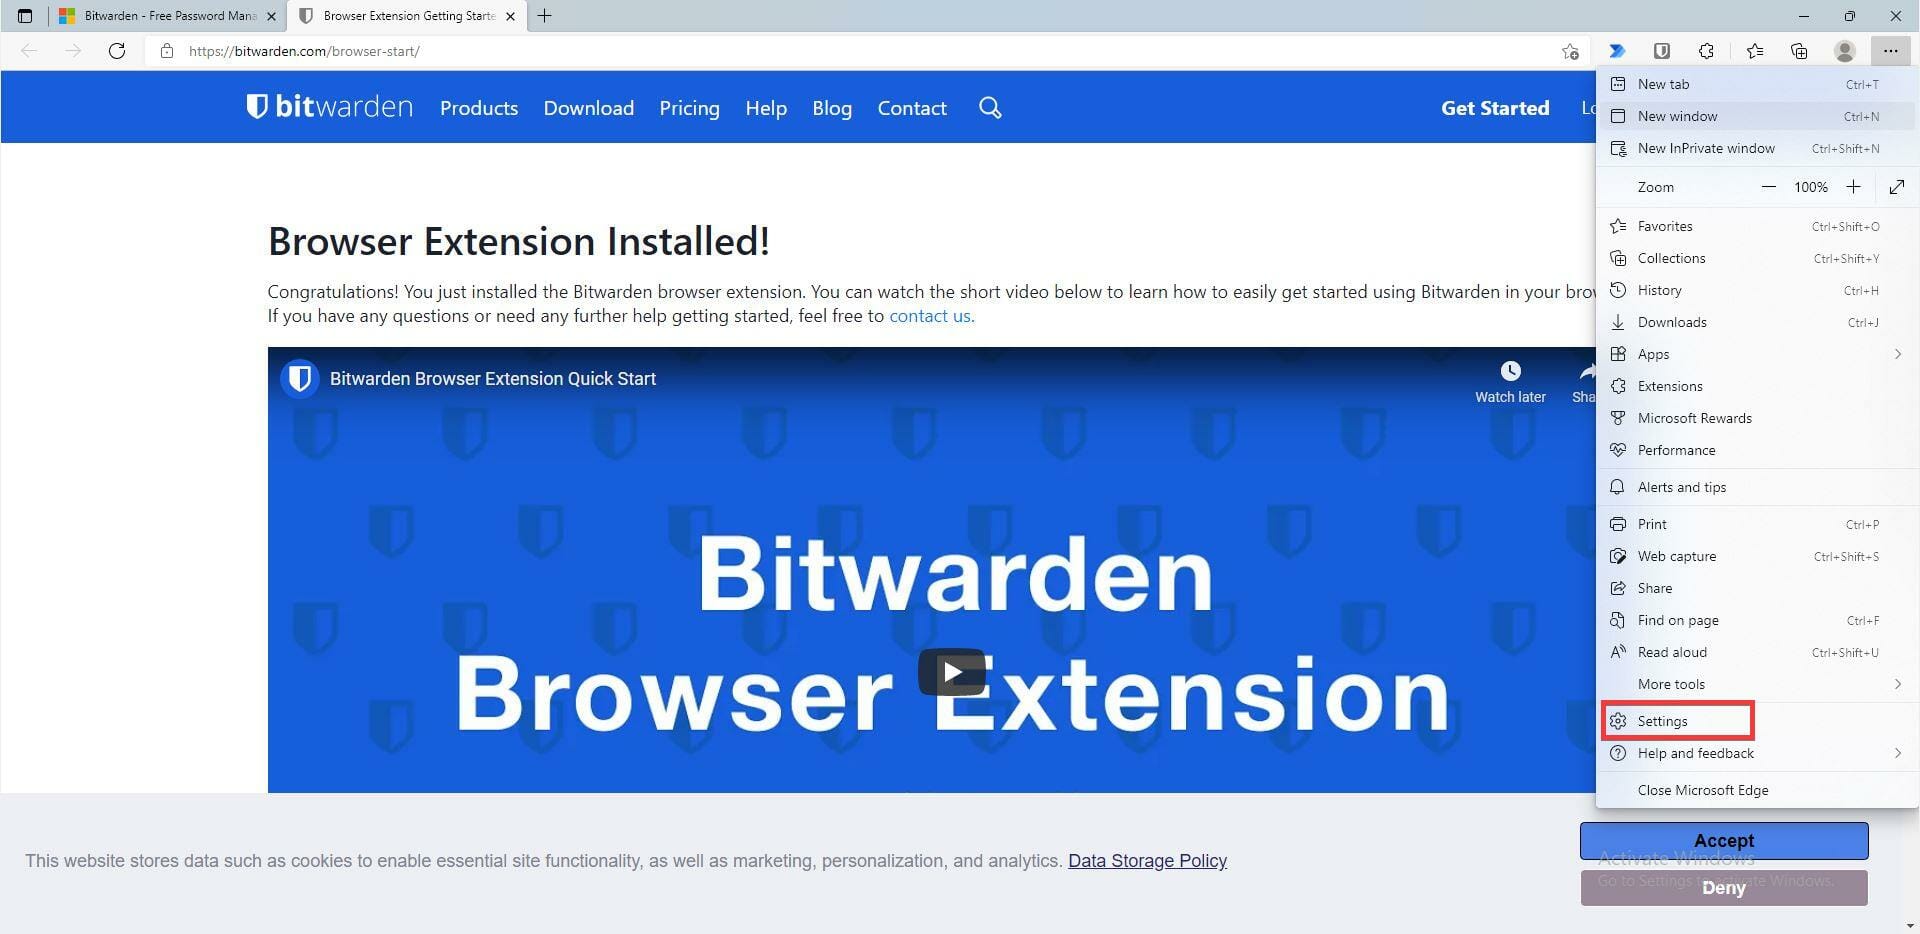
- In Windows Edge, click on the Menu button which are the three dots in the upper corner.
- Scroll down and click Settings.
- In this new window, click Privacy, search, and services.
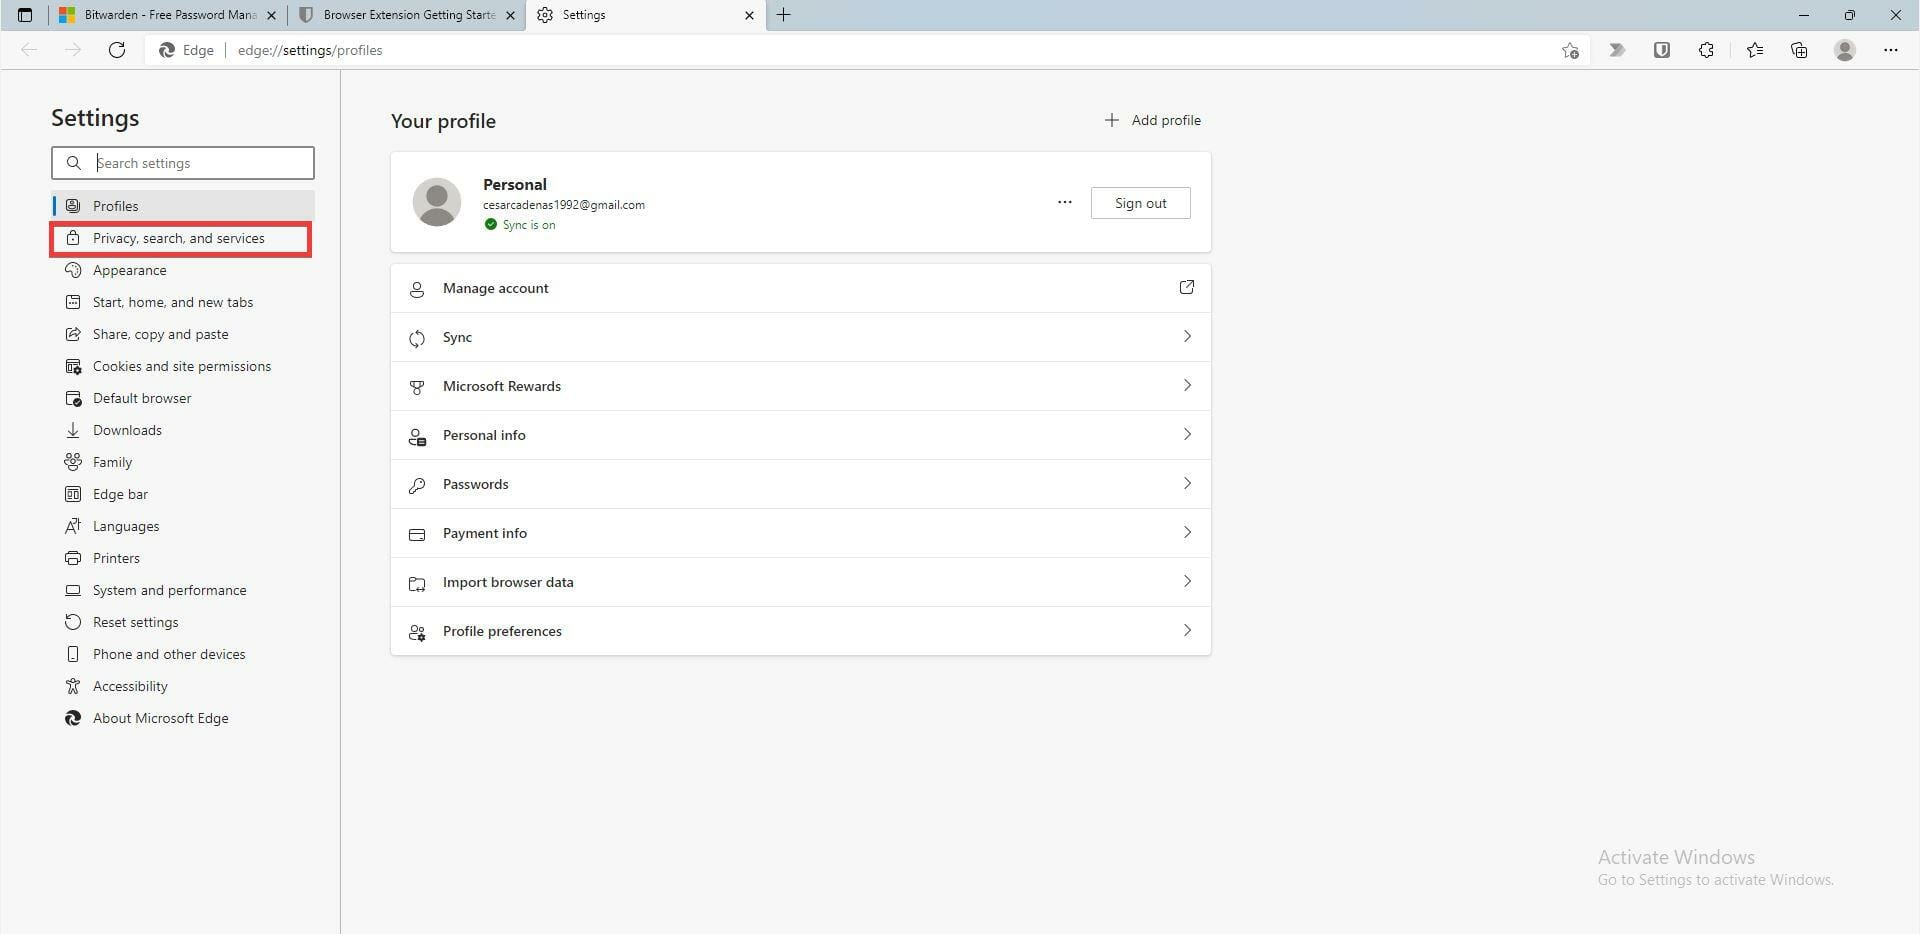
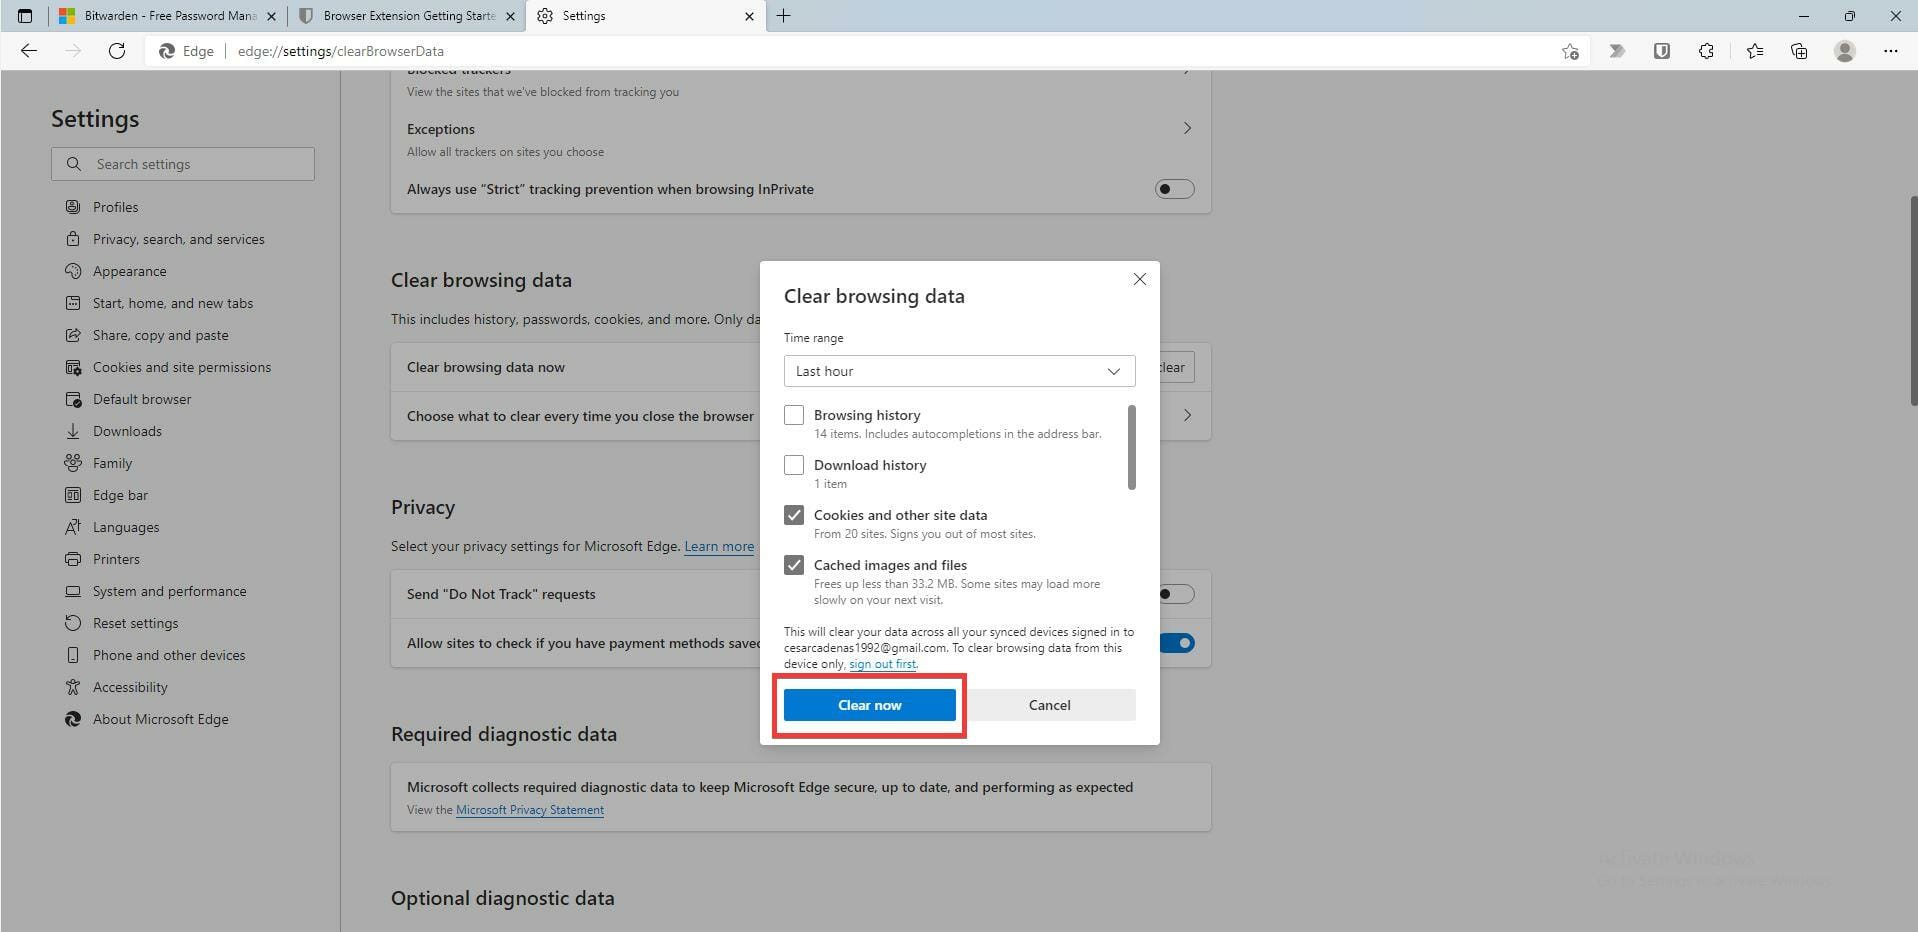
- Scroll down to the Clear browsing data section.
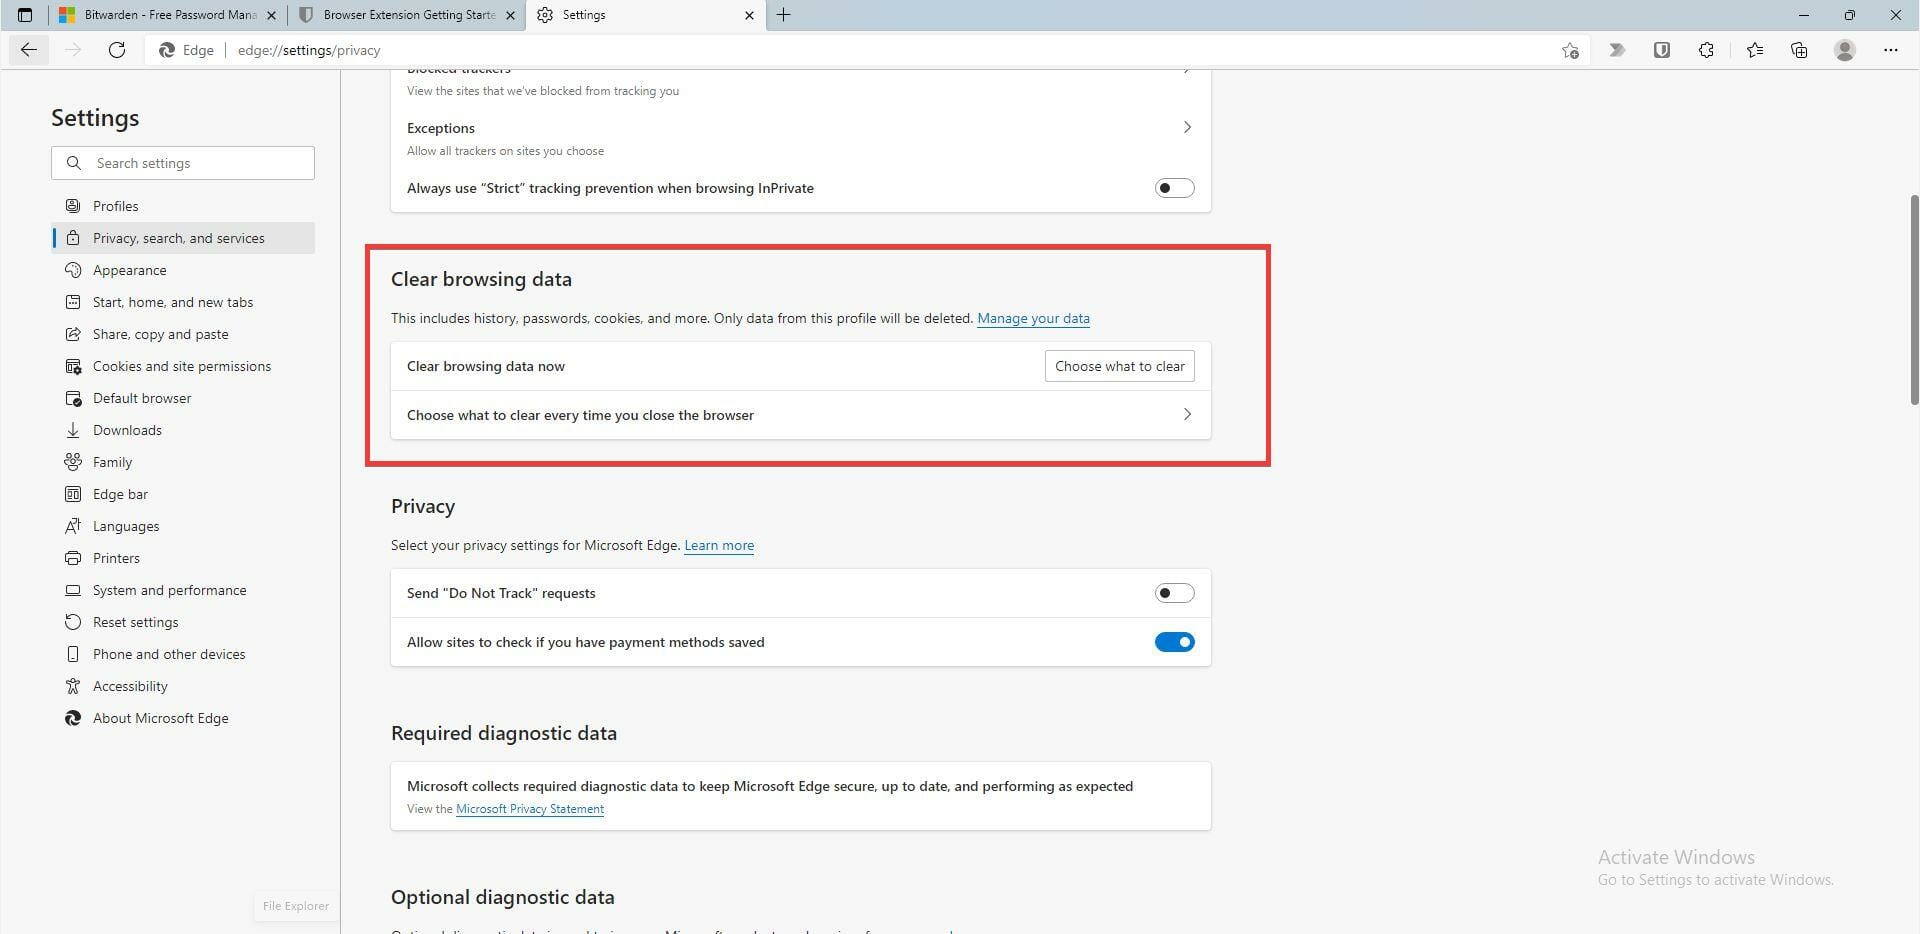
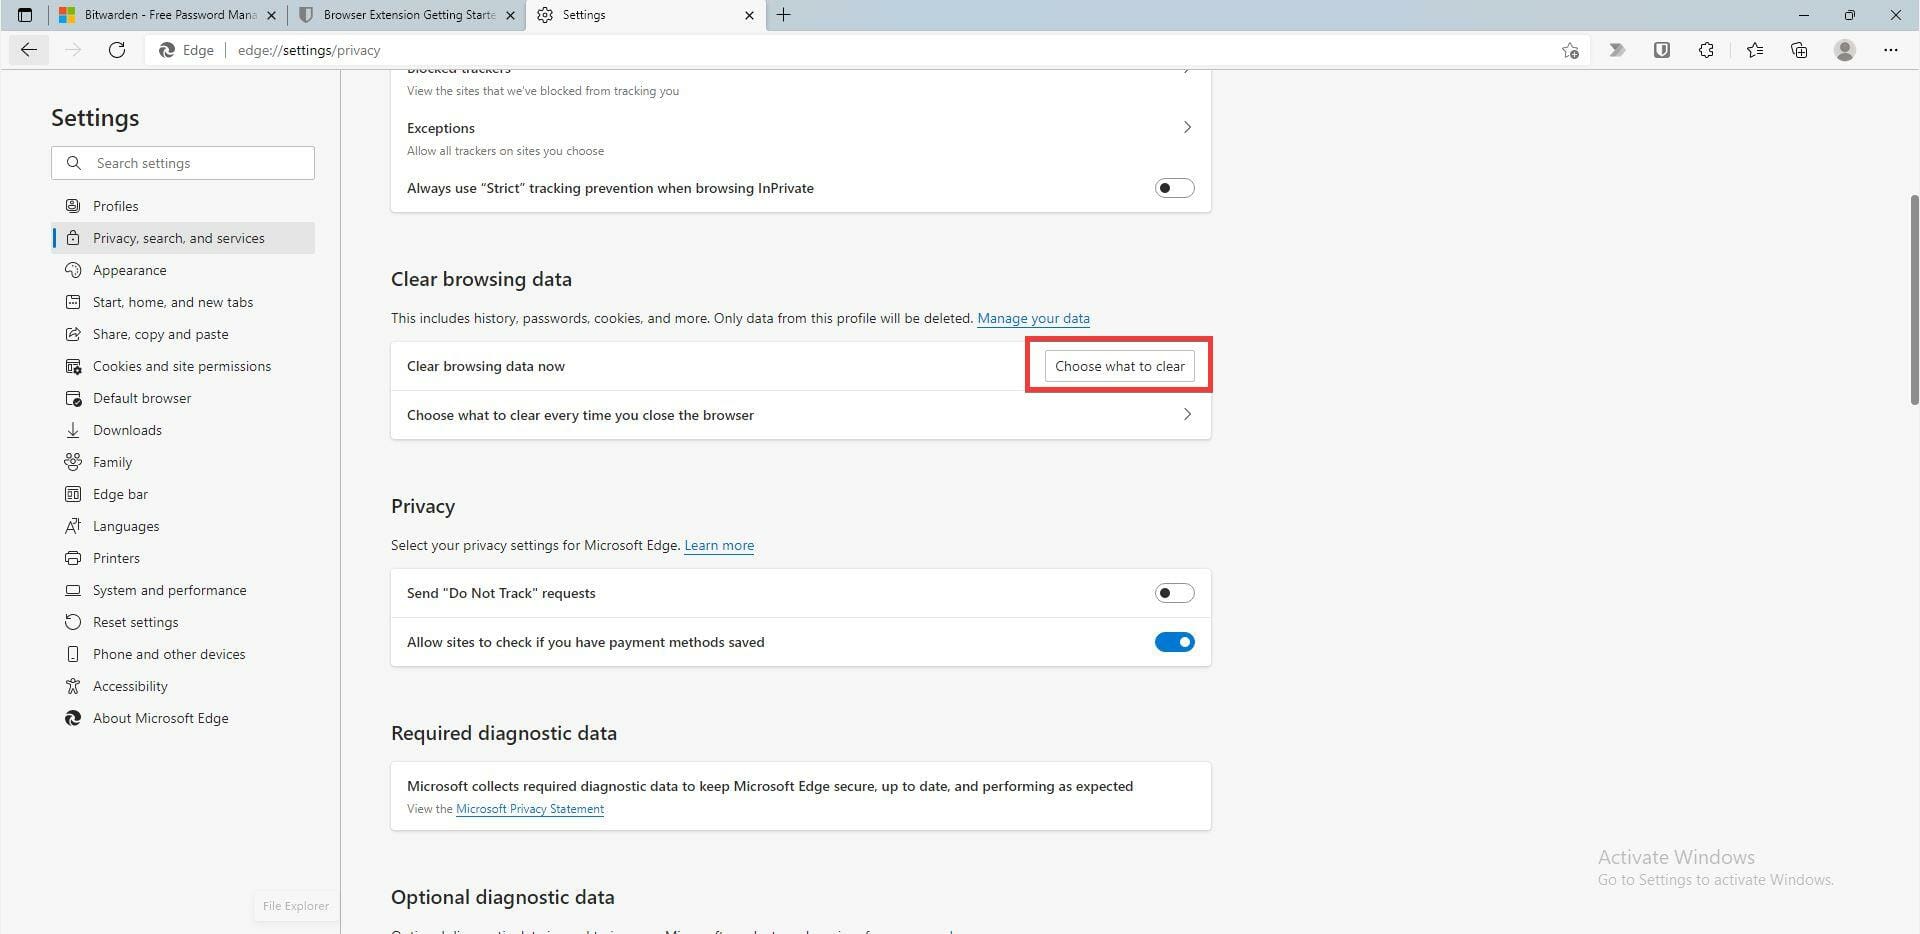
- Under Clear browsing data, click the Choose what to clear button.
- Select the boxes next to Cached images and files and Cookies and other site data. Browsing history and Download history should be unchecked.
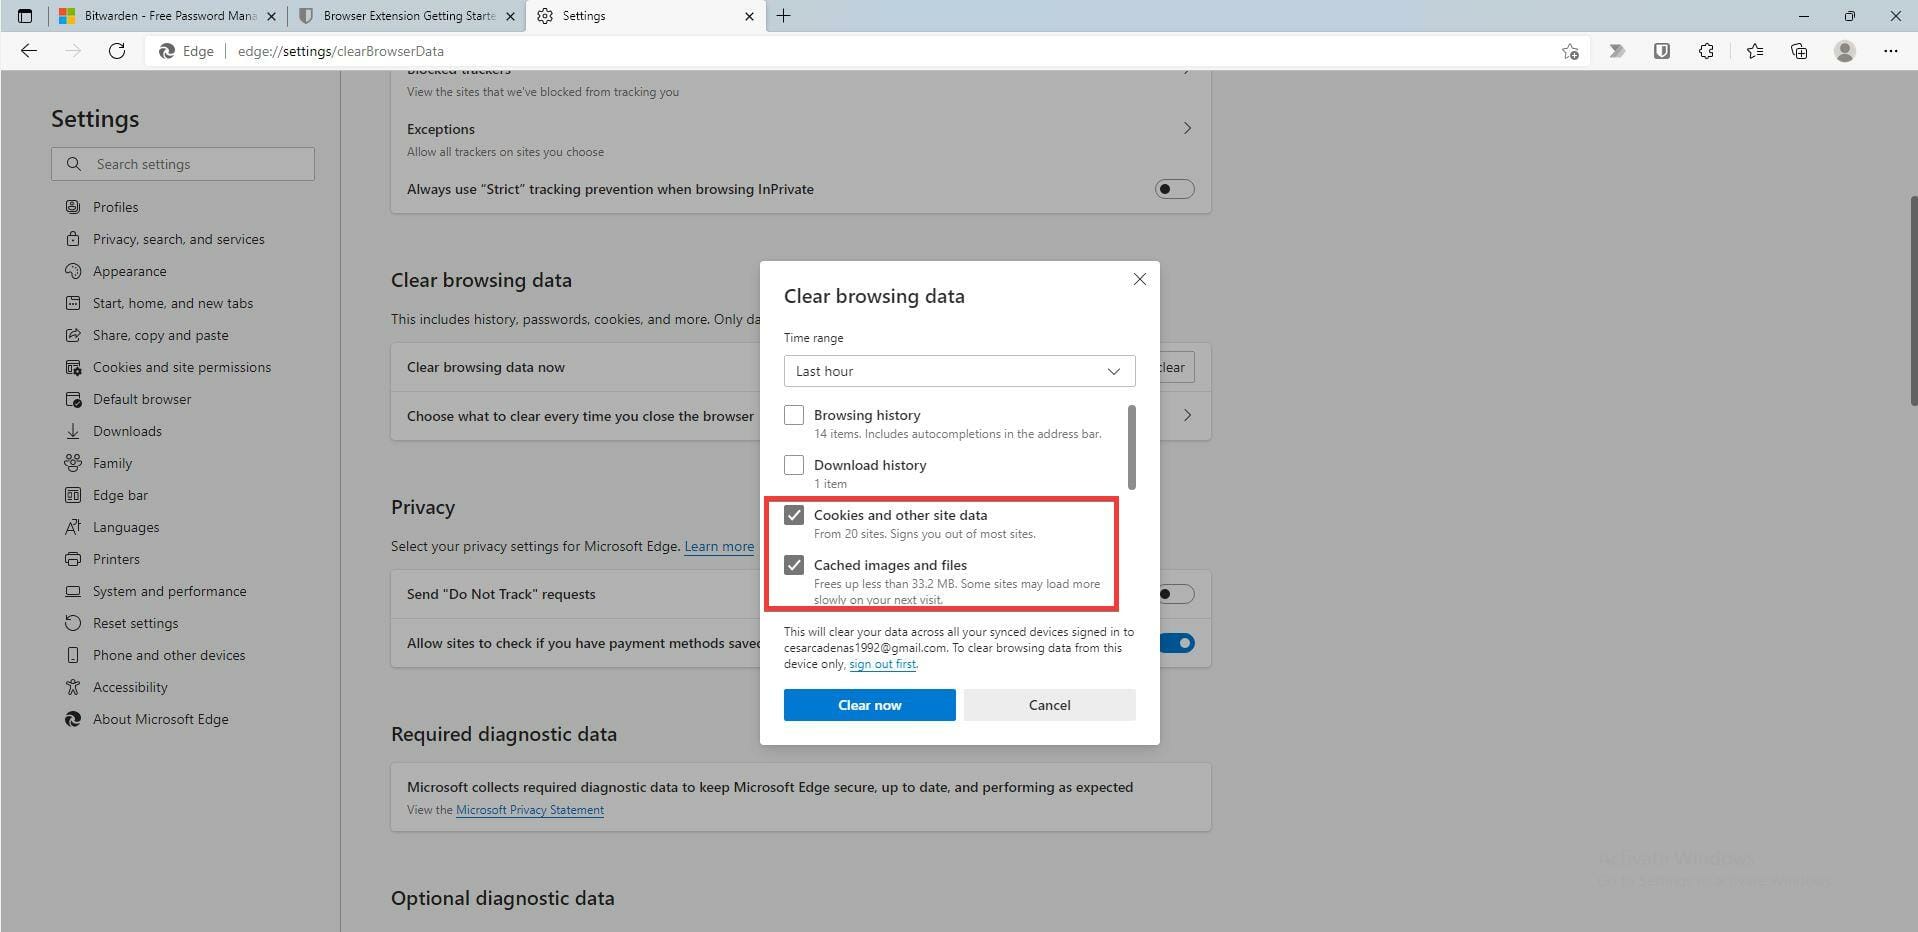
- Once selected, click the Clear now button.
➡ Google Chrome
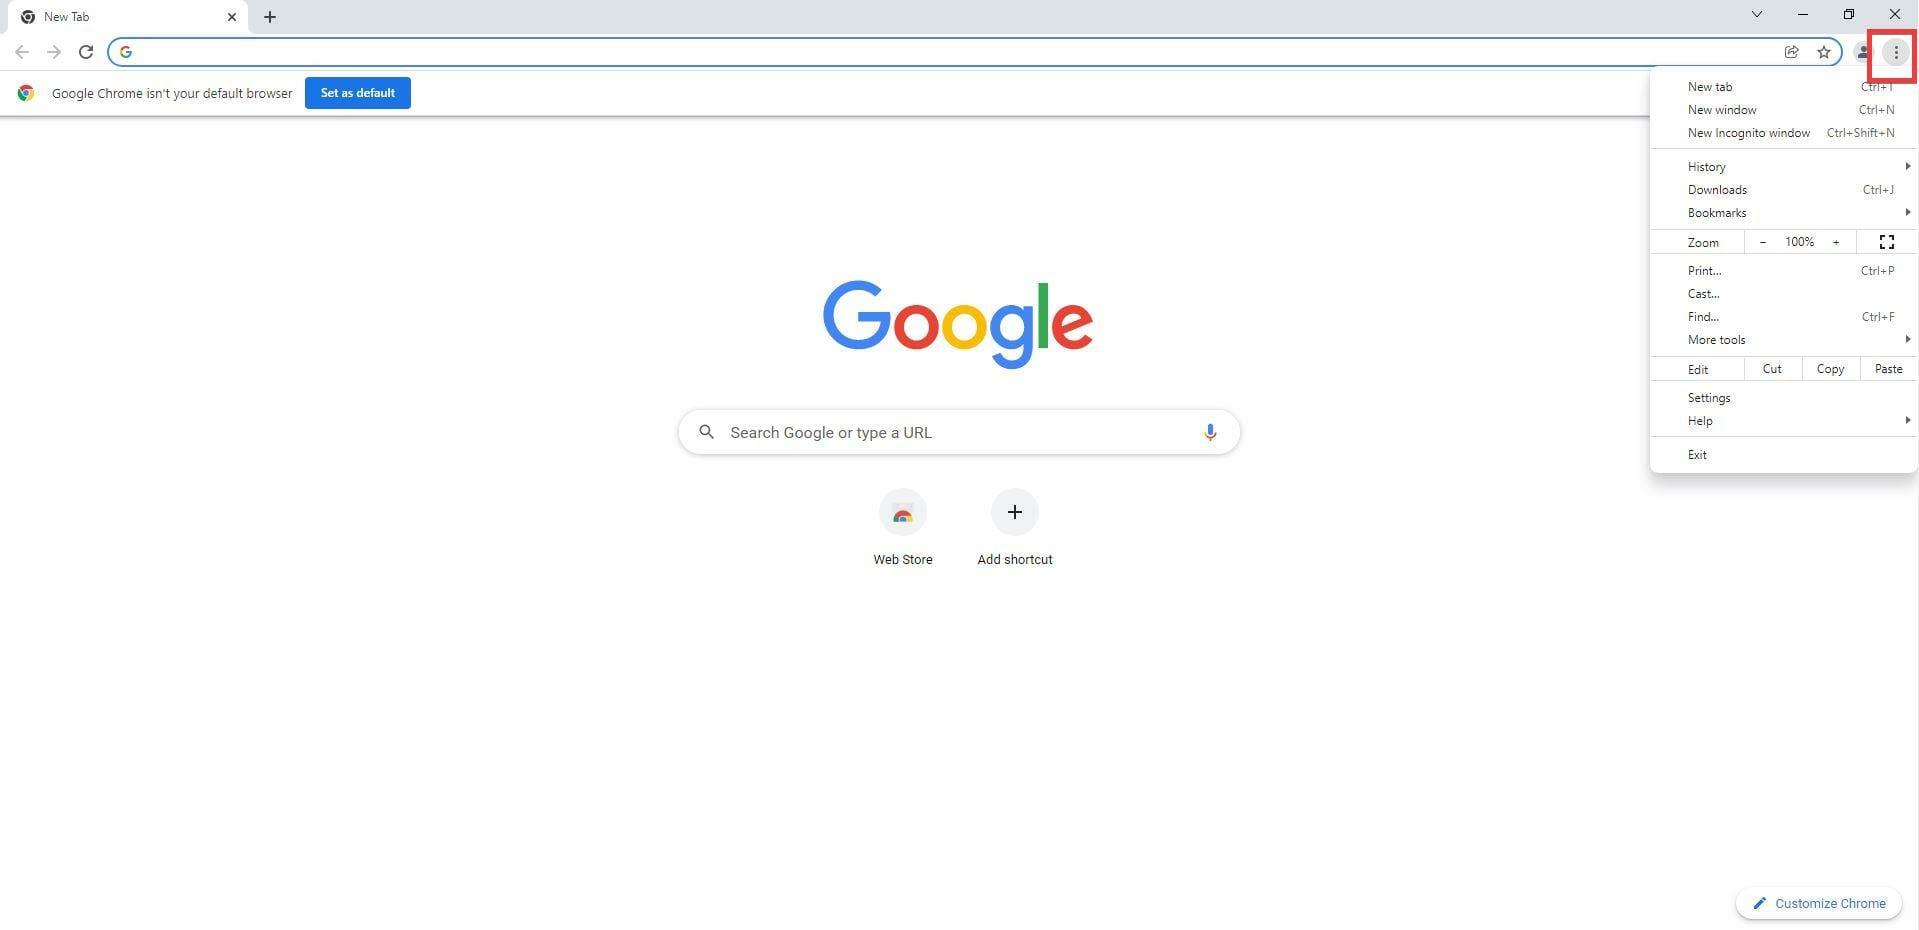
- Click the Menu button in the upper right hand corner.
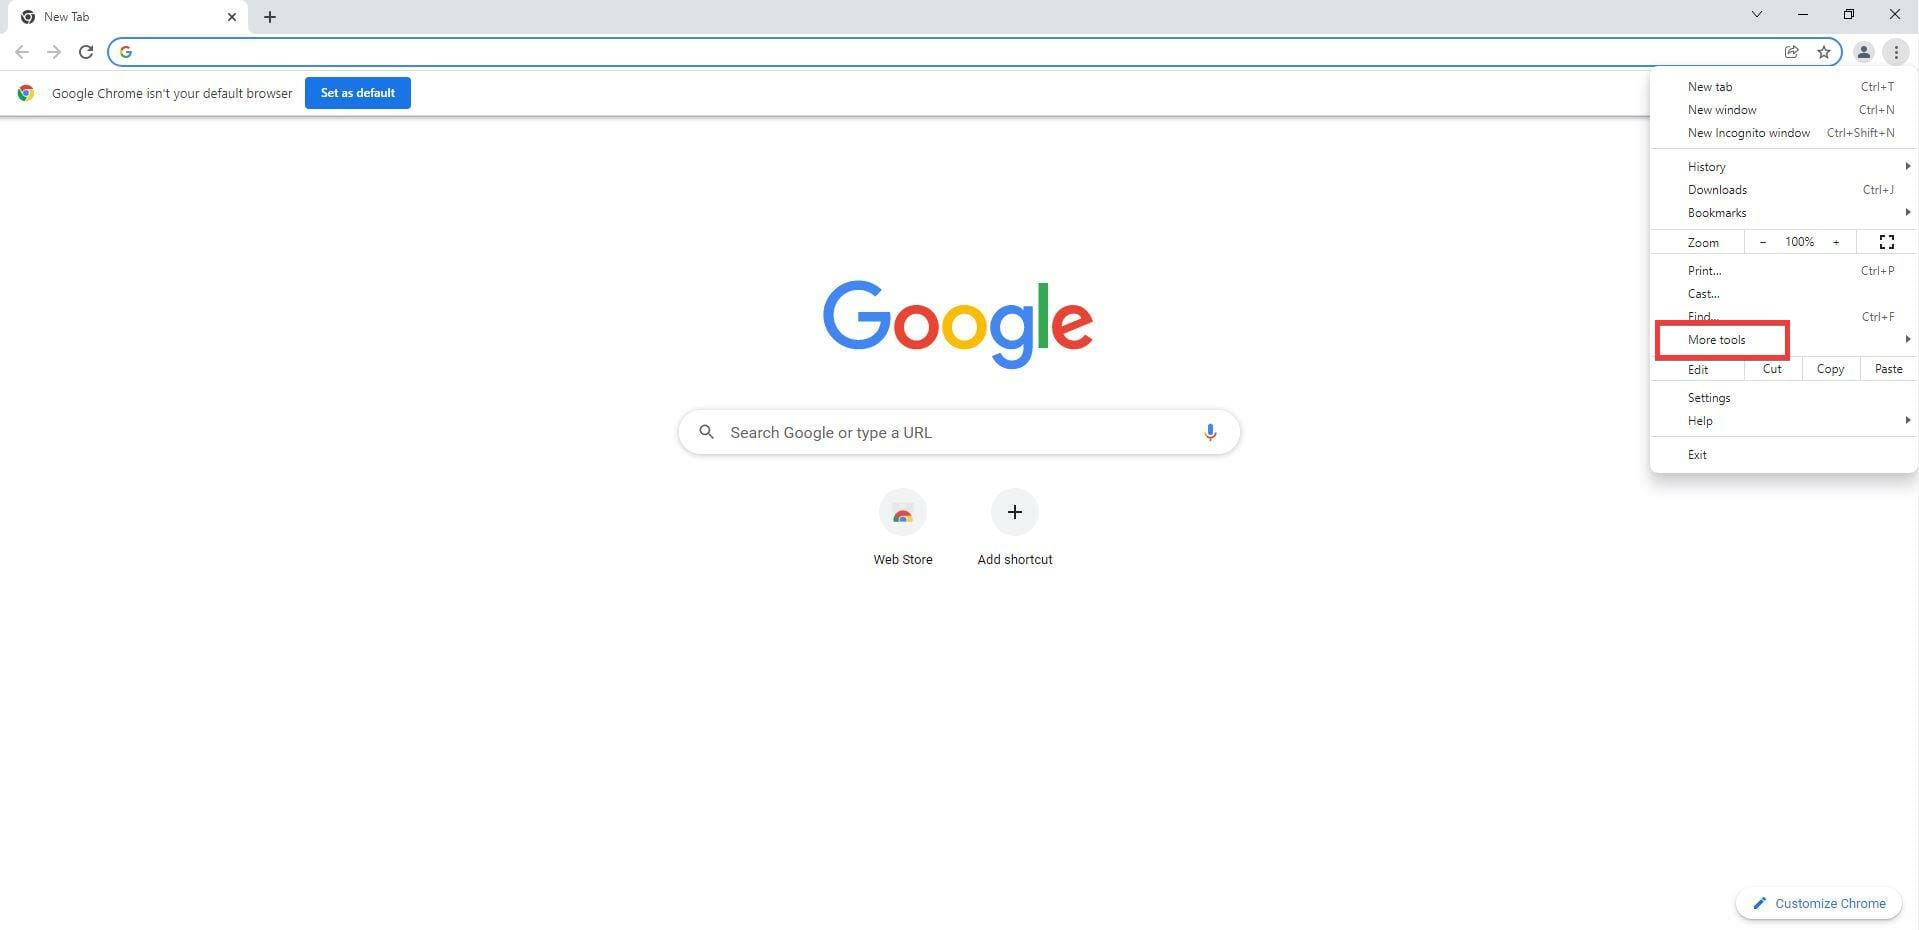
- Click on More tools.
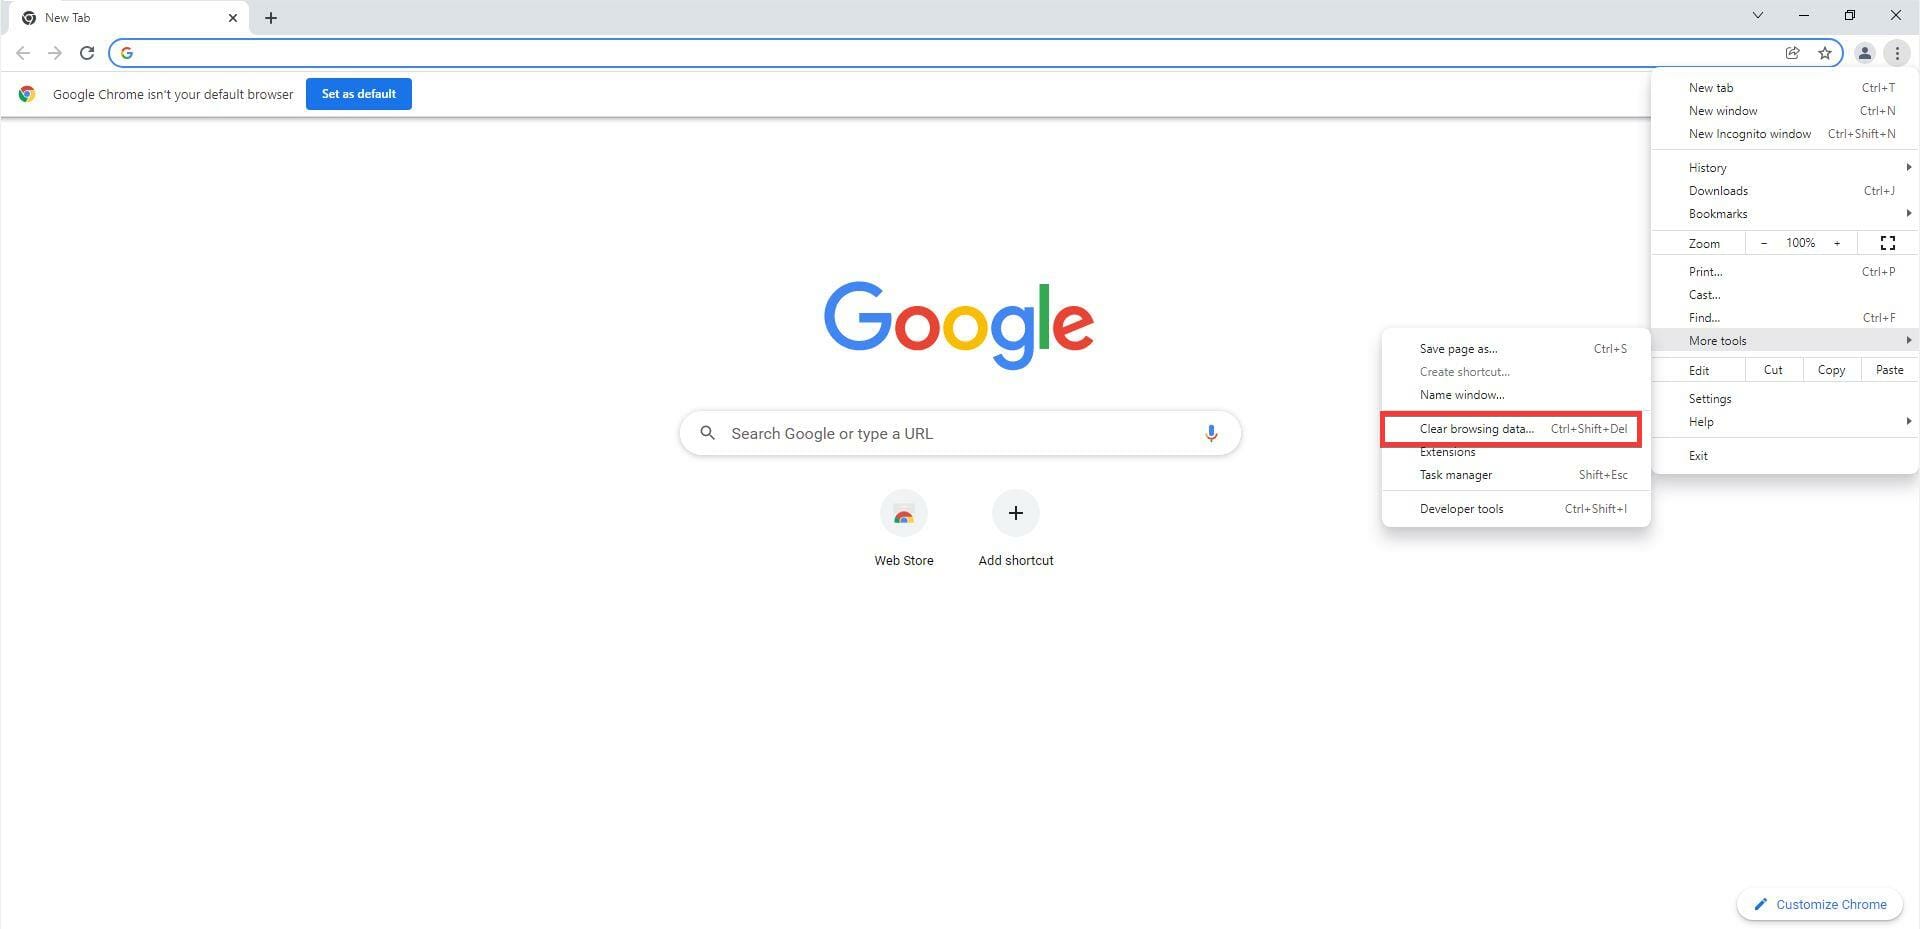
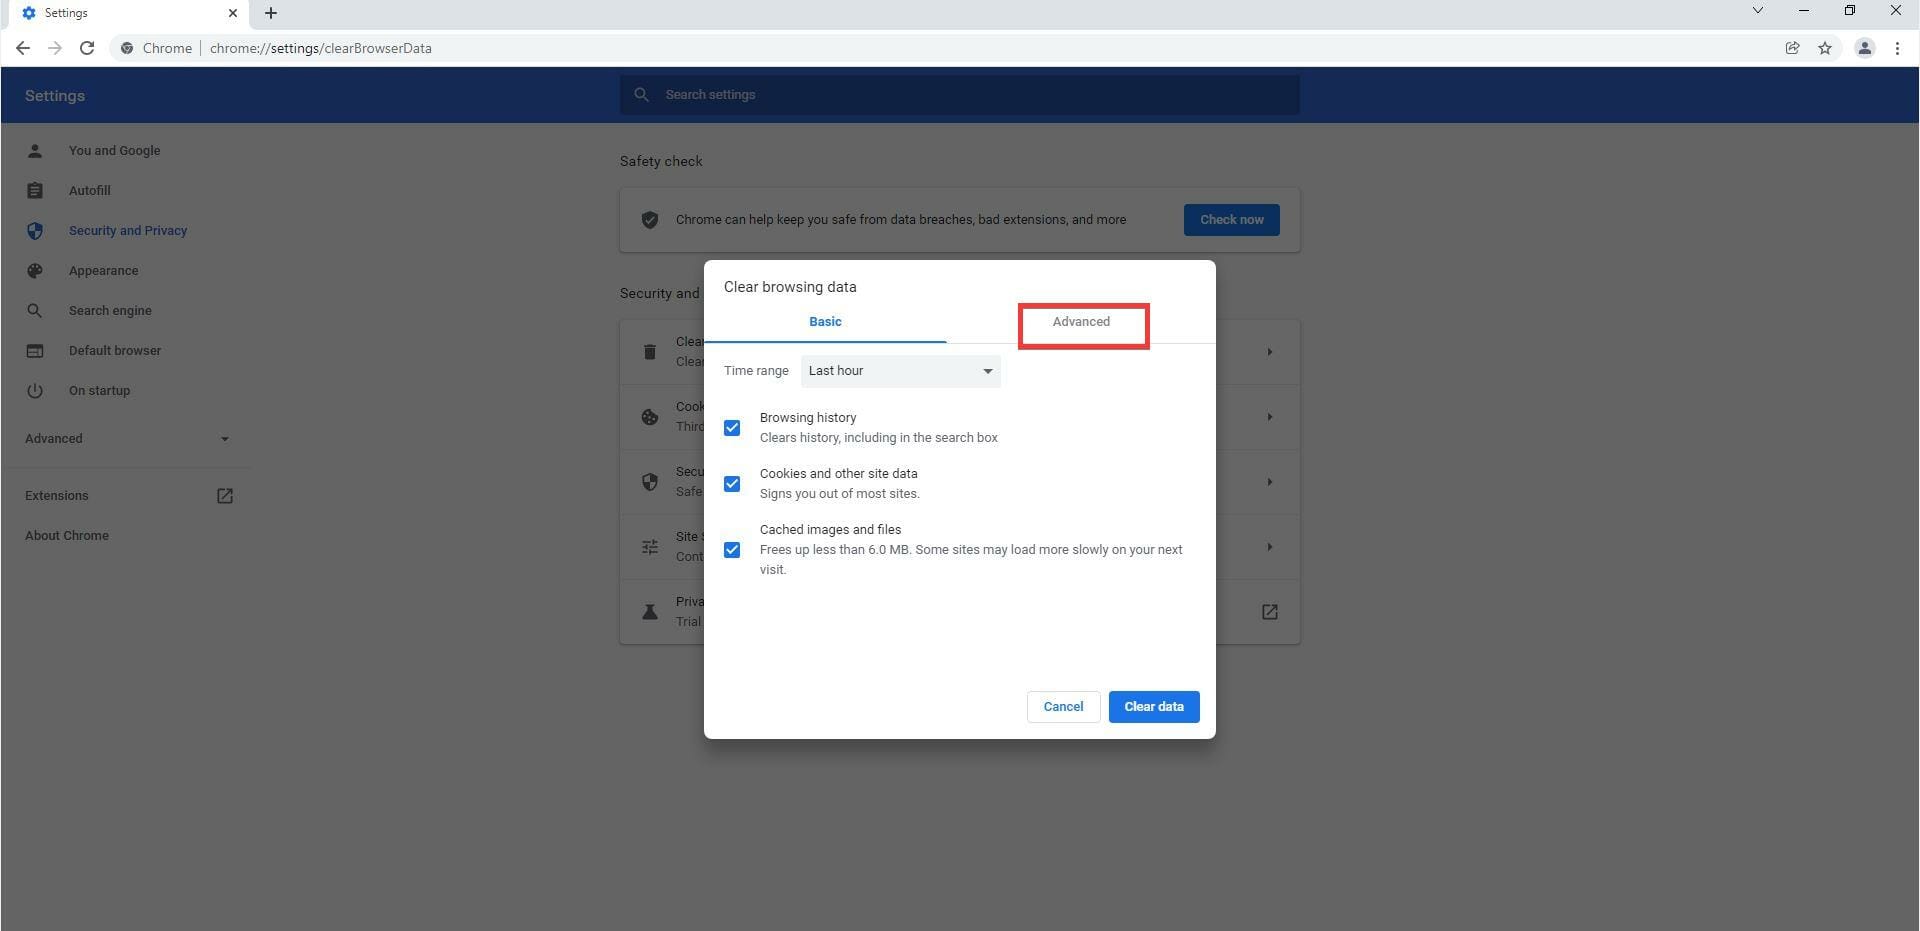
- In this new pop up window, select Clear browsing data…
- In this new window, click on the Advanced tab.
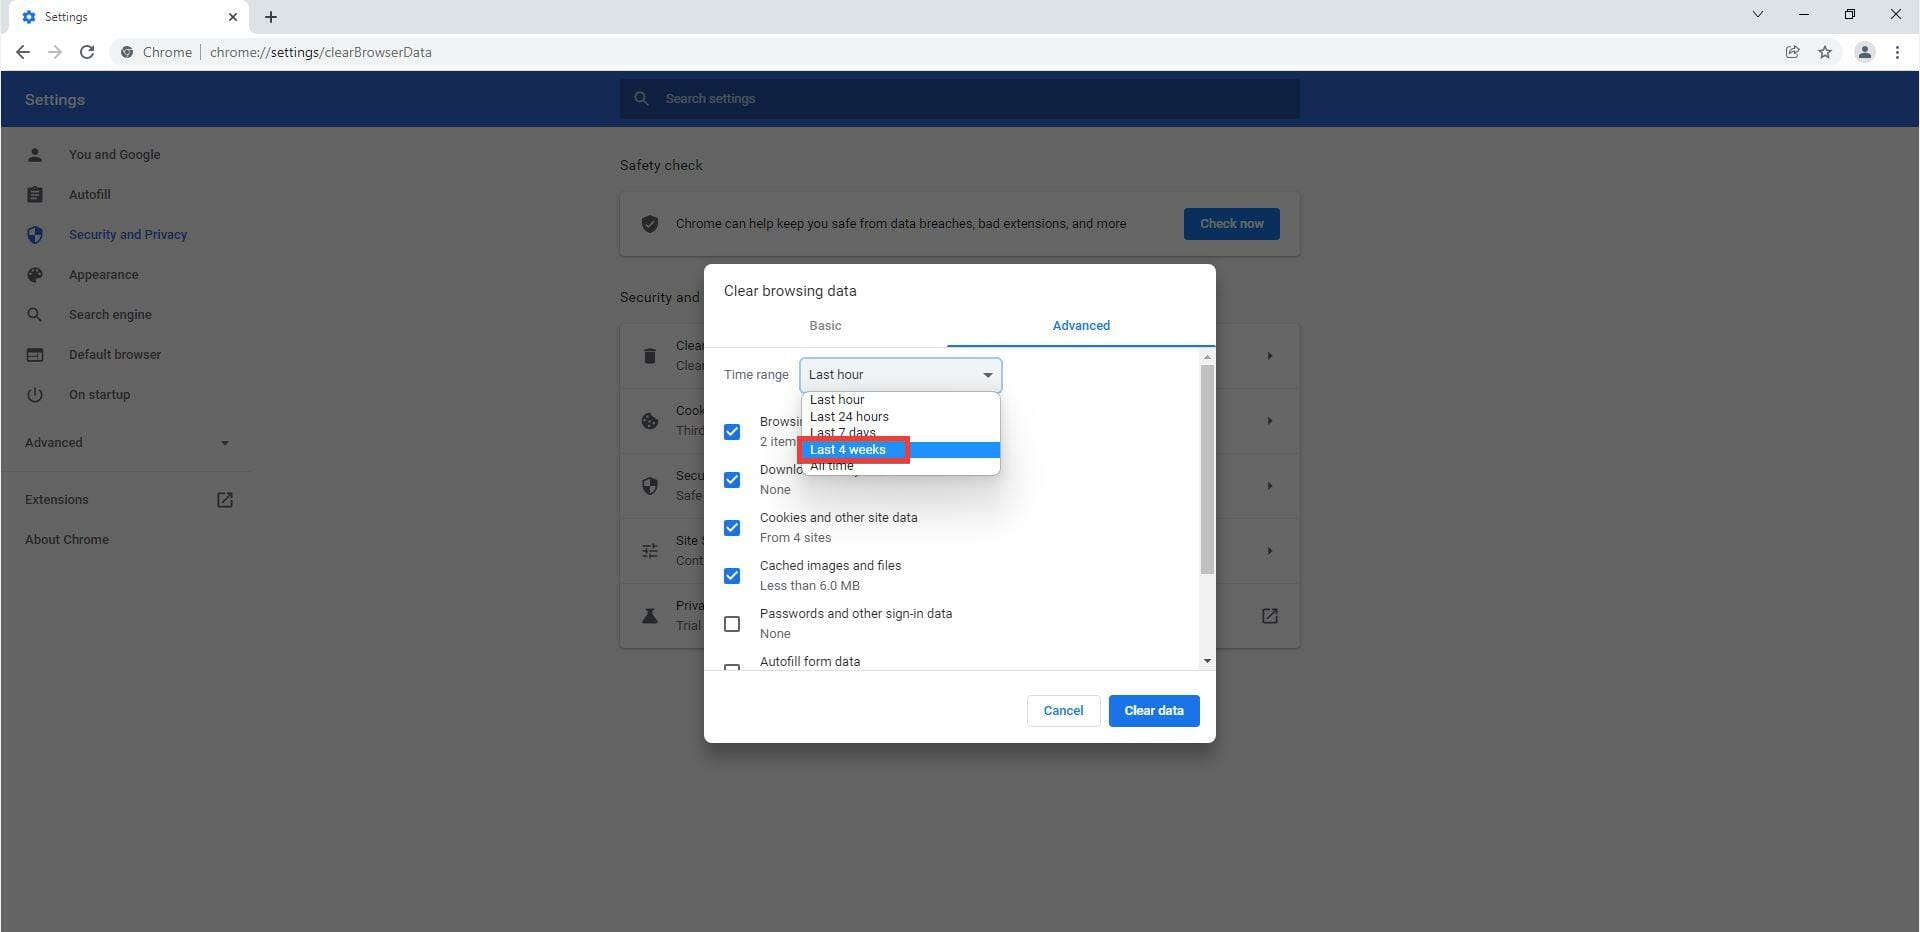
- In the Advanced, click on the drop-down menu next to Time range.
- Select how far back you want to delete the browsing data. Should be up to the point where the “Failed to Fetch” error start to occur.
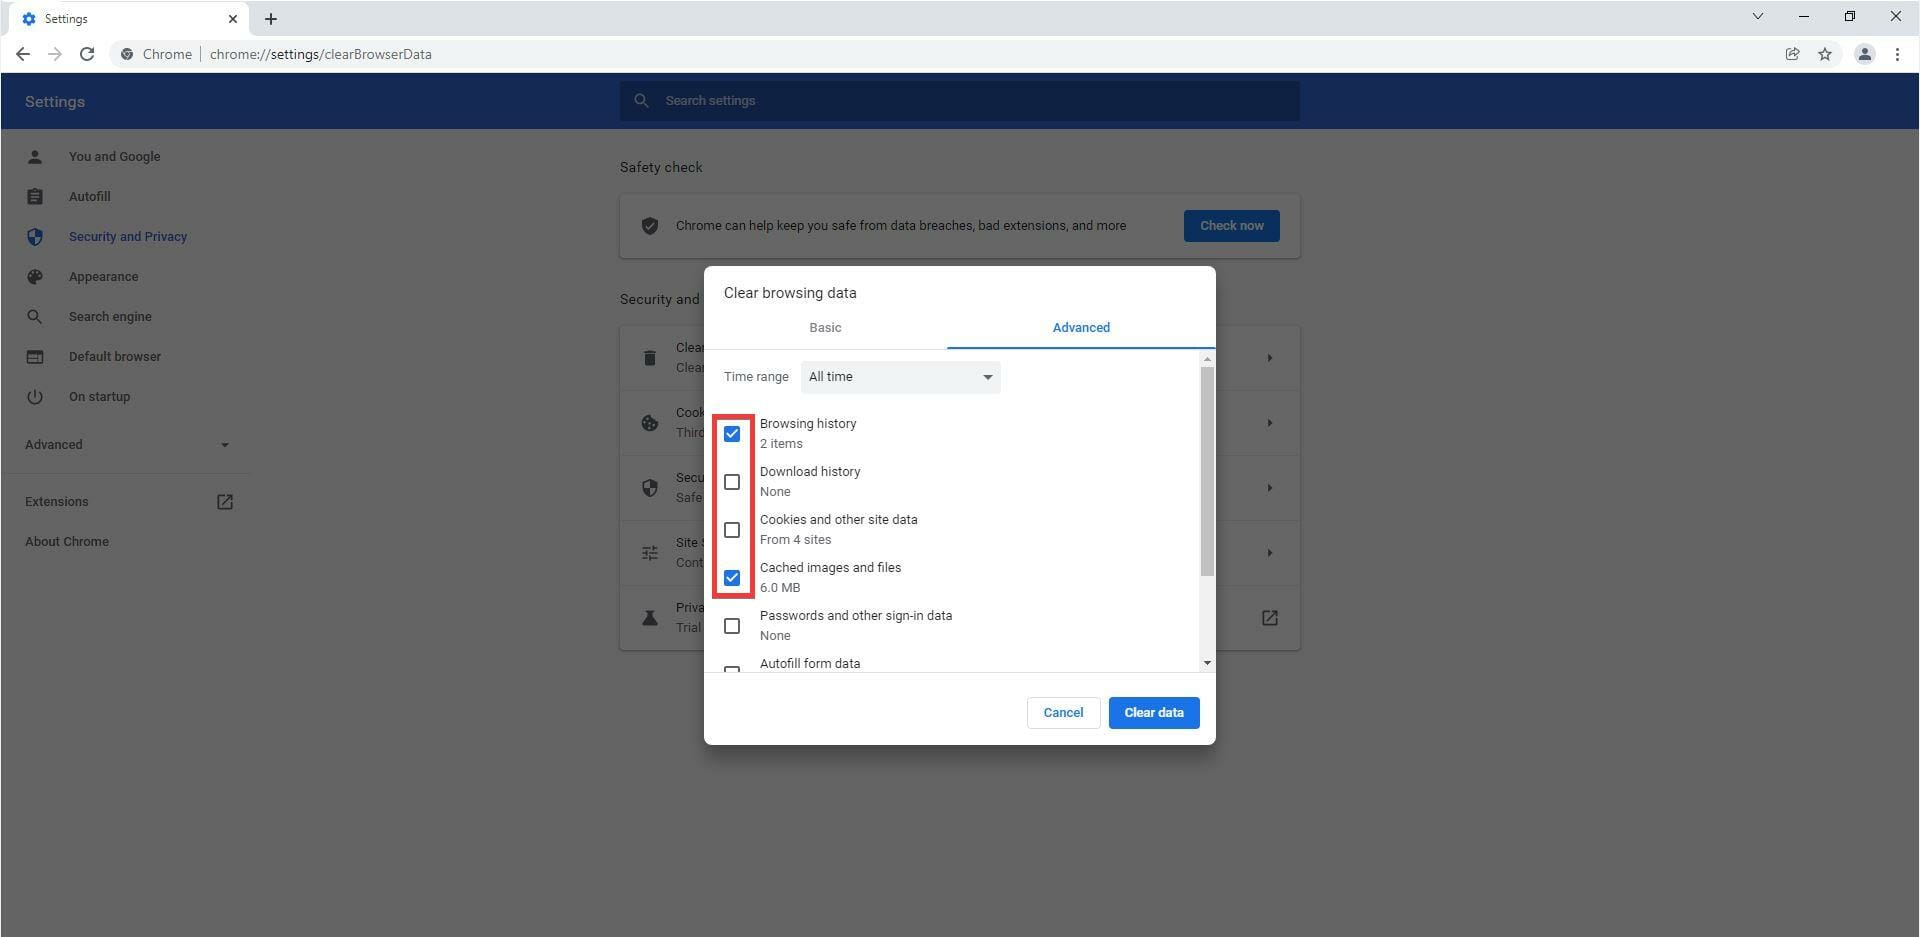
- Check the boxes next to Browsing history and Cached images and files.
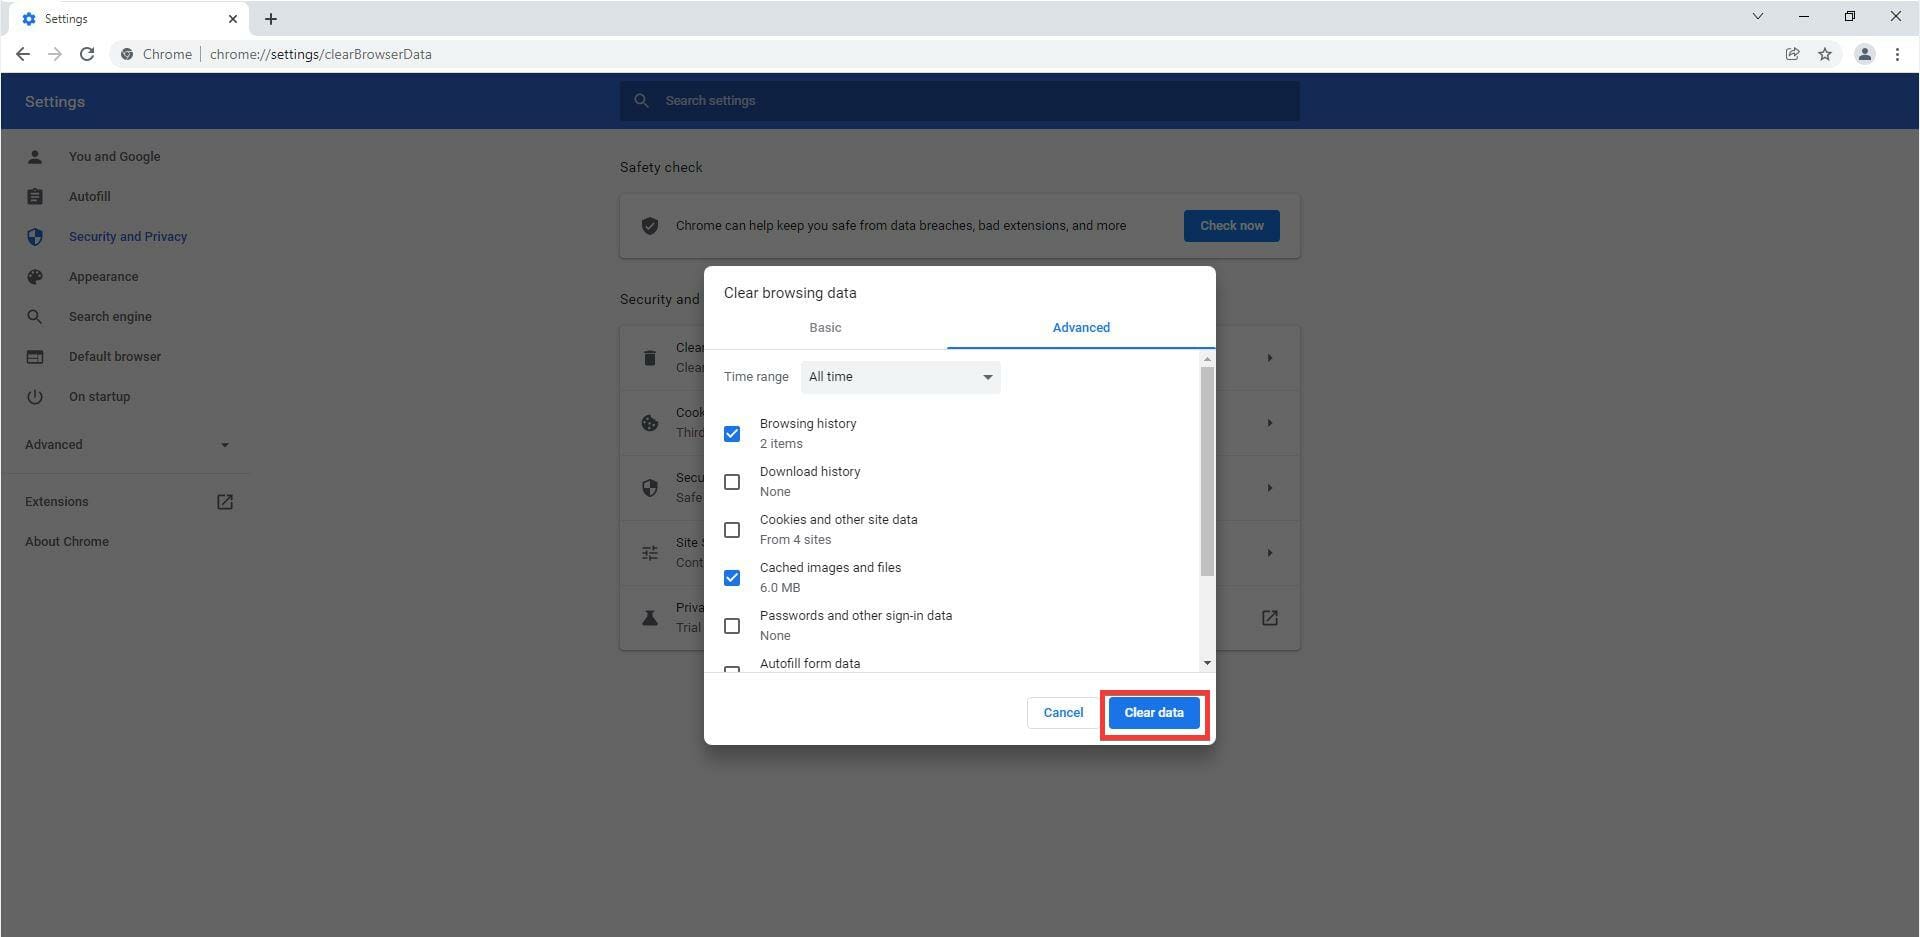
- Then select Clear data.
7. Disable extensions
- Disabling the Bitwarden extension and restarting the browser is also recommended.
- On Firefox, you can disable extension by hovering over the extension icon in the corner and right clicking.
- In this new menu, click Manage Extension.
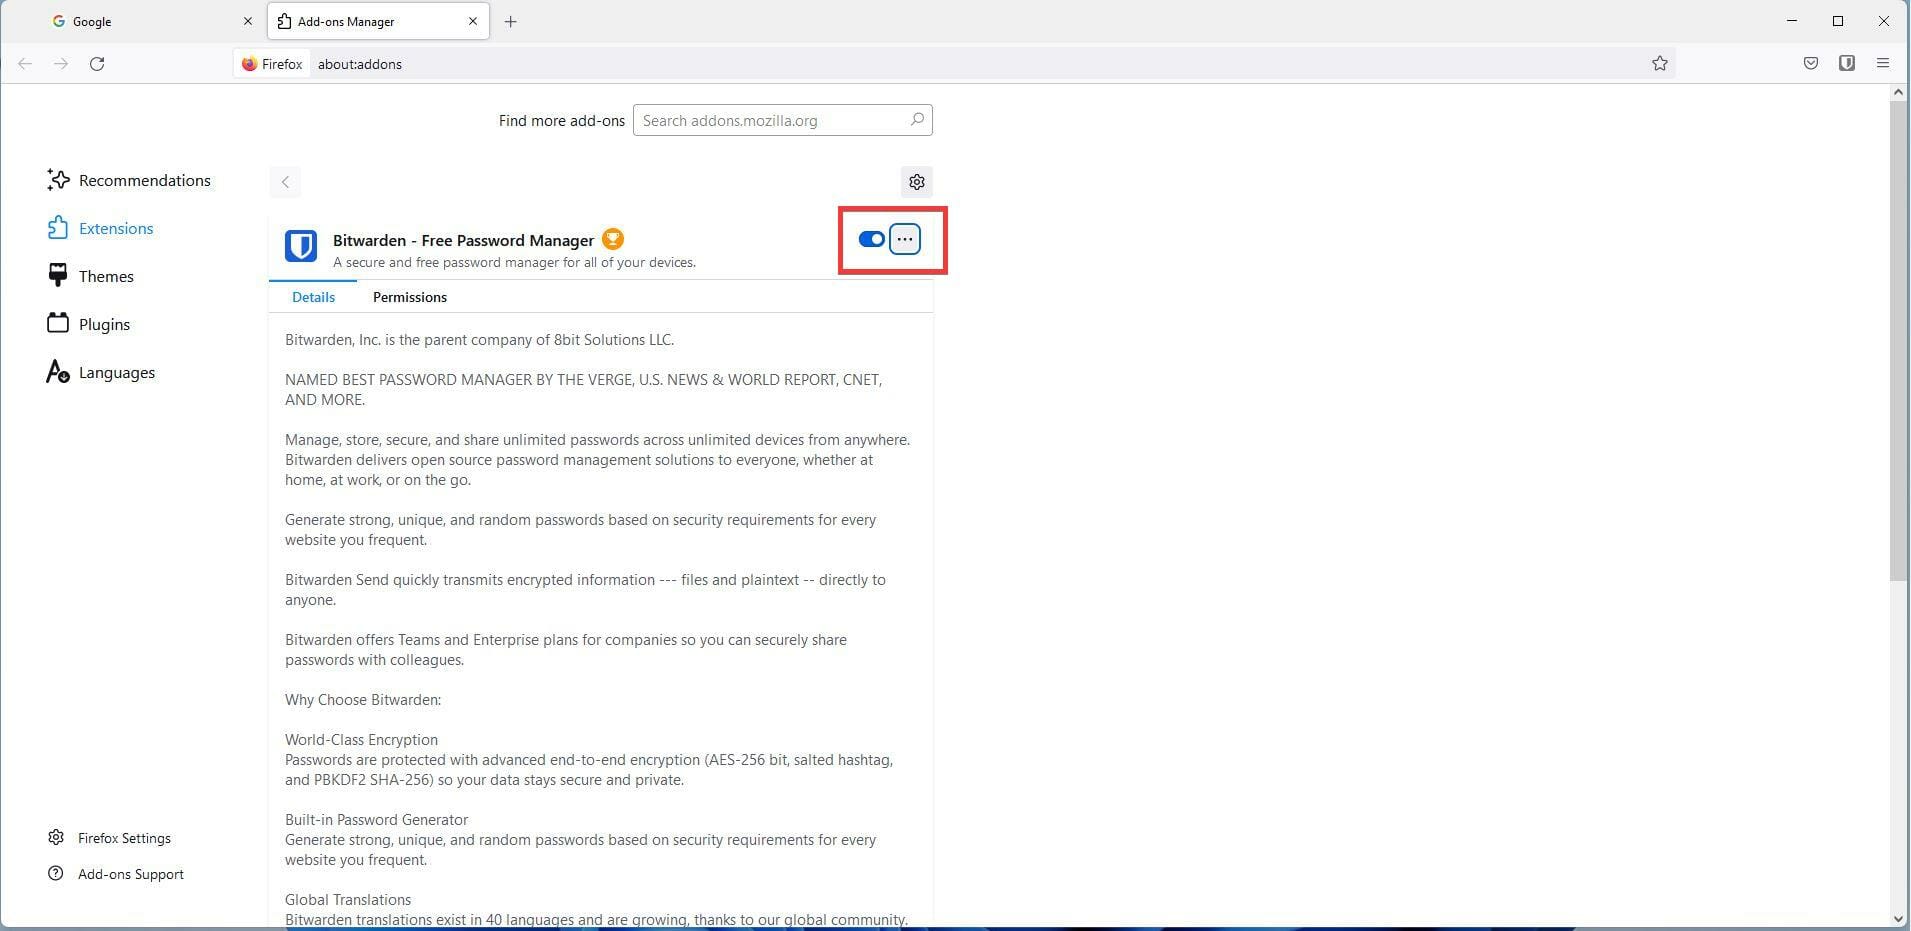
- In this new window, click on the blue switch to turn off the Bitwarden extension.
- Close Firefox and open it again.
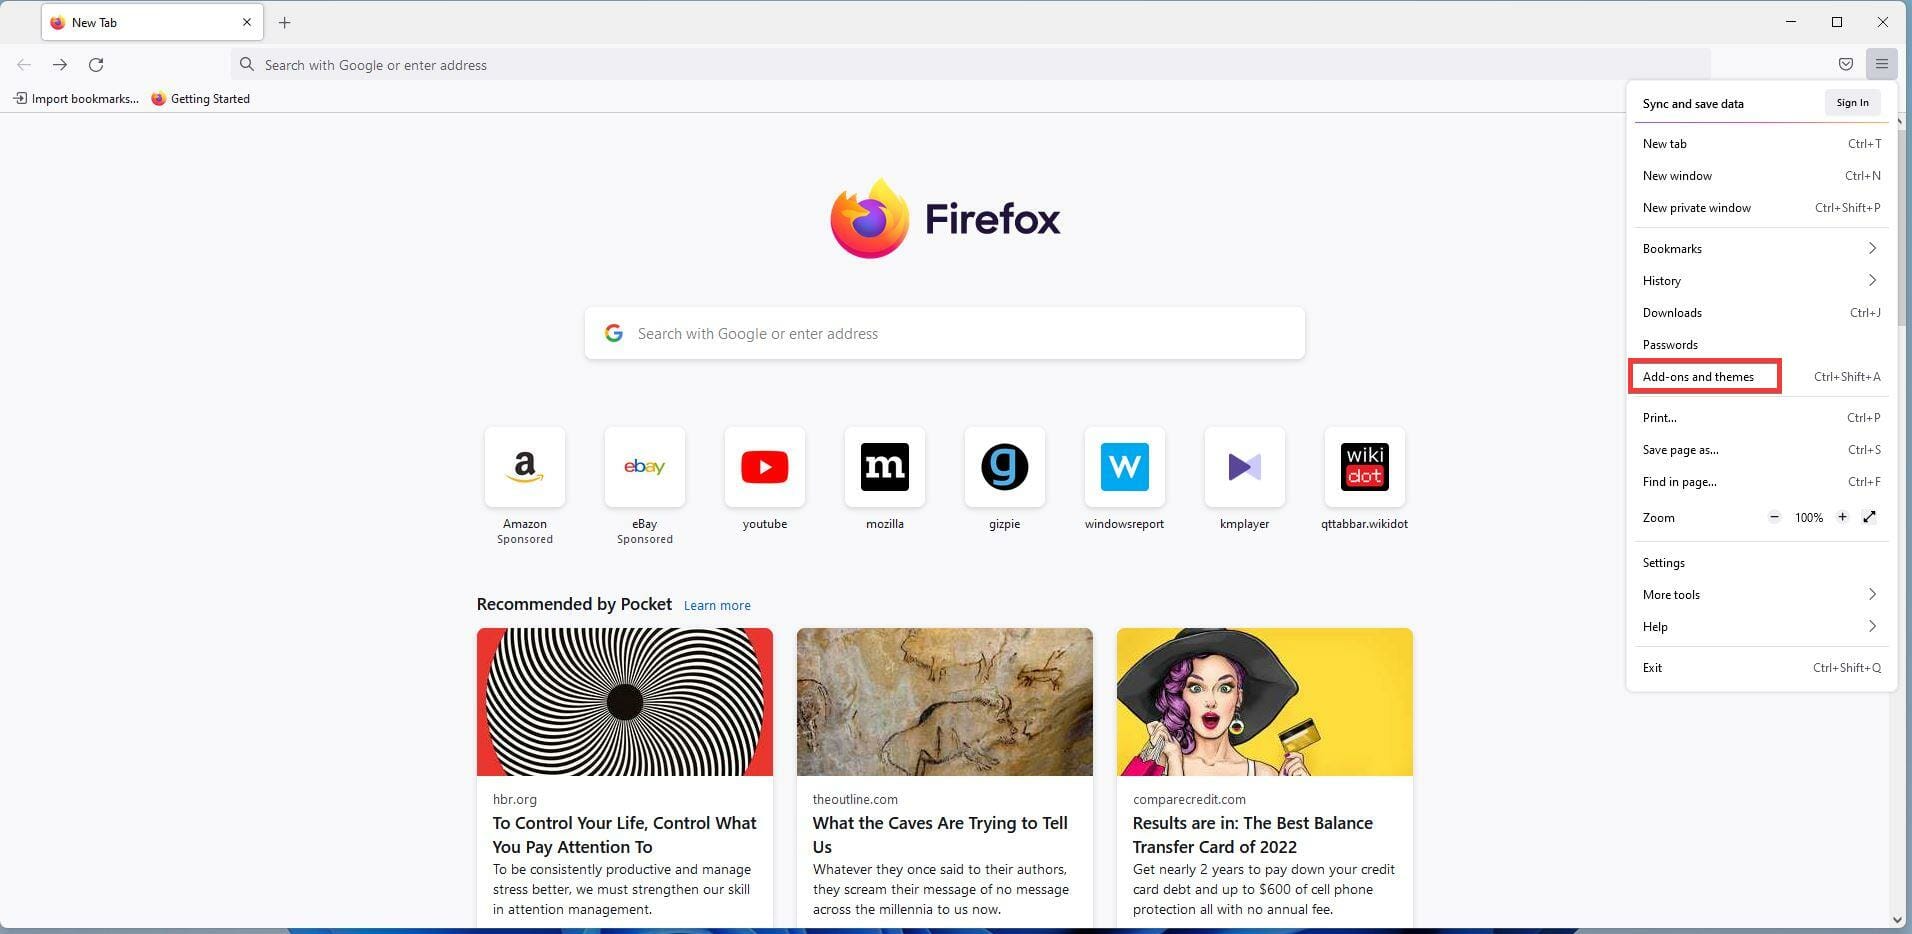
- Click on the menu button in the upper right hand corner and click Add-ons and themes.
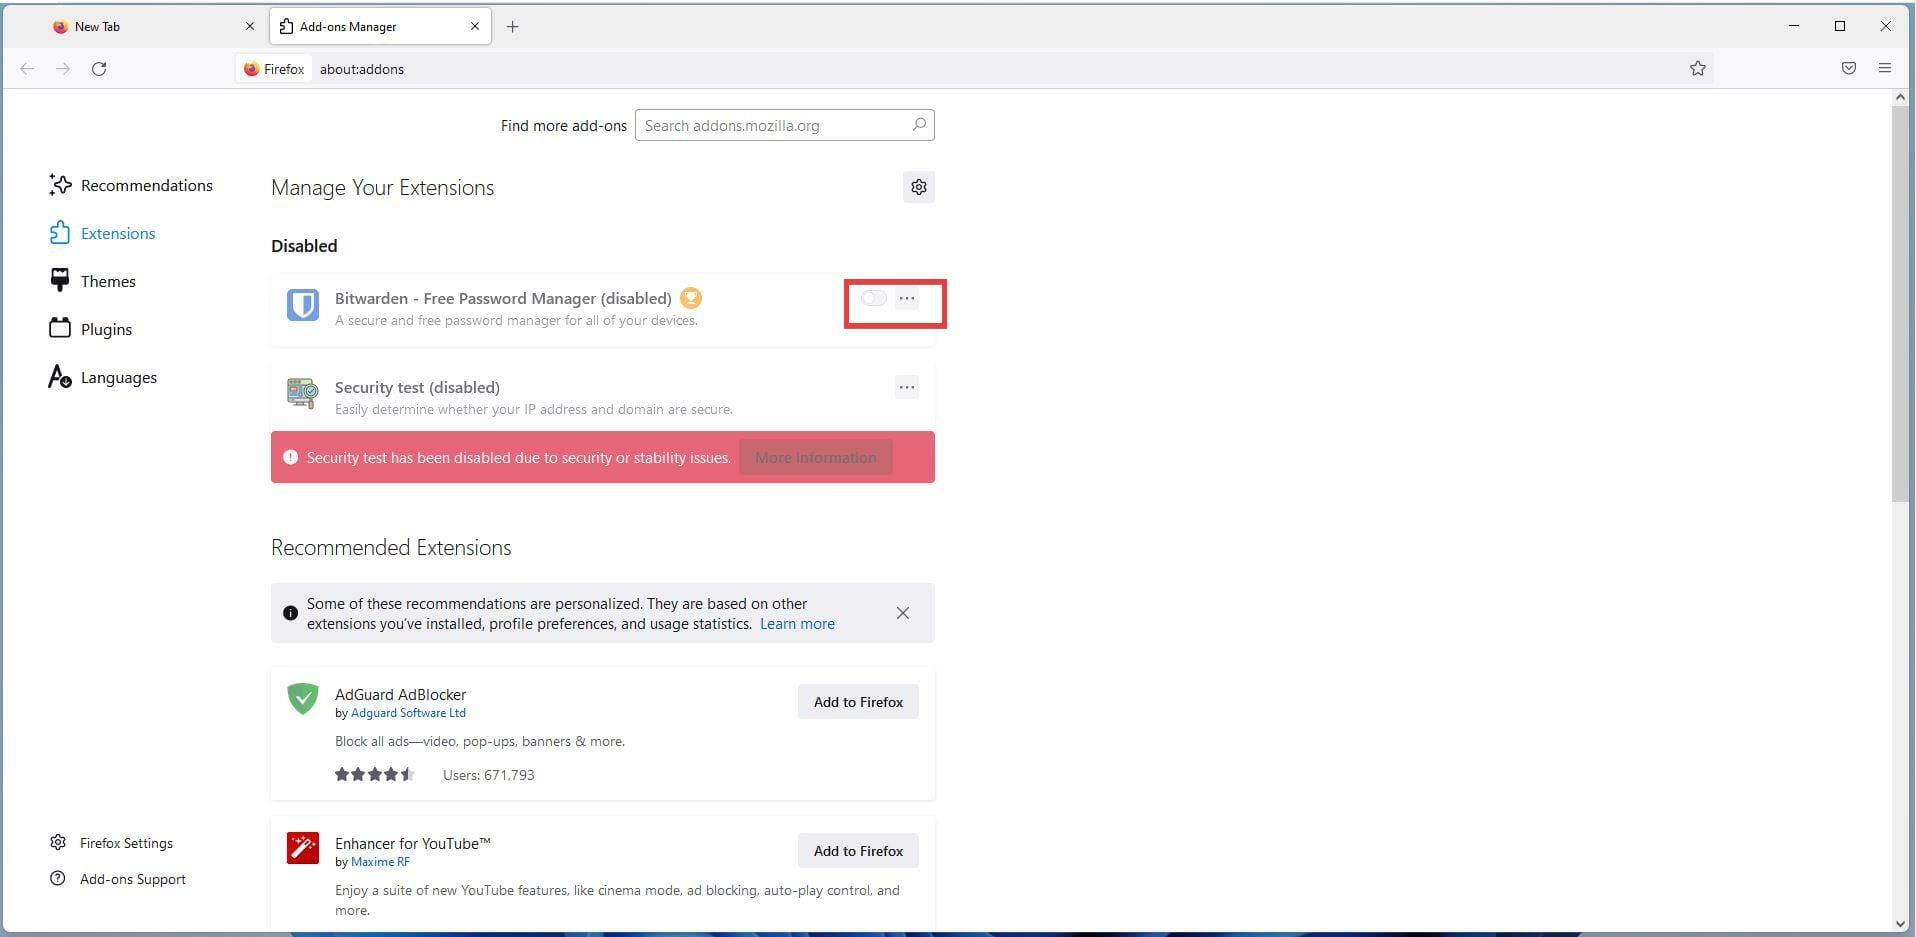
- Under Add-ons Manager, click on the switch to turn Bitwarden on again.
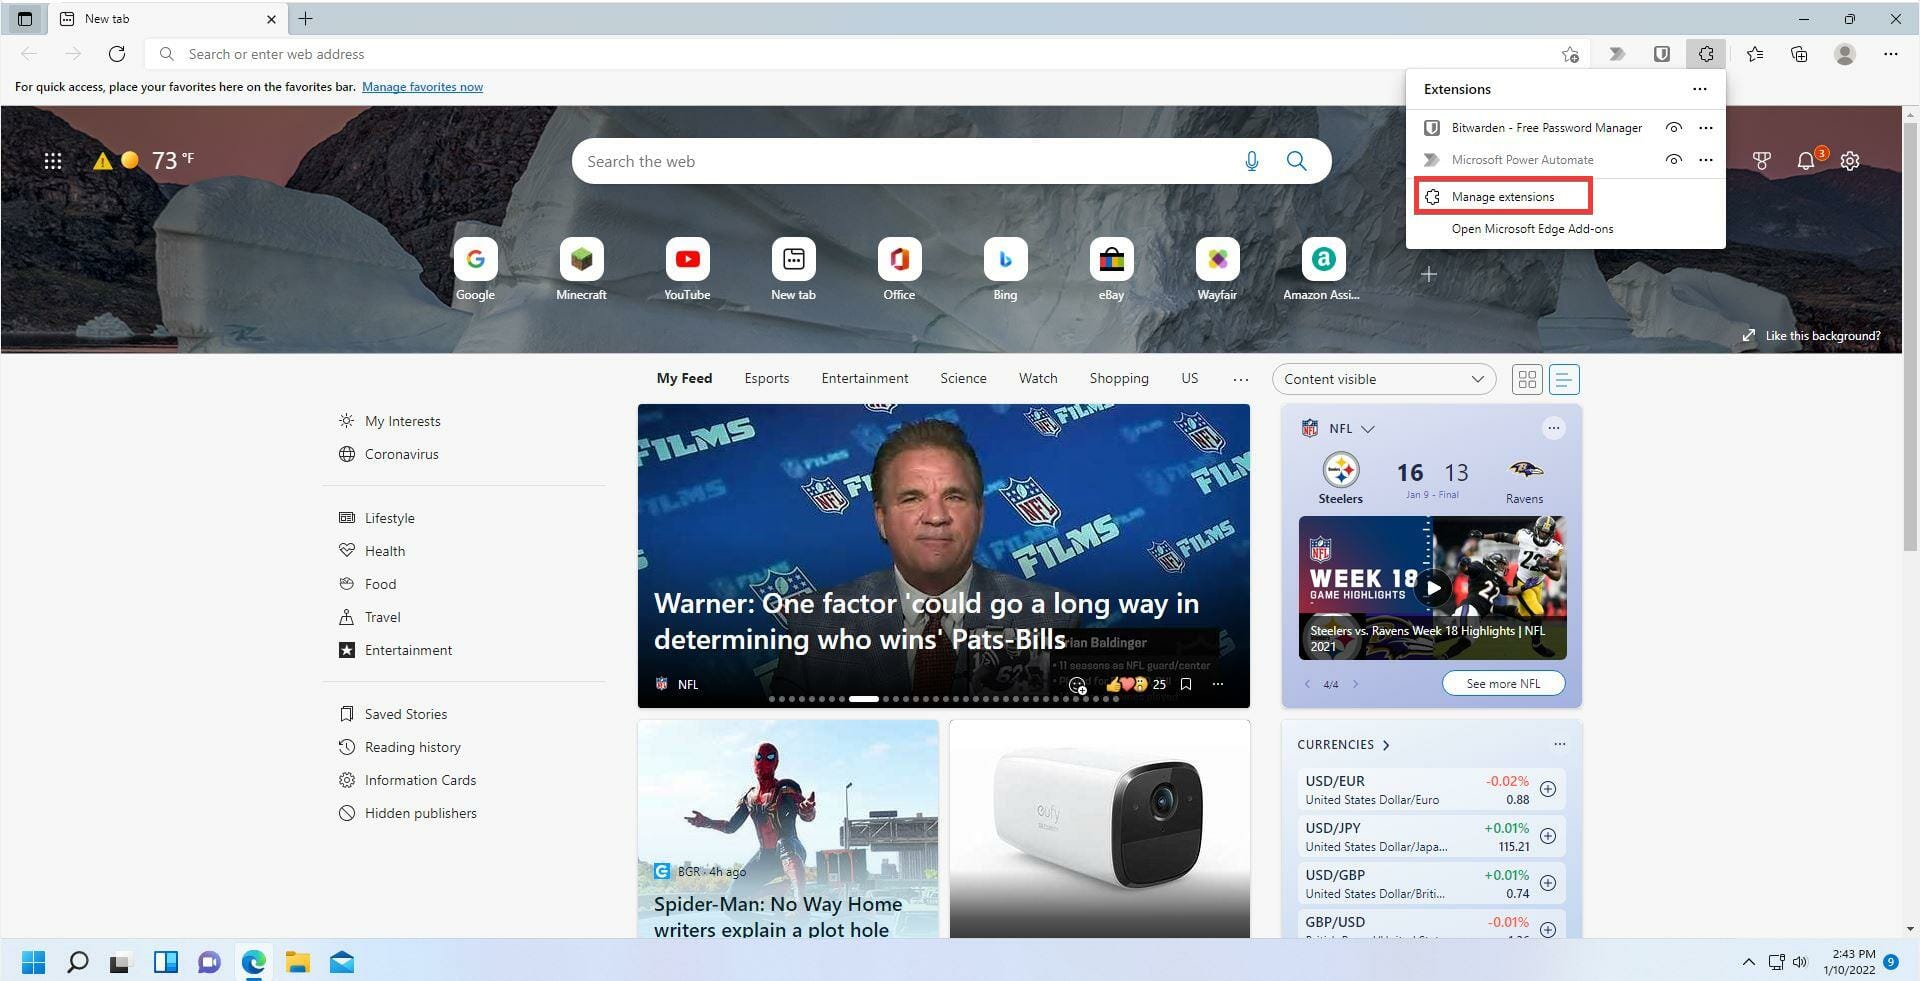
- On Windows Edge, you can disable extensions by right-clicking on the puzzle piece icon.

- Click on Manage extensions.
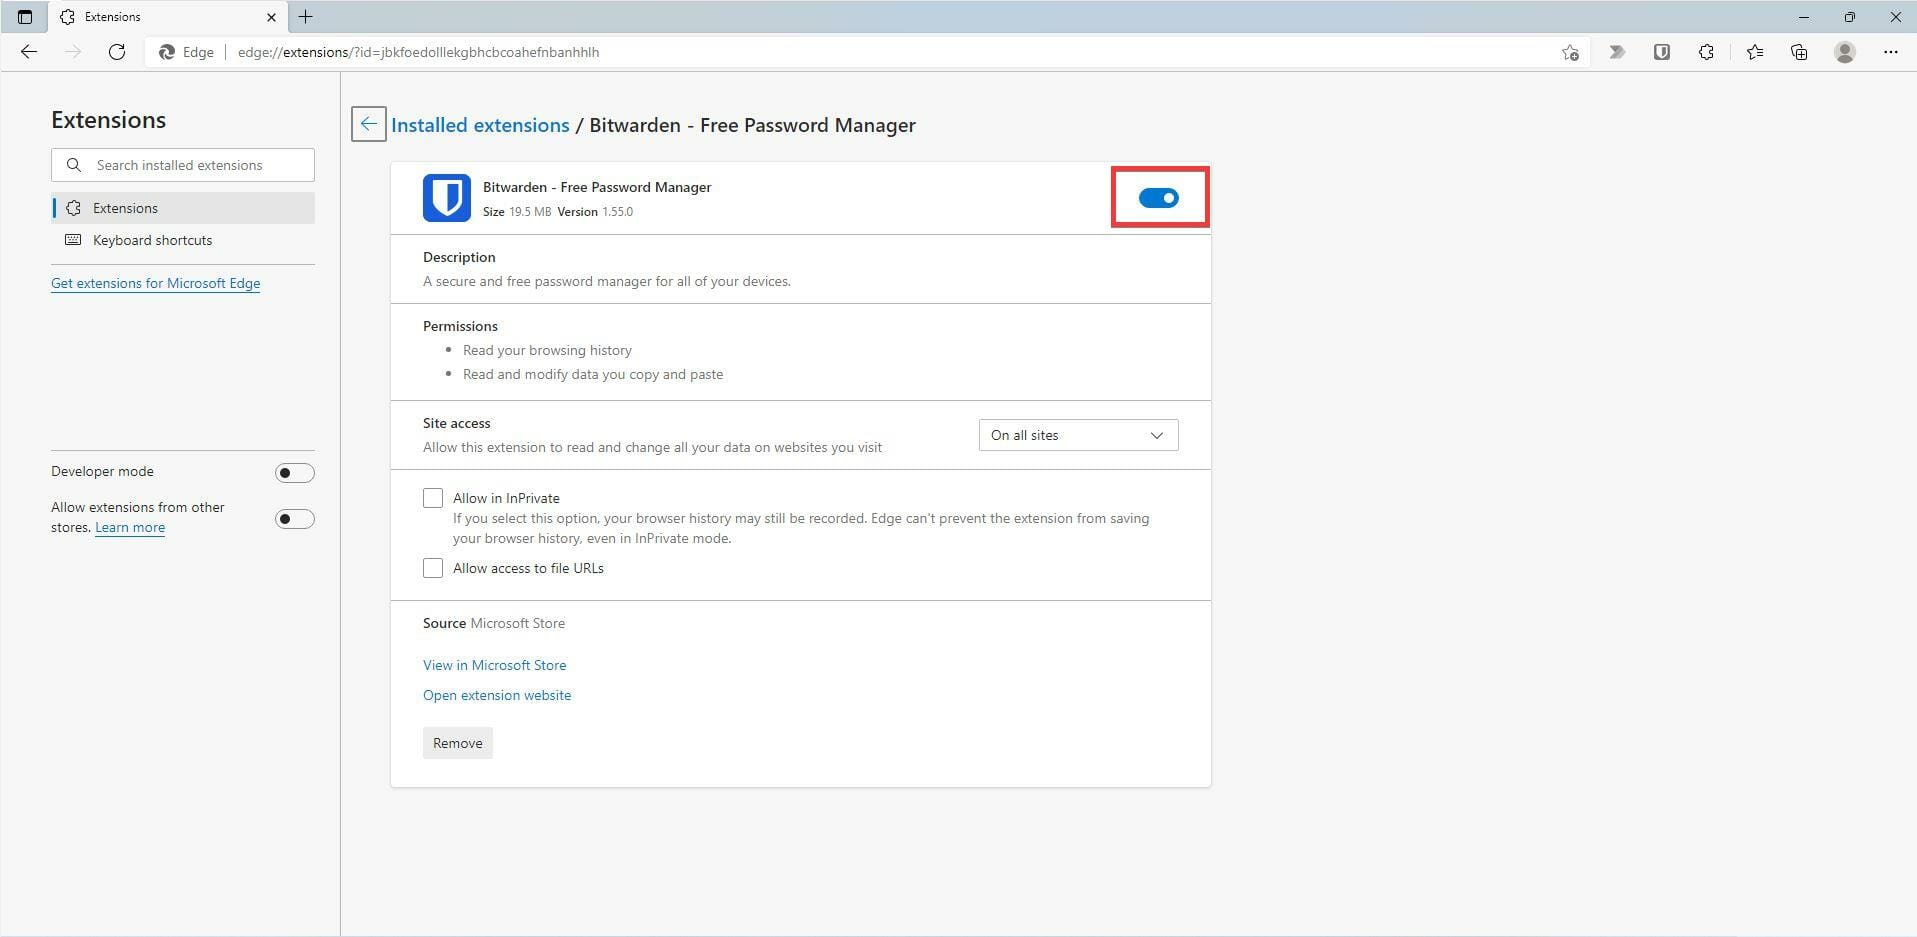
- In this new window, click on the blue switch to turn off the extension.
- Close Edge and then open it again.
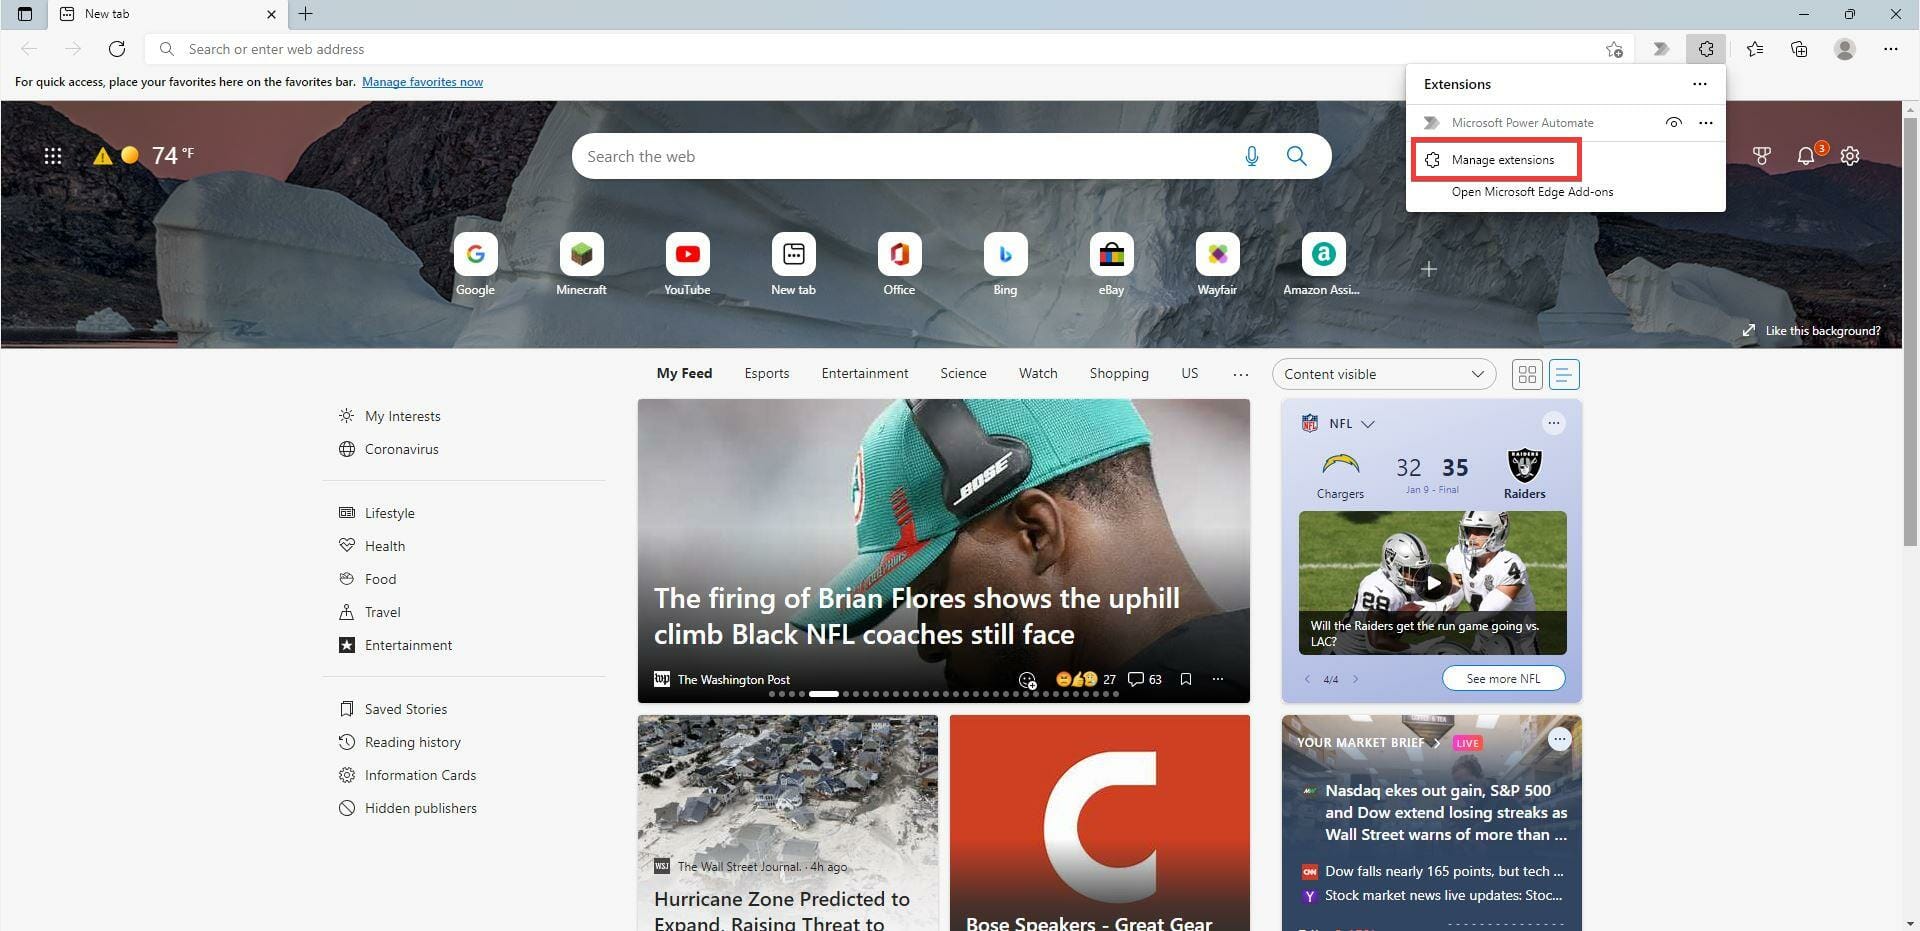
- Return to the extension menu.
- Click on Manage extensions.
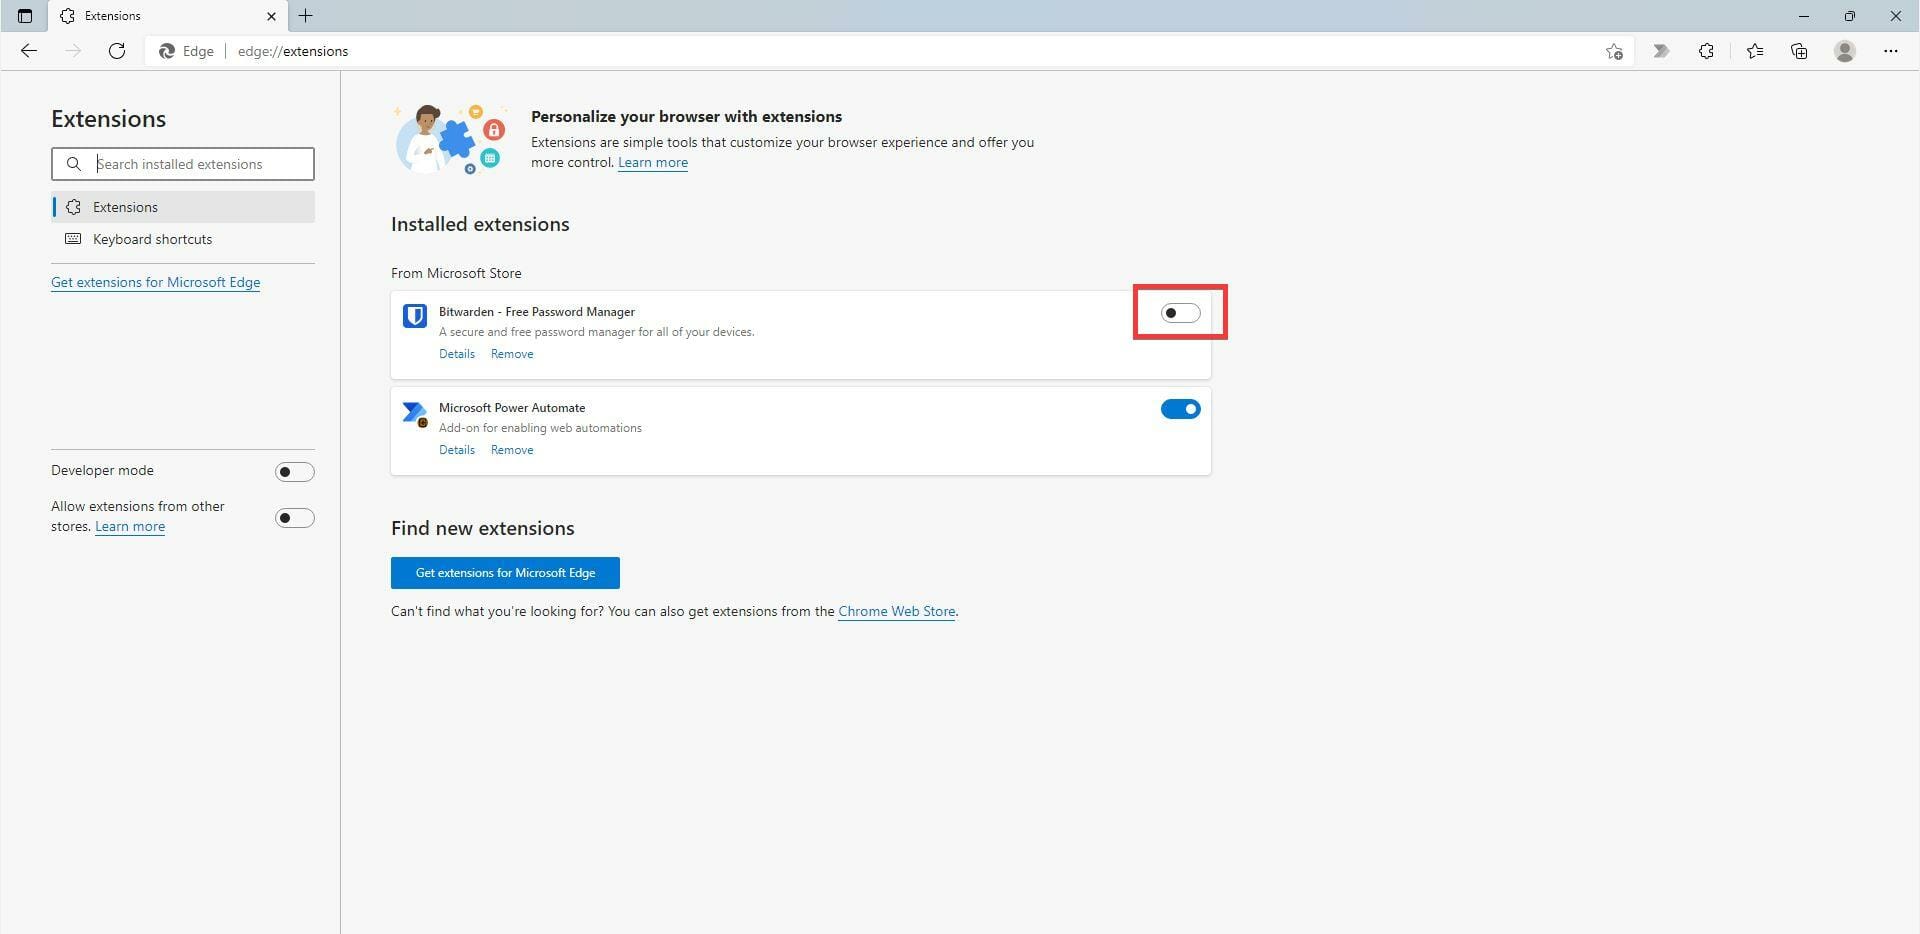
- Turn on Bitwarden by clicking on the tab switch.
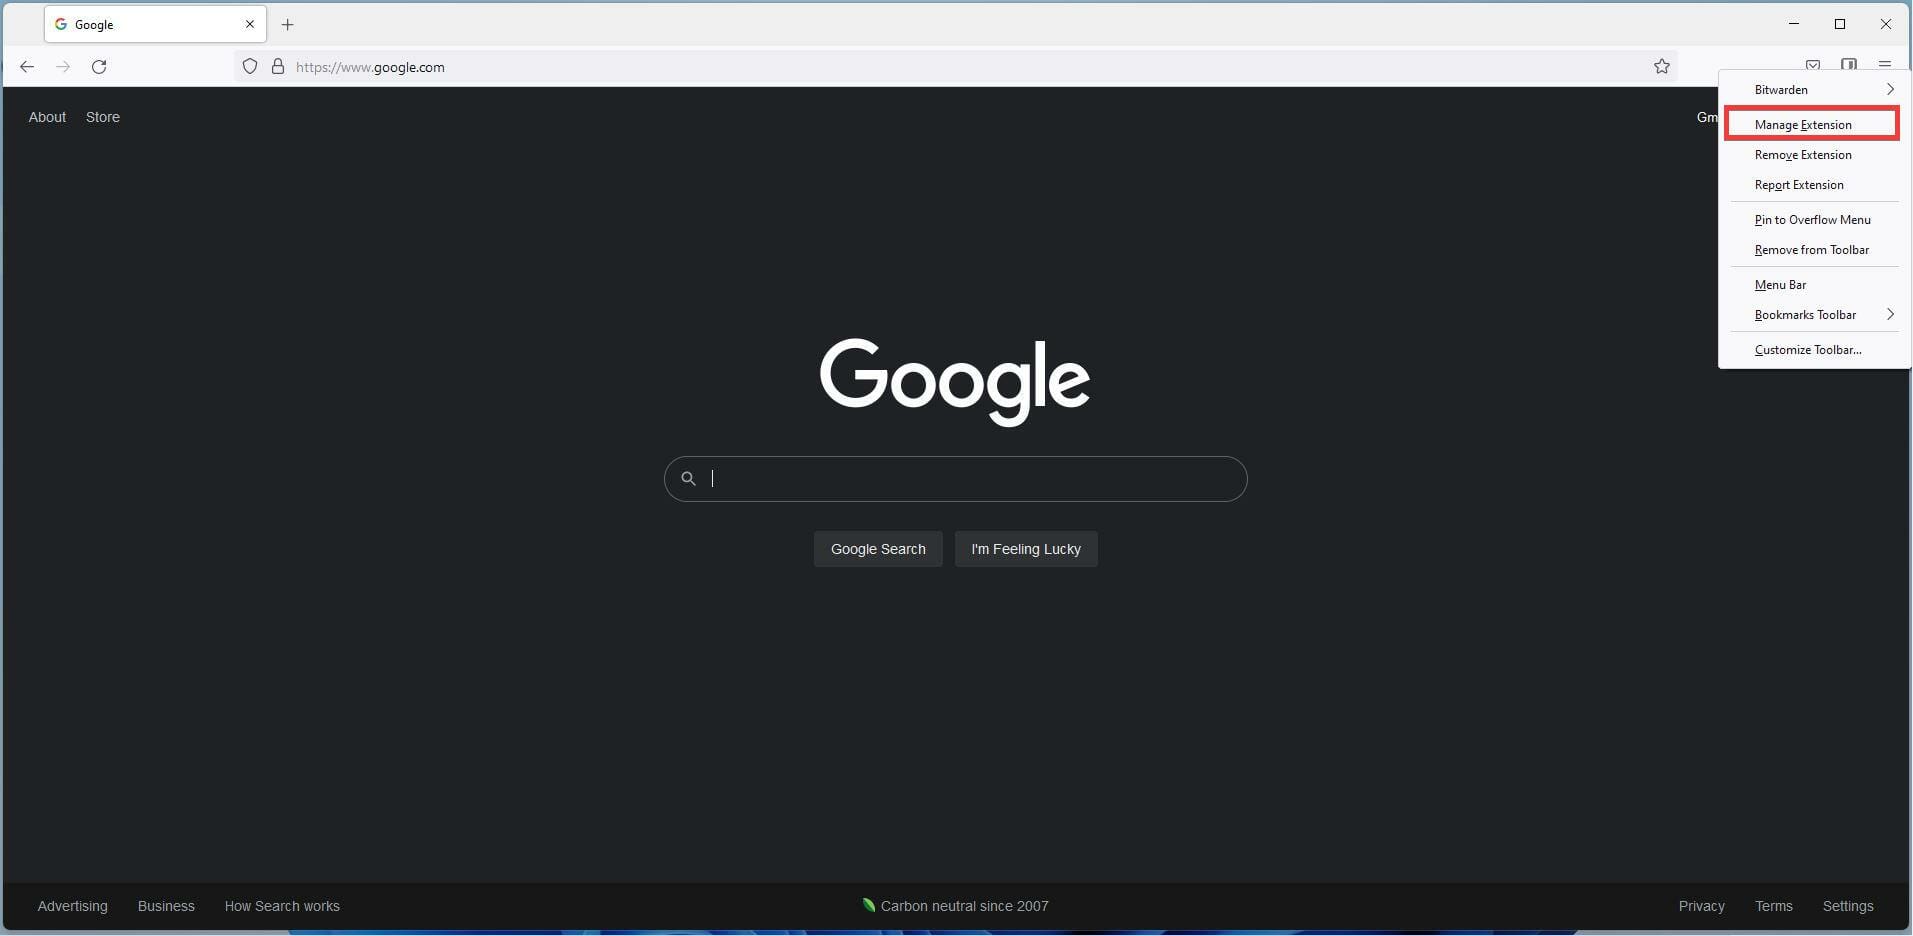
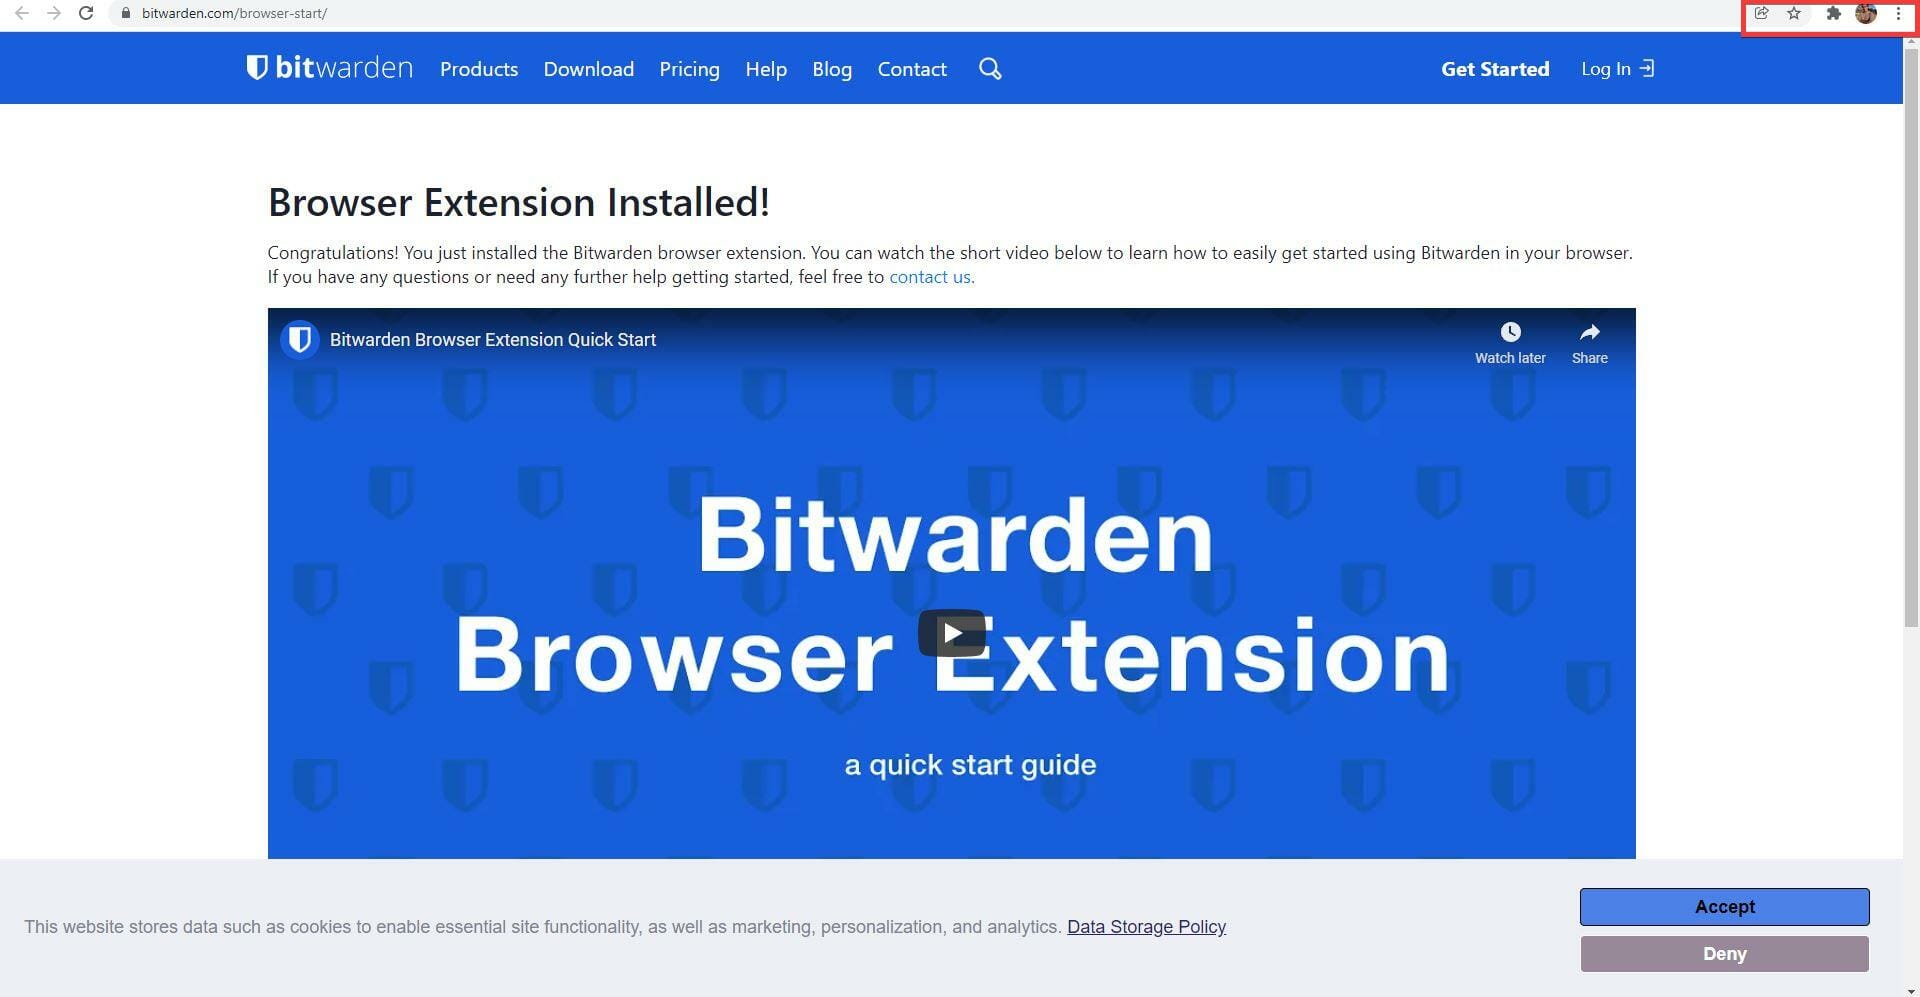
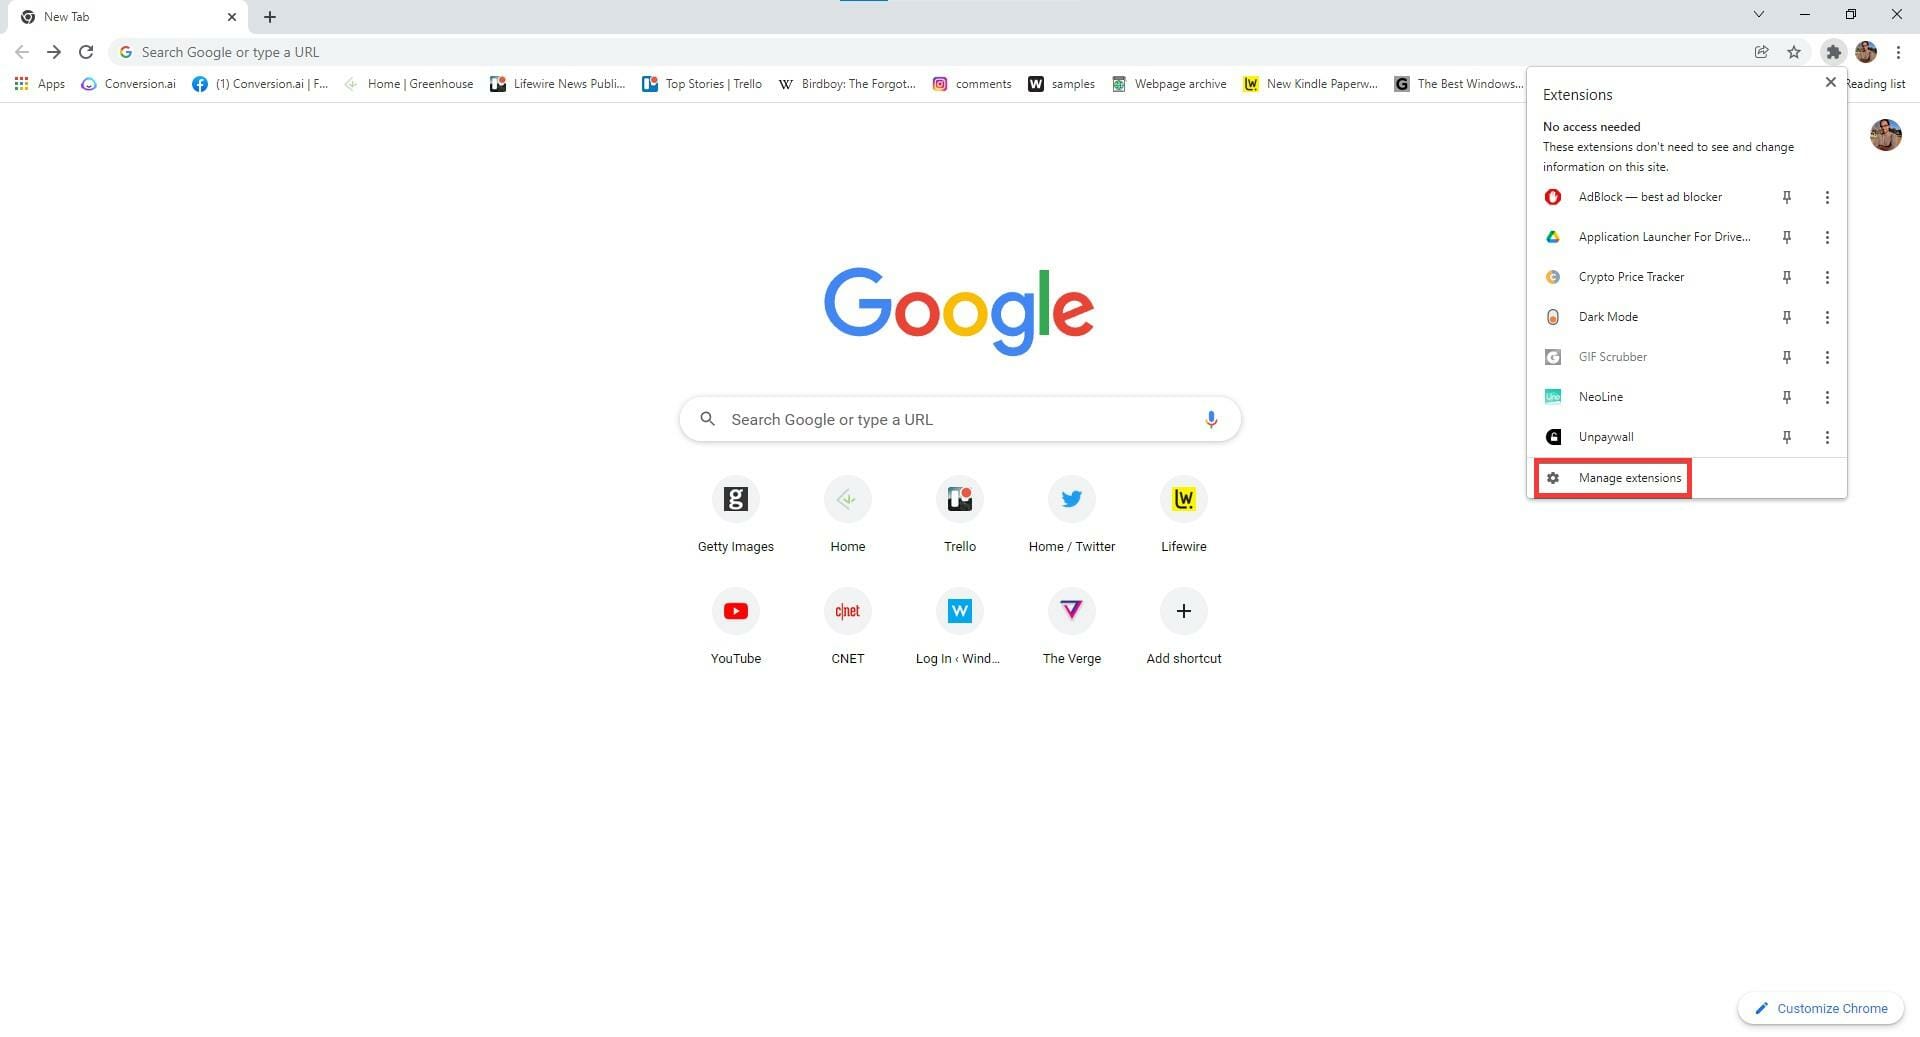
- On Chrome, you can disable extensions by clicking on the puzzle piece icon in the upper right hand corner to bring up the drop down menu.
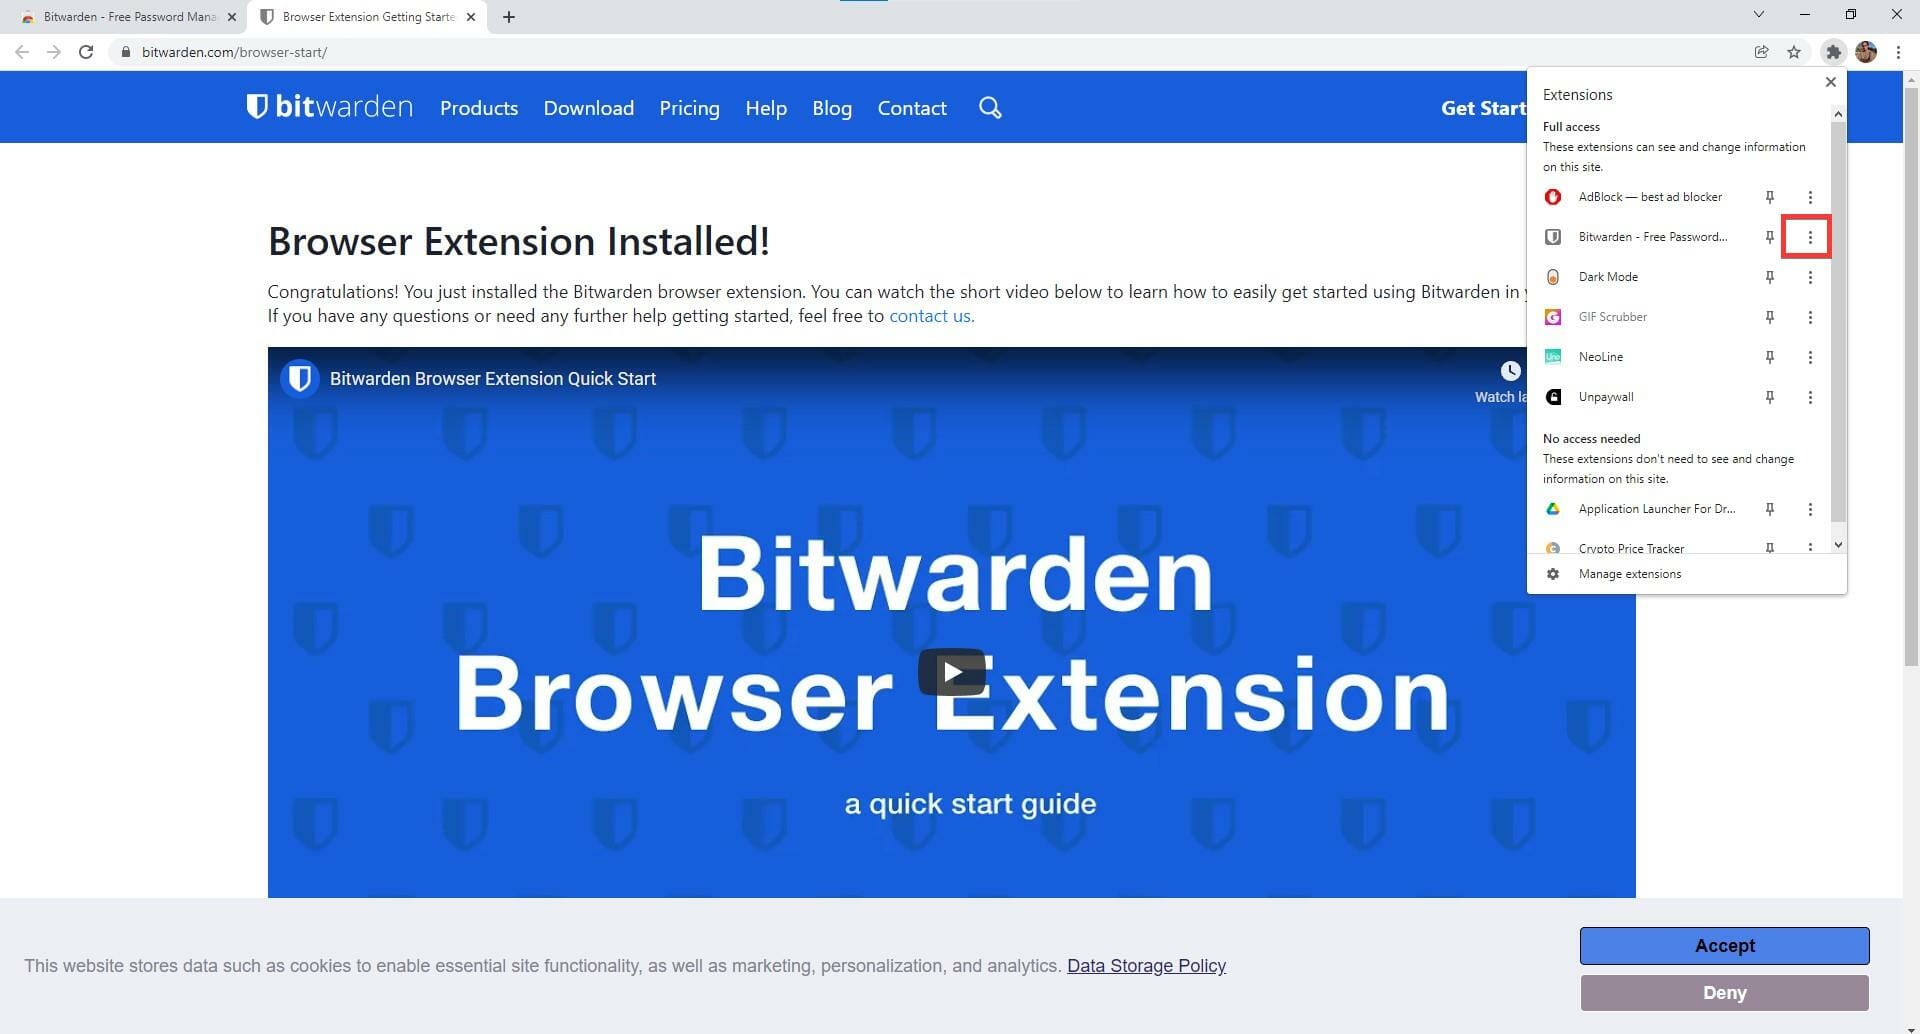
- In the drop-down menu, click on the three dots next to Bitwarden.
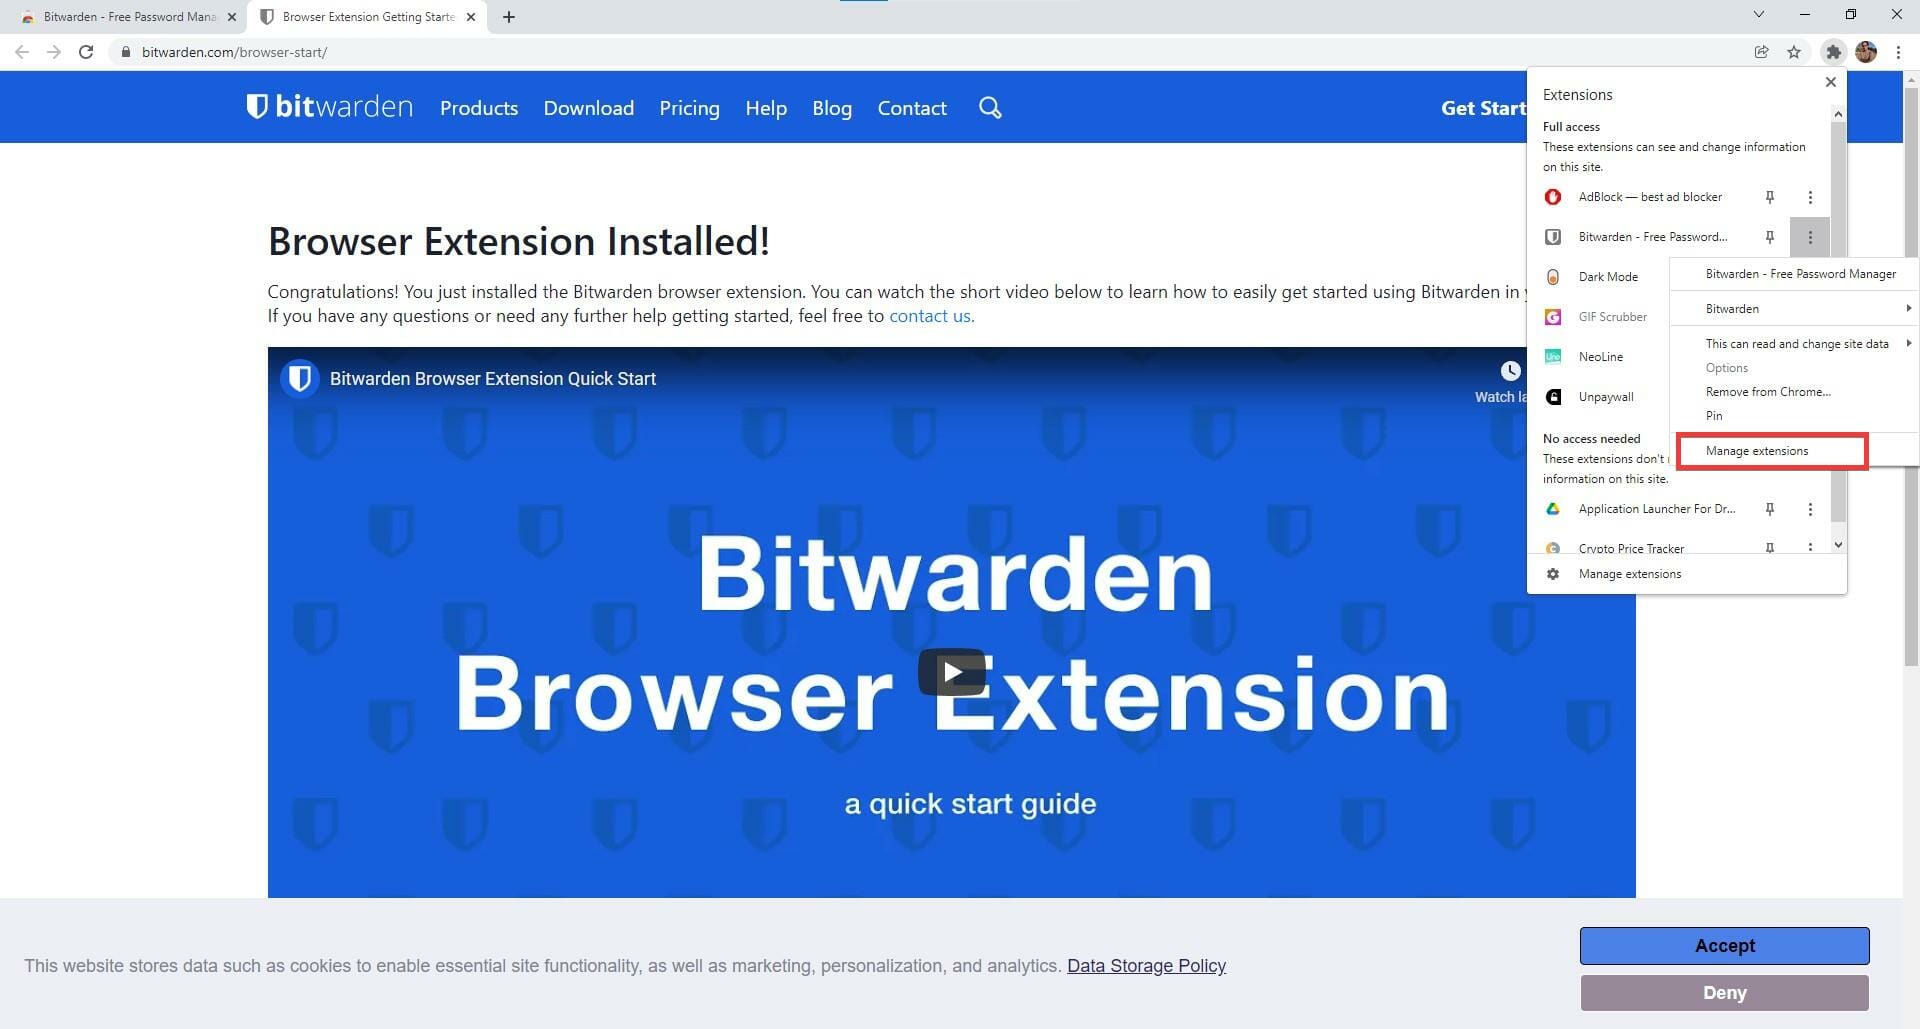
- In this new menu, click Manage Extensions.
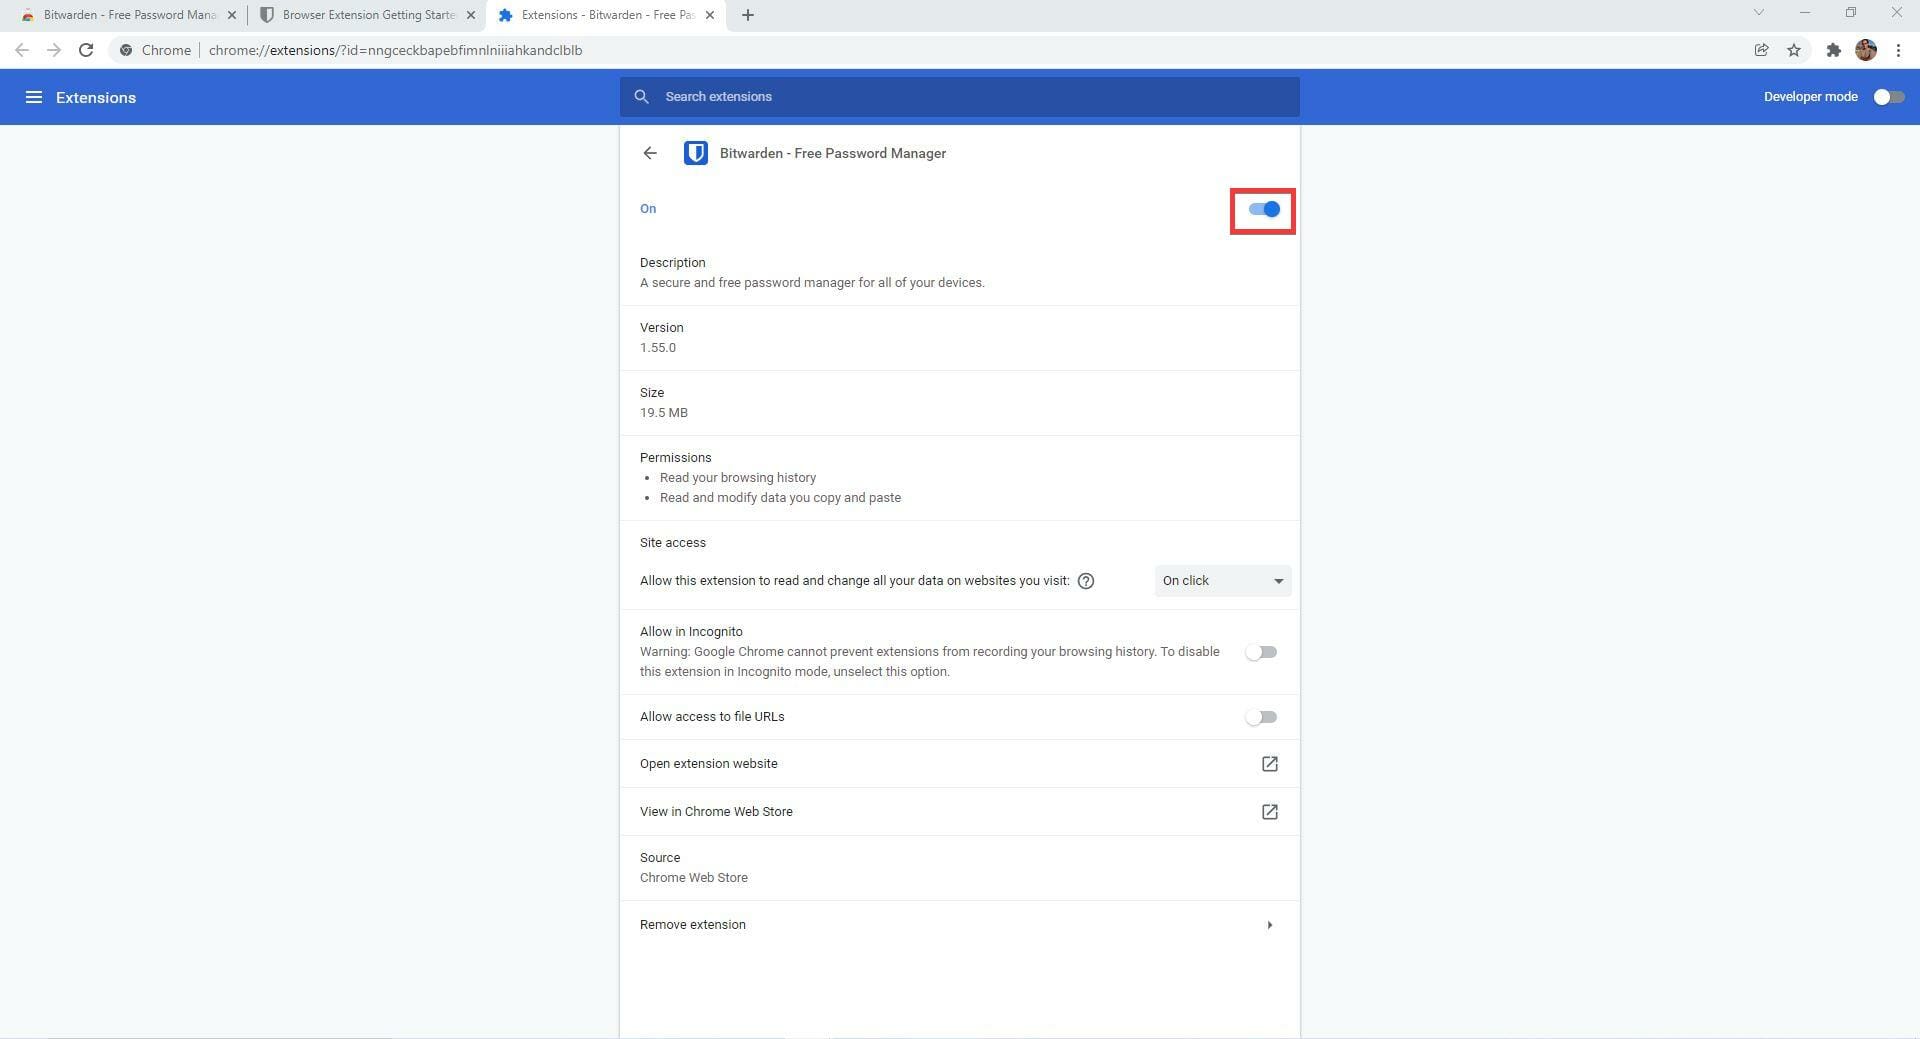
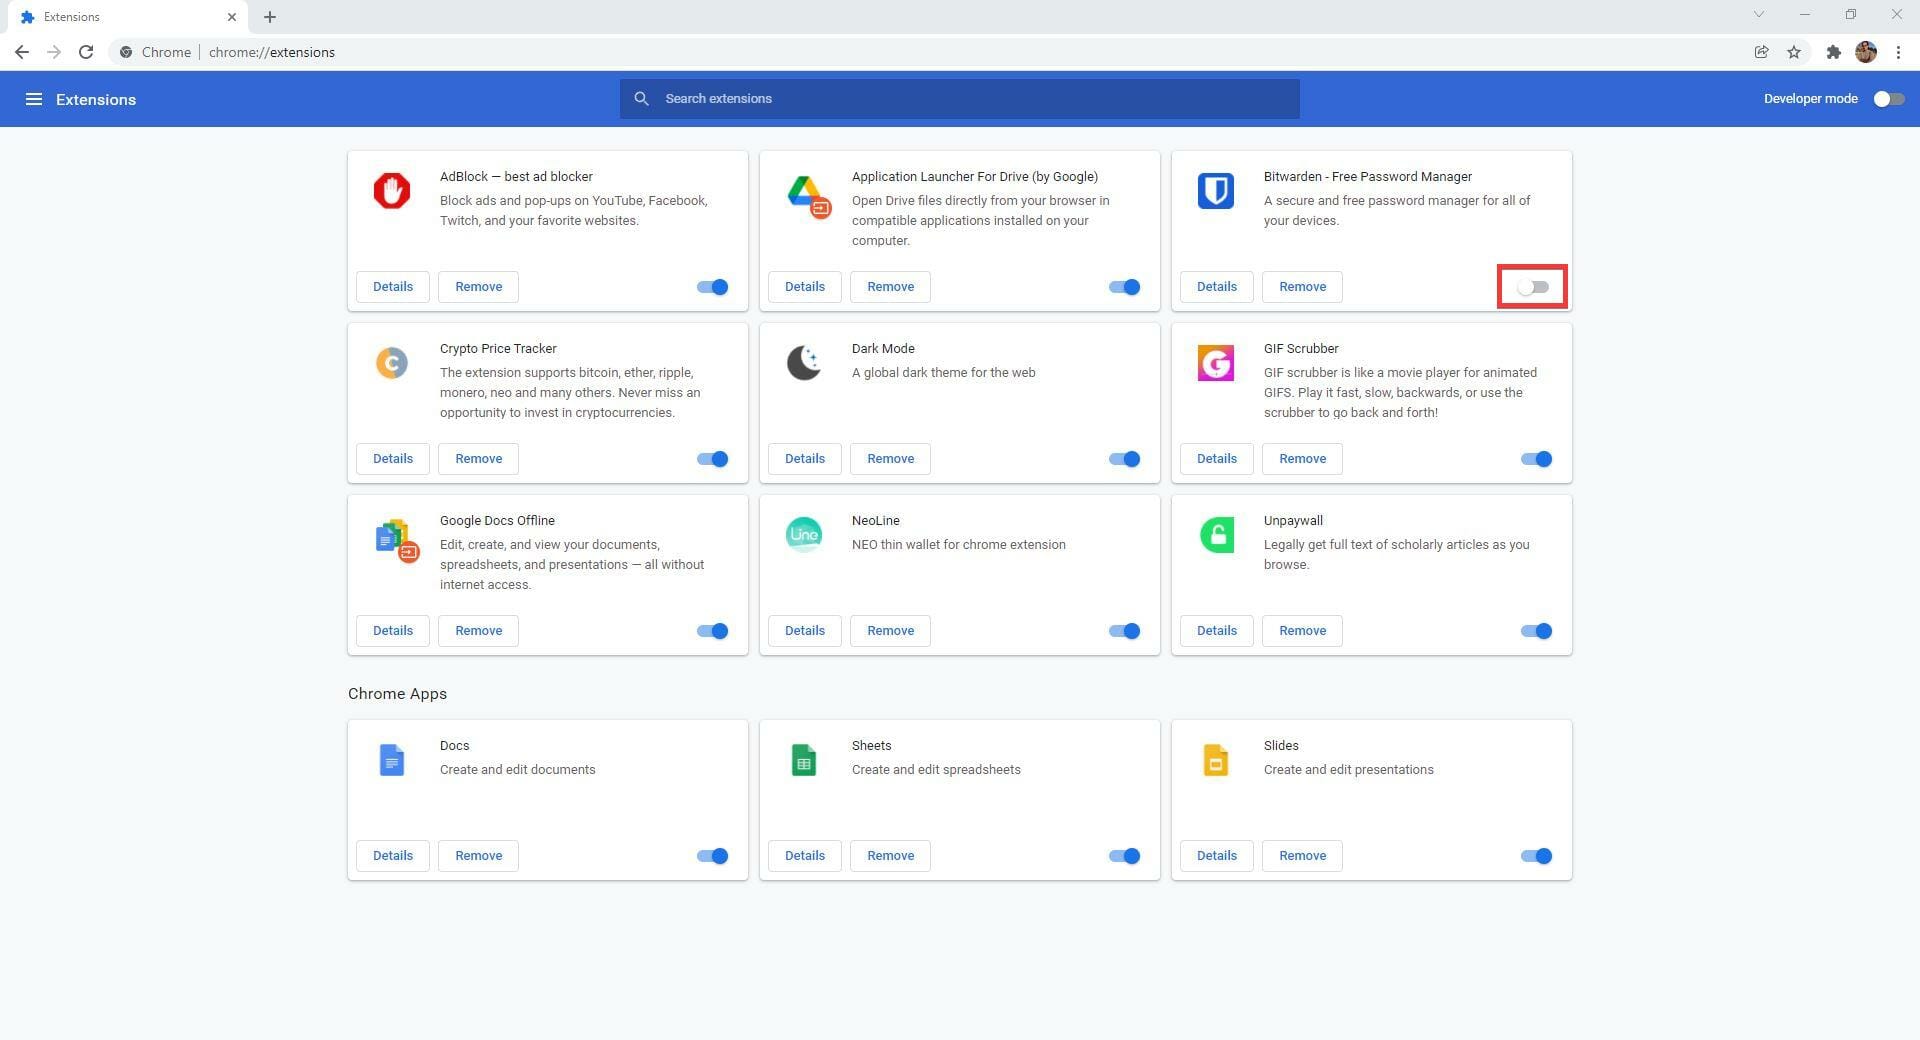
- In this new window, click on the blue switch to turn off the extension.
- Close the browser and then open it up again.
- Click on the same puzzle piece icon as before.
- Click on the Manage extensions at the bottom of the drop-down menu.
- In the assortment of extensions, locate Bitwarden and click on the gray swtich to turn it on.
Are there any other useful security apps for Windows 11?
There are several useful security for the operating system. In addition to Bitwarden, other great password managers include RoboForm Password Manager, which automates the password-making process, and Dashlane, which shares passwords with up to five users.
There’s also a helpful app by way of NordPass. It’s also a password manager that is free of charge and can help people organize their complex passwords. It also keeps the password in a singular place so you won’t go crazy looking for them.
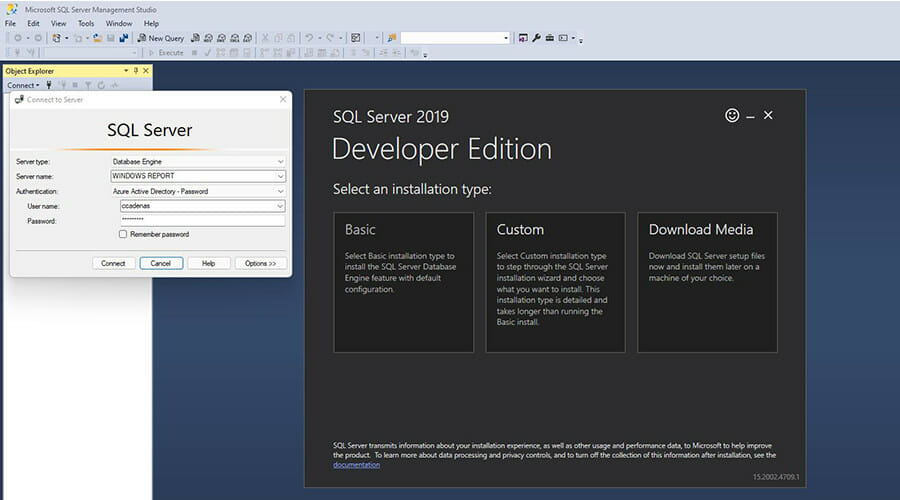
And if you’re a developer working with Windows 11, it may interest you to know about SQL Server 2019. It’s a database management system whose main purpose is to manage data other apps request.
It has limited uses outside of a developmental situation but sees a lot of use within that situation.
As you can see from the list, there are plenty of ways to deal with this dreaded Bitwarden error, but following the steps presented in this guide will prove helpful. Sadly, this isn’t the only issue you can encounter, and many reported Cannot decrypt error in Bitwarden, but we fixed it in a separate guide.
Make sure to follow the steps precisely to ensure that no other issues are produced.
Feel free to share your experience with us by using the comment section found below this guide.